Creating a logo for your business
Wix Logo: Using the Wix Business Card Maker
Elevate your brand with the Wix Business Card Maker, which allows you to create professional business cards. This tool helps you maintain a consistent and polished look for your business, making it easier to leave a lasting impression on clients and partners.
For example, if you run a freelance graphic design business, you can use the Business Card Maker to design cards that reflect your style and creativity, ensuring potential clients remember you.
Step 1 | Select a business card template
Choose a template from our range of professional business card designs. You can also preview the template in a larger popup window for a more detailed view of the card's design.
Before you begin:
This is not your business card's final design. You can further customize it later.
You can change your order's shipping destination by clicking the flag icon at the top right.

To select a business card template:
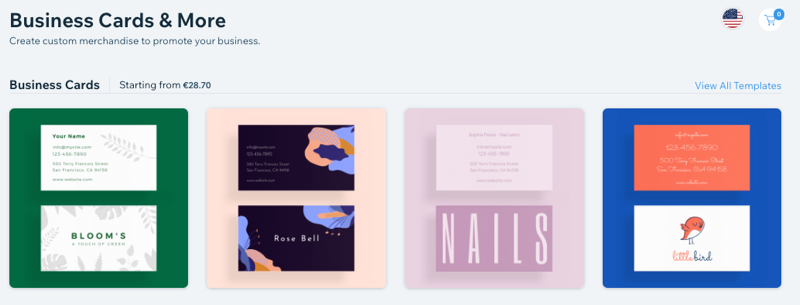
Click Get Started.
Choose what to do next:Hover over a template and click Preview to get a closer look.
Click View All Templates next to Business Cards to view all the templates we offer.
Hover over a template and click Customize to select it.
(First time only) Click OK in the popup.
Add your business details.
Note: You can add more details later when customizing your card.Click Save & Continue.
Click Customize below your chosen business card design.
Step 2 | Design your business card
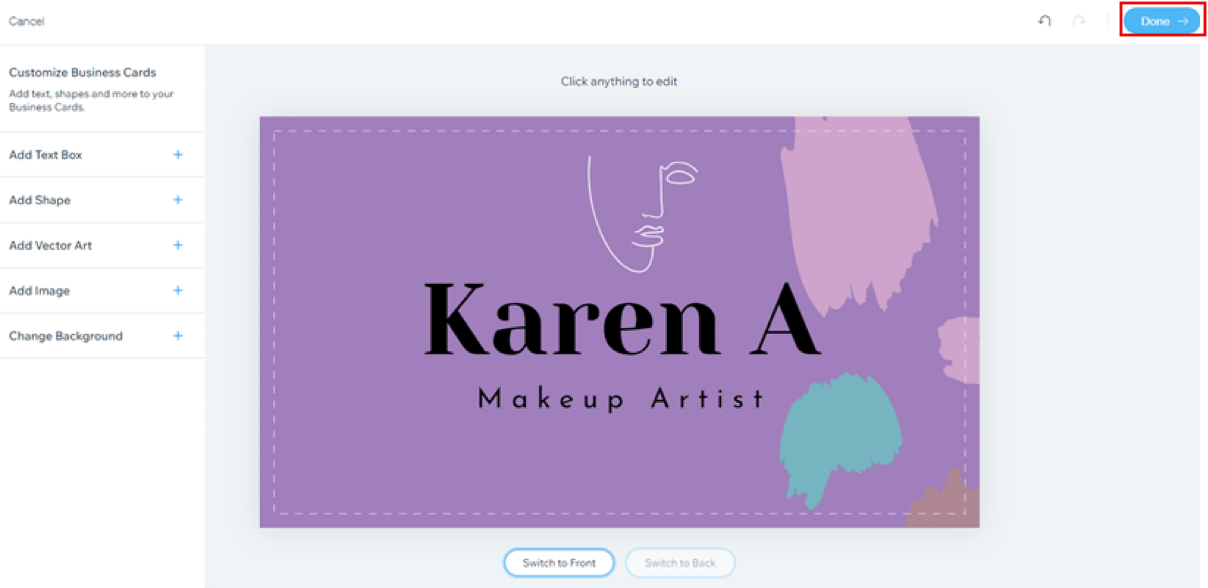
After choosing your card's template, you can start designing it from the business card editor. From this editor you can customize the card's text, image, color and more.
You may also want to change an element's location. You can reposition elements by dragging and dropping, or arrange any overlapping elements using the toolbar above your card design which will appear when clicking on the element.
Edit the other side of the card by clicking Switch to Front / Switch to Back.

Click an option below to learn how to customize it:
Text
Select the relevant text on your card or click Add Text Box on the left.
Customize the text using the following options:Edit Text: Type to replace the existing text.
Font: Select a font from the dropdown menu.
Opacity & Color: Click the color box to change the text's color and drag the slider to adjust its transparency.
Font Size: Drag the slider to increase or decrease the size of the text.
Letter Spacing: Drag the slider to adjust the space between letters.

Shape
Click Add Shape on the left or click the existing shape on your template.
(Optional) Drag and drop the shape to its position and resize using the grip handles.
Customize your shape using the following options:Shape Opacity & Color: Click the color box to change the shape's color and drag the slider to adjust its transparency.
Border Width: Drag the slider to adjust the shape's border width.
Border Opacity & Color: Click the color box to change the shape's border color and drag the slider to adjust its transparency.

Vector Art
Click Add Vector Art on the left or click the existing vector art on your template.
(Optional) Drag and drop the vector art to its position and resize using the grip handles.
Customize your vector art using the options on the left:Image Opacity: Drag the slider to adjust the vector art's transparency.
Image Colors: Click Change Colors. Then click the relevant color box to change the vector art's color(s).

Image
Click Add Image on the left or click the existing image on your template.
Customize your image using the available options.Change the image opacity: Drag the slider on the left to adjust the transparency of the image.
Reposition the image: Drag and drop the image to its position.
Resize the image: Click on the image and use the side handles.

Background
Click Change Background on the left.
Click the color box to change the card's background color.
Drag the slider to adjust the color's opacity.

What's next?
Once you finish customizing your design click Done on the top right to choose your paper type and card quantity.
Step 3 | Choose your paper type and quantity
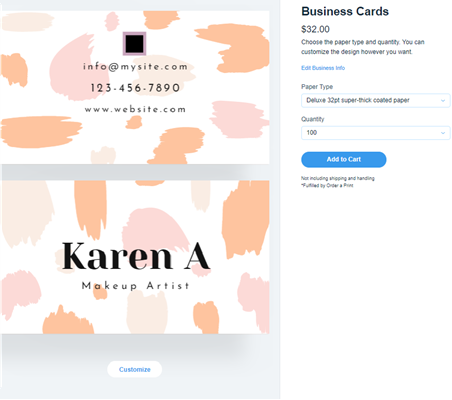
After customizing your business card, it's time to choose your card's paper type. From here, you can also choose the quantity of cards you want to order.
To choose your paper type and quantity:
Click the Paper Type drop-down menu and select the paper thickness and finish you want.
Click the Quantity drop-down menu and select how many cards you want to order (100, 250, or 500 cards).
Click Add to Cart.
Step 4 | Complete Your Order
After choosing your paper type and card quantity, you can finalize your order and submit your purchase.
To complete your order:
Click the Cart
 icon in the top right corner.
Click Continue to Checkout.
Add your shipping details.
Click Save & Continue.
Add your payment details.
Click Submit Purchase.
Step 5 | Check your order status
Once you have completed your order you can check your order's status and track your business cards directly from the Business Cards Maker.
To check your order status:
Go to the Business Cards Maker.
Click Order History at the top.
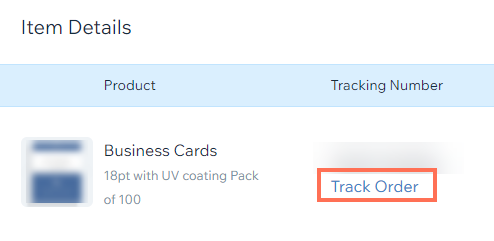
Click View items next to the relevant order.
Click Track Order under Tracking Number.
FAQs
Click a question below to learn more.
Can I preview the business card template before customizing it?
Yes, you can preview the template in a larger popup window by hovering over the template and clicking Preview. This allows you to see the card's design in more detail before making your selection.
How many business cards can I order at once?
You can choose to order 100, 250, or 500 cards. Select the quantity from the drop-down menu after choosing your paper type.
Can I cancel my business card order or report damages?
Orders are fulfilled by Order a Print. You can cancel an order within the first 24 hours by contacting them.
Damaged or defective orders need to be reported within seven days of the delivery date to Order a Print via email: support@orderaprint.com, and not Wix. Order a Print will investigate and send a replacement at their discretion.
Can I edit my business card after placing the order?
Once an order is placed, you can't edit it. If you need changes, cancel the order within the first 24 hours and create a new card with the required adjustments.
