Creating a logo for your business
Wix Logo: Creating a Logo in the Wix App
Elevate your brand and create a logo on the go directly from the Wix app on your mobile device. Design and purchase your logo in one fluid process.
Important:
It is currently only possible to access the Logo Maker and create a logo on the Wix app from an Android device. It is not possible to do so from an iOS device.
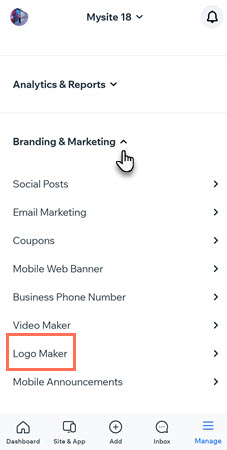
Step 1 | Access the Logo Maker in the Wix app
To begin working on your logo, open the Logo Maker in your app under the app's Branding & Marketing section.
Show me how
Go to your site in the Wix app.
Tap Manage
 at the bottom.
Tap Logo Maker under Branding & Marketing.
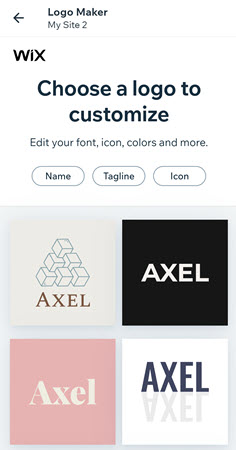
Step 2 | Create a New Logo
After opening the Logo Maker in the app, you will need to add your business details and define your style, then choose from a wide range of automatically generated logos. These are created for you based on the information you've previously entered. If necessary, you can edit the business name, tagline, and icon.
Show me how
Open the Logo Maker in the Wix app.
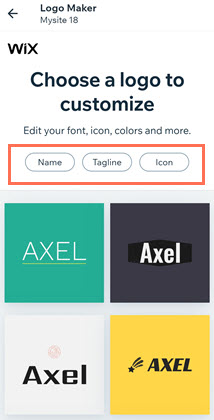
Enter your business information and tap Let's Go.
(Optional) Change the Name, Tagline or Icon of your logo.
Tap an automatically generated logo design to select and start working on it.
Step 3 | Customize Your Logo
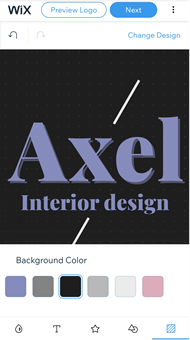
After choosing a logo design that you like, you can customize your logo's finer details. Personalize the color palette, text design, and background of your logo, and even add additional icons.
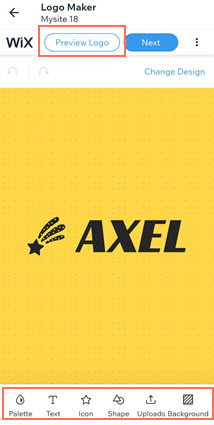
Click an option below to learn how to customize it:
Change my logo's colors
Tap the Palette icon
 to change the logo's color palette.
Scroll through the available color palettes and tap the one you like best.

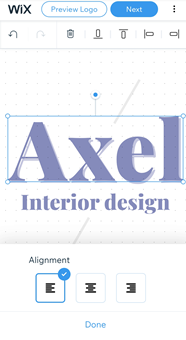
Customize my logo's text
Tap the Text icon
 below your logo.
Tap the Add icon
 to add new text, or tap existing text to change it.
Customize the text by using the options available:Font: Scroll through the available fonts and choose the one you like best.
Alignment: Choose to align the text left, centered, or right.
Color: Select the text's color and its opacity. Choose from the colors based on your color palette or add a new color.
Size: Drag the slider to adjust the font size.
Outline: Drag the slider to increase or decrease the outline around your text.
Line Color: Change the color of the outline around your text.
Flip: Tap the relevant toggle to flip the text horizontally or vertically.
Curve: Drag the slider to adjust the curve of the text.
Position: Drag the relevant slider to adjust the text's horizontal or vertical position.
Spacing: Drag the slider to increase or decrease the spacing between letters.
Rotate: Drag the slider to rotate the text.
Shadow: Tap the toggle to enable a shadow behind the text.
Blur: Drag the slider to adjust the blurriness of the text.
Tap Done.
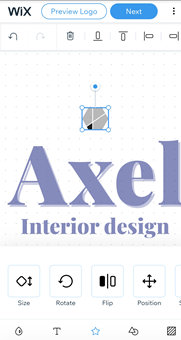
Add or change logo icons
Tap the Icon icon
 below your logo.
Tap the icon you want to customize.
Note: If you haven't yet added an icon, tap Add Icon.Customize the icon by using the options available:Change: Replace your current icon with another.
Tip: Scroll through categories to narrow your search, (e.g. Trendy, Abstract, Nature, etc.).
 Color: Tap a color to edit it. Choose from the colors based on your color palette or add a new color.
Size: Drag the slider to increase or decrease the icon's size.
Rotate: Drag the slider to rotate the icon.
Flip: Tap the relevant toggle to flip the icon horizontally or vertically.
Position: Drag the relevant slider to adjust the text's horizontal or vertical position.
Shadow: Tap the toggle to enable a shadow behind the icon.
Blur: Drag the slider to adjust the blurriness of the icon.
Delete: Tap the Delete icon to delete the icon.
Tap Done.
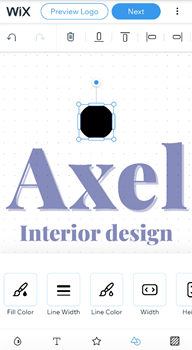
Customize my logo's shapes
Tap the Shape icon
 below your logo.
Tap the shape you want to customize.
Note: If you haven't yet added a shape, tap Add Shape.Customize the shape by using the options available:Change: Swap your current shape with a new shape from the options available.
Fill Color: Select the shape's color and its opacity. Choose from the colors based on your color palette or add a new color.
Line Width: Drag the slider to adjust the width of your shape's border.
Line Color: Select the shape's border color and its opacity. Choose from the colors based on your color palette or add a new color.
Width: Drag the slider to increase or decrease the shape's width.
Height: Drag the slider to increase or decrease the shape's height.
Rotation: Drag the slider to rotate the shape.
Position: Drag the relevant slider to adjust the shape's horizontal or vertical position.
Shadow: Tap the toggle to enable a shadow behind the shape.
Blur: Drag the slider to adjust the blurriness of the shape.
Delete: Tap the Delete icon to delete the shape.
Tap Done.
Tip: Narrow down your search for your shape using the filter option, or the search bar in the Add Shape panel.

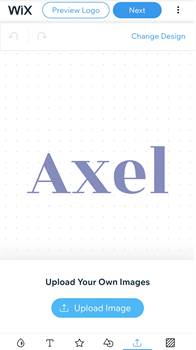
Upload an image to my logo
Tap the Upload icon
 below your logo.
Tap Upload Image.
Choose the file you want to upload.
Tap Done.
Customize your uploaded image by using the options available:Size: Drag the slider to increase or decrease the image size.
Position: Drag the relevant slider to adjust the image's horizontal or vertical position.
Flip: Tap the relevant toggle to flip the image horizontally or vertically.
Rotation: Drag the slider to rotate the image.
Opacity: Drag the slider to increase or decrease the image's transparency.
Shadow: Tap the toggle to enable a shadow behind the image. Customize the color, position, and blurriness of the shadow.
Blur: Tap the toggle to enable blurring. Drag the slider to adjust the blurriness of the image.
Delete: Tap the delete icon to delete your image.
Change my logo's background color
Tap the Background icon
 below your logo.
Select a background color based on your color palette, or tap the plus icon to add a new color.
Tap Done.
Note: The dotted white background of the Logo Maker editor will not be visible in your purchased logo files.
Tip:
Preview your logo at any point during the design process to get an idea of how your logo will look in different scenarios.
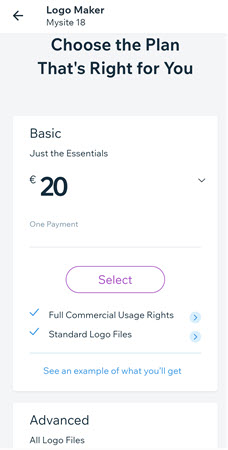
Step 4 | Purchase Your Logo
Once you're happy with the final design of your logo, it's time to purchase a Wix Logo Plan. Choose from a Basic or Advanced logo plan.
Show me how
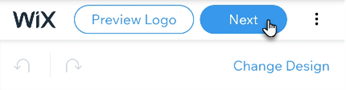
Tap Next inside the logo editor.
Choose from a Basic or an Advanced Logo Plan and tap Select.
Enter your payment details.
Tap Submit Purchase.
Note:
Logo + Website plans are only available for purchase from your Logo Maker account on a mobile or desktop browser, and not from the Wix app.
Step 5 | Create a Branded Site
Once you're happy with your purchased logo design, you can create a branded website based on that logo's style, directly from the Wix app on your mobile device. Then head over to your Logo Maker account on desktop to edit your site.
Show me how
Open the Logo Maker in the Wix app.
Enter your business information and tap Let's Go.
Tap an automatically generated logo design to open the logo editor.
Tap the Show More icon
 at the top beside Next.
Tap My Logos.
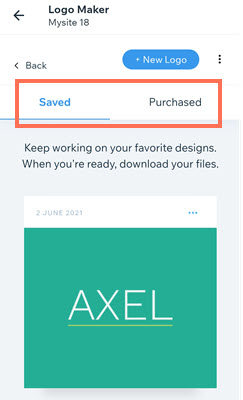
Tap Saved / Purchased to view the relevant logos.
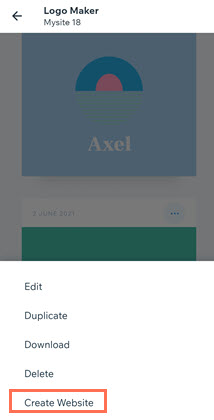
Tap the Show More icon
 above the relevant logo.
Tap Create Website.
Tap Edit Your Site.
Note:
You can create a branded website from a saved or purchased logo design.
Managing Your Logos
Currently, to view, edit, or download a logo that you have saved or purchased in the Wix app, you must first go through the flow of creating a new logo.
Show me how
Open the Logo Maker in the Wix app.
Enter your business information and tap Let's Go.
Tap an automatically generated logo design to open the logo editor.
Tap the Show More icon
at the top beside Next.Tap My Logos.
Tap Saved / Purchased to view the relevant logos.
Tap the logo you want to work on to open it.
