Customizing your Members Area
Site Members: Adding and Customizing Your Members List
Add the members list element to your site to display your members in any page. Customize the layout, design, and member badges, and choose whether the list is visible to all visitors or only to logged-in members.

Wix Editor
Studio Editor
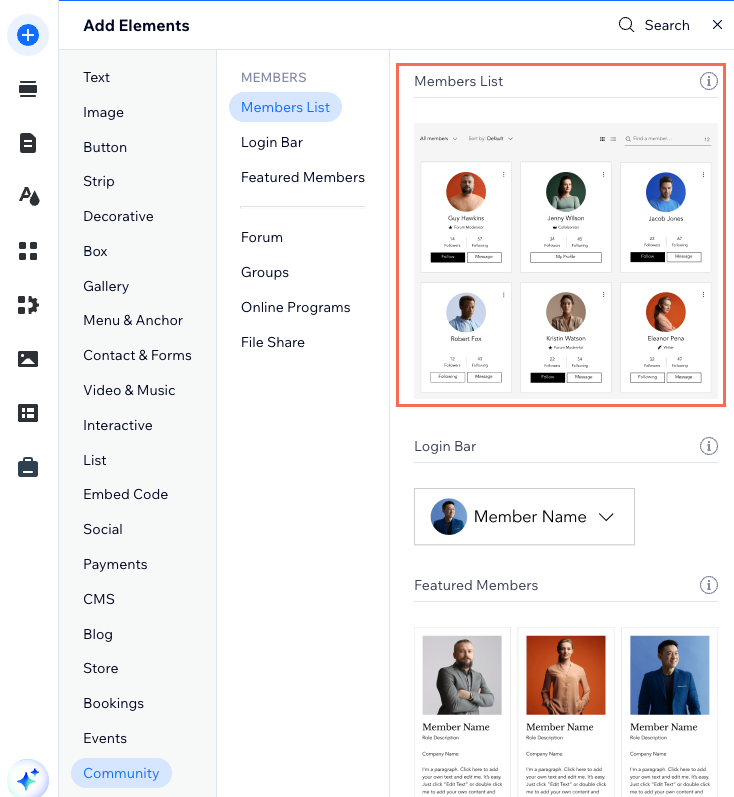
Click Add Elements
 on the left side of the editor.
Click Community.
Click Members List.
Click and drag the members list element onto the page.
Select the members list element.
Click Settings.
Choose what you want to customize:
Layout
Click the Layout tab and customize the layout:
Select a layout:Cards: Members display in a cards layout.
List: Members display in a list.
Profile picture:Circle: The member profile image is cropped into a circle shape.
Square: The member profile image is cropped into a square shape.
Display
Click the Display tab and customize the display:
Show follow button: Enable the toggle to add a button that lets members follow each other's activity when they see an interesting profile on this page.
Show followers / following: Enable the toggle to present the number of members following a person on the list, and the amount of people they follow.
Show badges: Enable the toggle to display badges given to your members.
Design
Click the Design tab.
Click the relevant section to customize it:
Text:Member name: Choose a font, font size, and color for your members' names.
Following / followers counters: Choose a font, font size, and color for the counters.
Button:Text: Choose a font and font size for your buttons.
Opacity and color: Click the color box to select a new color for your buttons. Drag the slider to adjust the color's transparency.
Corner radius: Drag the slider to make the buttons more round.
Backgrounds & borders:
Show cover photo: Enable the toggle to show each member's cover photo on their card. Then customize the design of your cover photo:Default color: Choose a color to appear when a member does not have a cover photo on their profile.
Cover photo opacity: Drag the slider to change the transparency of the cover photo / default color.
Set default cover photo: Choose a cover photo to appear for all members unless they customize it from their own account.
Page background opacity & color: Click the color box to select a new background color for the list. Drag the slider to adjust the color's transparency.
Profile background opacity & color: Click the color box to select a new background color for the member cards on the list. Drag the slider to adjust the color's transparency.
Border / divider width: Drag the slider to change the width of borders and dividers on this list.
Border / divider opacity and color: Click the color box to select a new color for the borders and dividers. Drag the slider to adjust the color's transparency.
Border / divider corner radius: Drag the slider to make the corners of the member cards round.
Settings
Enable the This page is public toggle to show the page displaying your members list.
This article is credited to the Wix team - https://support.wix.com/
