Managing CMS collections
CMS: Adding and Setting Up 'Rich Content' Fields
Create large blocks of content associated with your collection items that you can format from within the CMS (Content Management System). You can mix formatted text with media, files, HTML code, social media posts, Wix business solutions and more features. When you add and connect the rich content element on your site, it maintains the same formatting your set from within the collection fields themselves.
For an overview of this process, check out our Ultimate CMS Guide video.
Adding the 'Rich Content' field type in your collection
Select the 'Rich Content' field type when you create a new field in your collection. You can also edit existing fields to turn them into 'Rich Content' fields. After creating the 'Rich Content' field, add and format your content in the field for each item in your collection.
To add a 'Rich Content' field:
Go to CMS in your site's dashboard. Alternatively, you can click CMS
 in your editor, then click Your Collections.
Click the relevant collection.
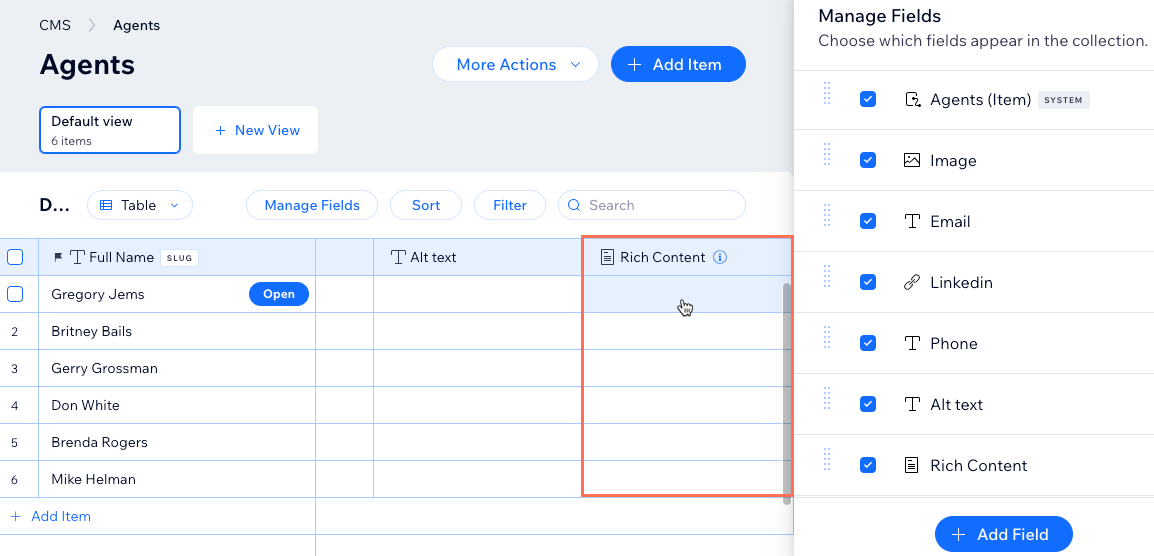
Click Manage Fields.
Click + Add Field.
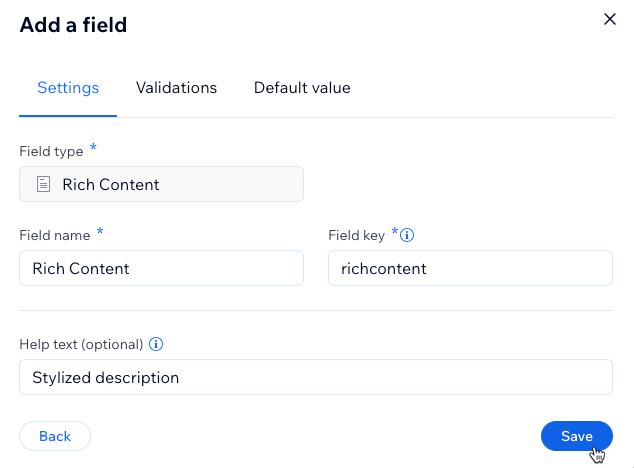
Select Rich content and click Choose Field Type.
Enter a name in the Field name field.
(Velo only) Update the Field ID, which is used in the site's code. You cannot update this ID later.
(Optional) Enter Help text if you want a tooltip to appear in your collection next to the field title.
Click Save.
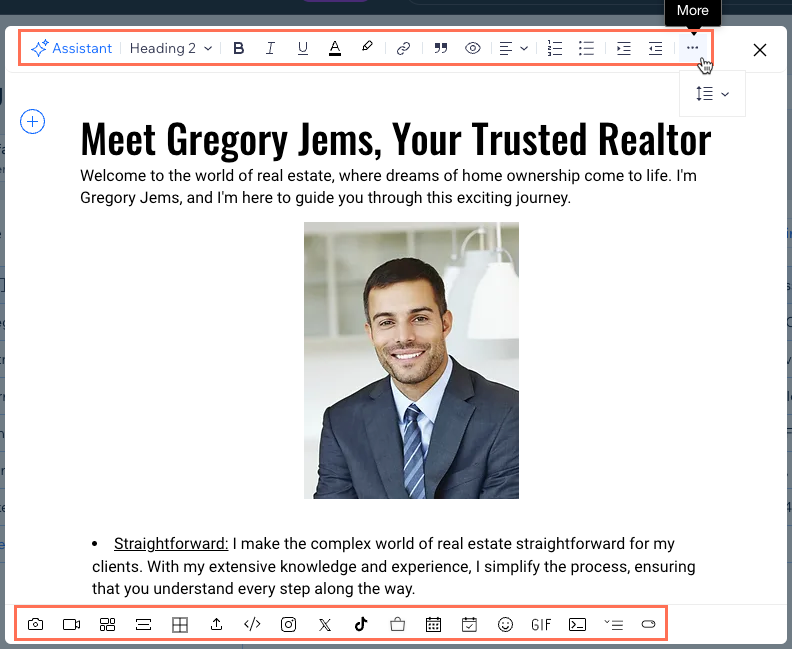
Click the 'Rich Content' field for the relevant item in your collection.
Enter the text you want to use for the item and choose from the available formatting options at the top. You can also add images, videos, attachments and more features from the icons at the bottom.
Want to use default values with your 'Rich Content' field?
You can add default values that get applied to each new item's 'Rich Content' field. When creating or editing a 'Rich Content' field, click the Default value tab and add the content you want to apply to new items. Learn more about adding default values to fields.
Adding the rich content element to your page
Add the rich content element to your site. Then connect it to a dataset that binds to your collection. You can now attach the rich content element to a repeater to show dynamic content for multiple items at time.
Wix Editor
Studio Editor
Go to the page or section in which you want to add the rich content element.
Click CMS
on the left side of the editor.Click Add Content Elements.
Click Rich content.
Click the Connect to CMS icon
 on the rich content element.
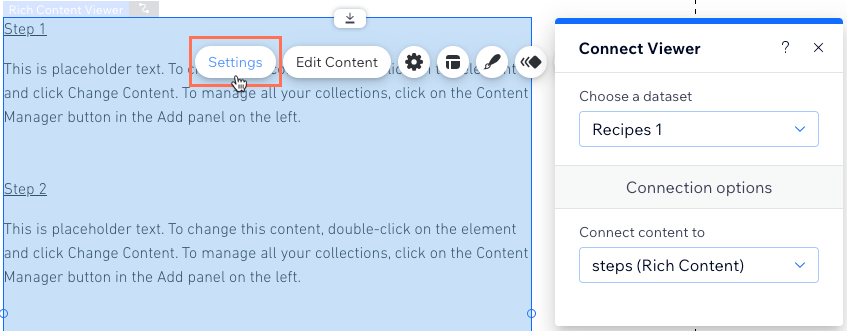
Click the Choose a dataset drop-down and select an existing dataset that connects to your collection. Alternatively, click Add a Dataset, then choose the collection you want to connect, give the dataset a name and click Create.
Click the Connect content to drop-down and select the 'Rich Content' field you created.
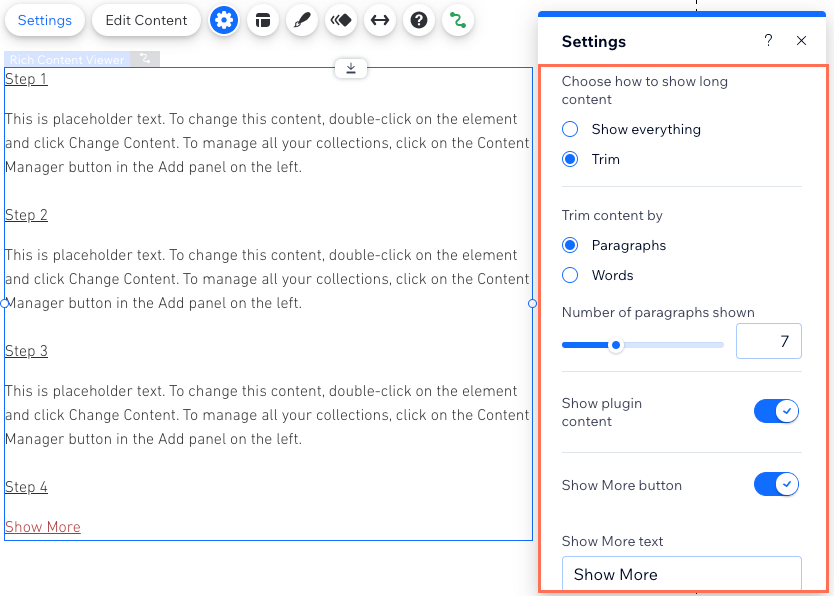
Click Settings on the rich content viewer element.
Choose how you want to show long content:Show everything: All the content from the connected 'Rich Content' fields display in the viewer.
Trim: Only show part of long content in the viewer:
Choose how to trim the content that appears in the viewer:Paragraphs: Choose the number of paragraphs shown. Enable the Show plugin content if you want to show content such as images, videos and tables in the viewer.
Words: Choose the number of words shown.
Click the Show More button toggle to choose how the content can be expanded:Enabled: If the content is trimmed, visitors can click a "Show More" link to expand the displayed content. Enter the text to use in the Show More/Less text fields.
Disabled: The text is trimmed and ends with "..." if all the content doesn't fit in the viewer. Visitors cannot click to expand the displayed content.
Click the Layout icon
 on the rich content viewer element and set the top, bottom and side padding.
Click the Design icon
 to customize the background and 'Show More' button colors, the border, the corners, and override the text formatting.
Tip:
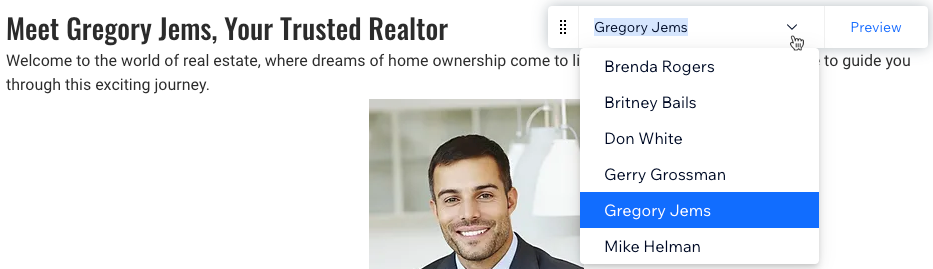
On dynamic item pages, click the Preview drop-down and select other items to see how the 'Rich Content' field will look on each version of the page.
Formatting options and features in the rich content editor
When editing your 'Rich Content' field from your collection, choose from the options at the top to format your text. You can click icons at the bottom to add features like tables, HTML code, and social media posts.
Click below to learn more about the available options in the rich content editor.
Text formatting
Choose from the text formatting options at the top of the rich content editor:
Title styles and 1 paragraph type based on site themes
Bold, italic, and underline formatting
Text color and text highlight color customization
Hyperlink text to site pages, URLs or sections within the rich content. You can add link rel attributes to provide search engines with more info about the linked resource and your site.
Text quote style
Left, center, and right text alignment
Number and bullet list formats
Increase or decrease text indentation
Preset and custom line spacing

Image
Click the Image icon  to add an image, then choose from the following formatting options:
 Size: Choose a size for the image: Small fit, Medium, Full width, or Original size.
 Alignment: Choose an alignment: Left, center, or right.
 Link: Link the image to a site page, URL, or section within the rich content. You can add link rel attributes to provide search engines with more info about the linked resource and your site.
 Settings: Add a caption, add alt text, set the image to expand when clicked, and choose whether to allow downloads.
 Replace: Choose a different image to display.
 Delete: Remove the image.

Video
Click the Video icon  to add a video. Then embed a video by pasting its URL and clicking Embed Video or upload a video from the Upload tab.
Choose from the following video formatting options:
- Size: Choose the size of the gallery: Small fit, or Medium.
- Alignment: Choose an alignment: Left, center, or right.
- Settings: Choose whether you want to allow downloads.
- Replace: Choose a different image to display.
- Delete: Remove the gallery.
Gallery
Click the Gallery icon  to add a gallery of media items. Select the media you want to add and click Add to Page. Then choose from the following formatting options:
 Add Media: Add more images or videos to the gallery.
Manage Media: Organize the existing media that appears in the gallery.
Gallery layout: Choose from several gallery layouts or customize the existing one.
- Size: Choose the size of the gallery: Small fit, Medium, or Full width.
- Alignment: Choose an alignment: Left, center, or right.
- Settings: Choose whether the gallery expands when clicked and whether you want to allow downloads.
- Delete: Remove the gallery.
Divider
Click the Divider icon  to add a divider. Then choose the line style and width.

Table
To add a table:
Click the Table icon
 .
.Enter the number of columns and rows and click Insert Table.
Enter text in cells of the table.
Click the top left of the table to select the entire table or click a row, column, or cell and choose from the formatting options.

Add a file
Click the File icon to add a file that visitors can download from your live site. Once added, choose from the formatting options to adjust the size and alignment.
Insert HTML code
Click the HTML code icon  to add HTML code or embed a website address. Enter the HTML code or URL and click Save. Then choose from the formatting options to adjust the width, height, and alignment of the HTML widget.

Social media
Click the relevant social media icons at the bottom to add posts from Instagram, X (formerly known as Twitter) or TikTok videos.

Wix business solutions
Click the relevant icon at the bottom to embed products, services, events, and more Wix apps.

Emoji
Click the Emoji icon  to choose from a categorized list of emojis to add.
GIF
Click the GIF icon  and search for an animated GIF image to add.
Add a code snippet
Click the Code Snippet icon at the bottom to add a block of reusable code that can be copied by visitors. Then enter the code in the snippet.

Expandable list
Click the Expandable list icon  to add a collapsible list that viewers can click to expand and read more info. Then enter the title of list that appears before visitors click it, followed by the content that will be expanded.
Button
Click the Add a button icon  to add a button. Then customize the button:
Click the Settings icon
 and enter the button text, paste the link and choose from the following options:Links open in new tab: When visitors click the link, it opens in a new tab.
noreferrer: Tell search engines not to view info about the link source.
nofollow: Tell search engines to not give credit to the link for SEO purposes.
sponsored: Tell search engines that the link represents a paid ad, sponsorship, or paid agreement.
Click the Design tab and use the sliders to customize the border width and corner radius. Then click the relevant Button Colors to choose the color or the text, border and background.
Click Save.
Click the Alignment icon
 to align choose the text alignment: Left, Center, or Right
Click and drag the edges of the button to change its width.
