Make every step of your member journey feel like part of your site. With the Member Authentication app, you can customize the 6 pages and popups members see when they sign up, log in, and reset their password. Fine-tune the text, elements, and design, then set who can access your member pages.
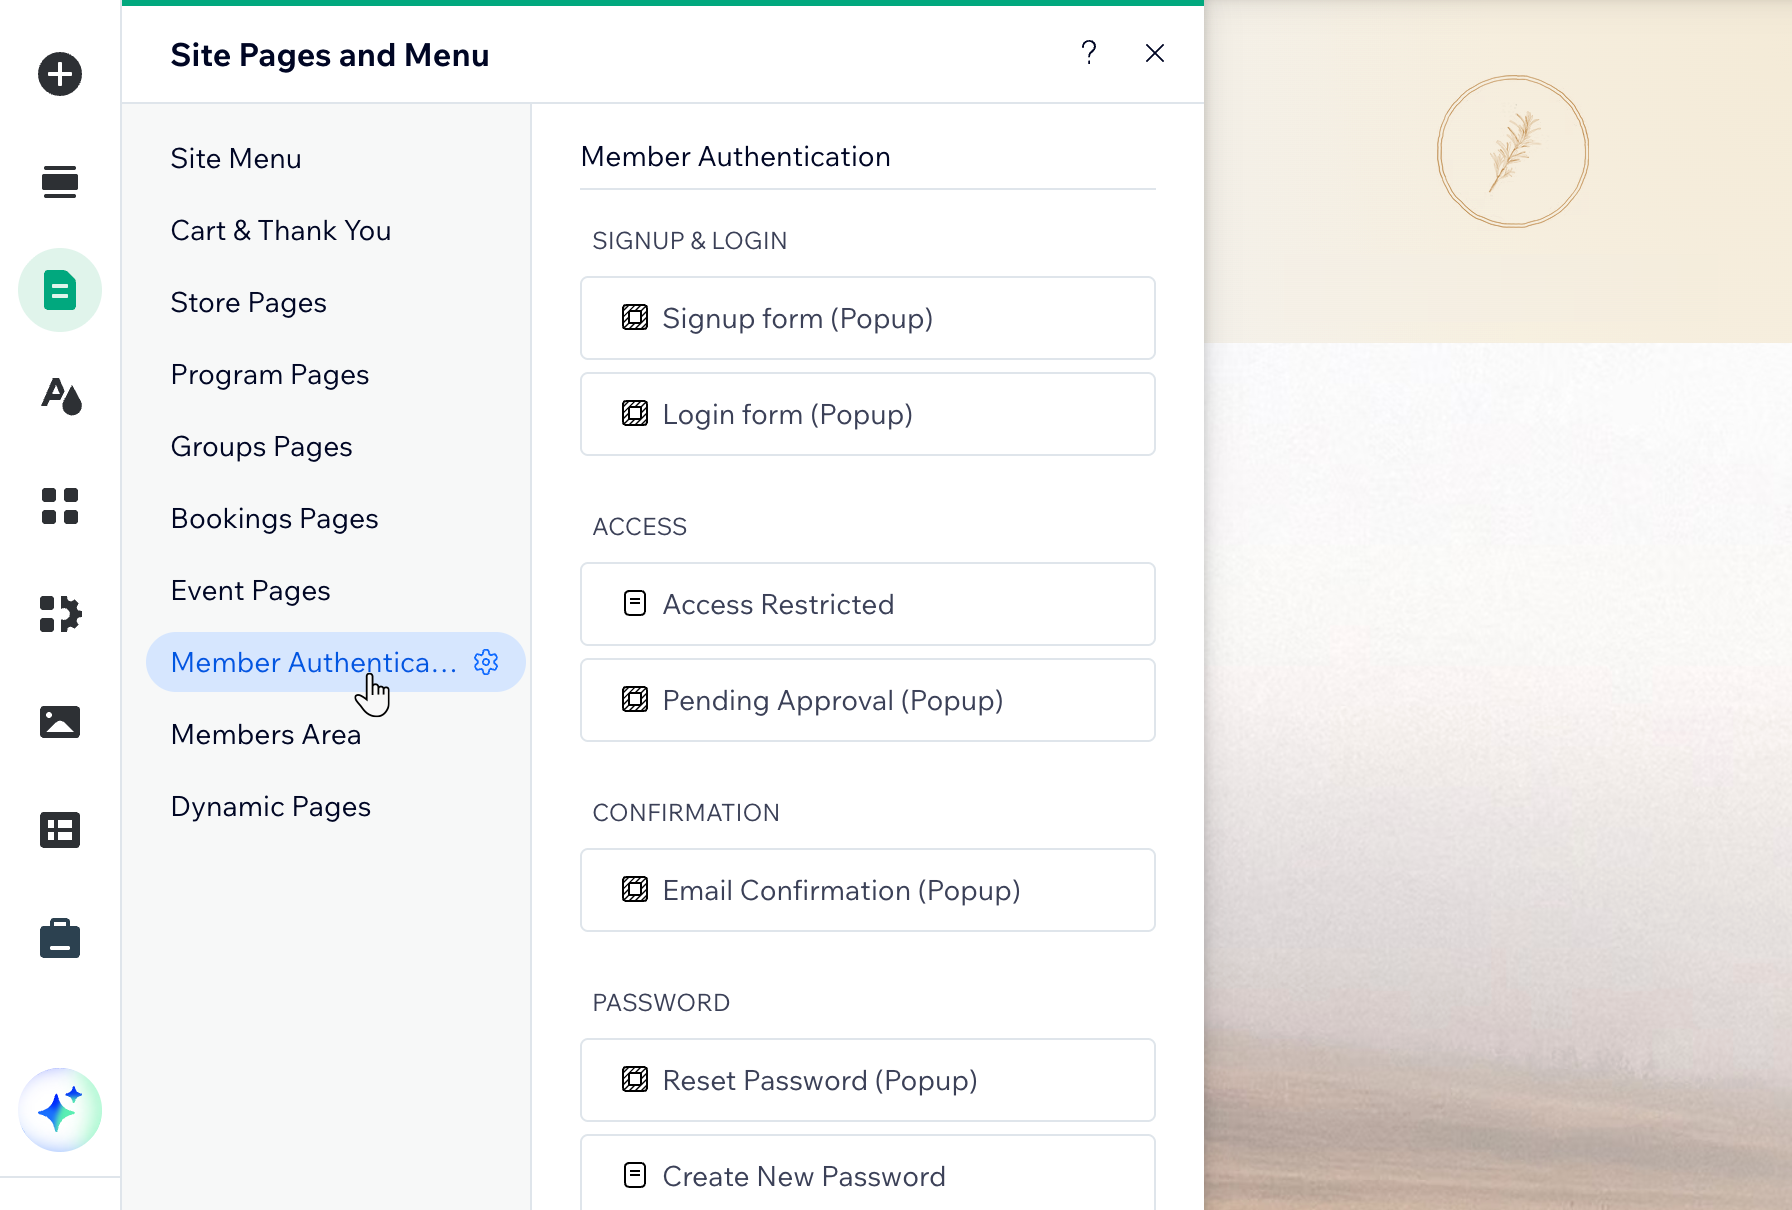
Understanding the pages and popups
Each page and popup appears at a different moment. Match the text and elements to what your members need to know at that point. Click an option below to learn more about a specific page or popup:
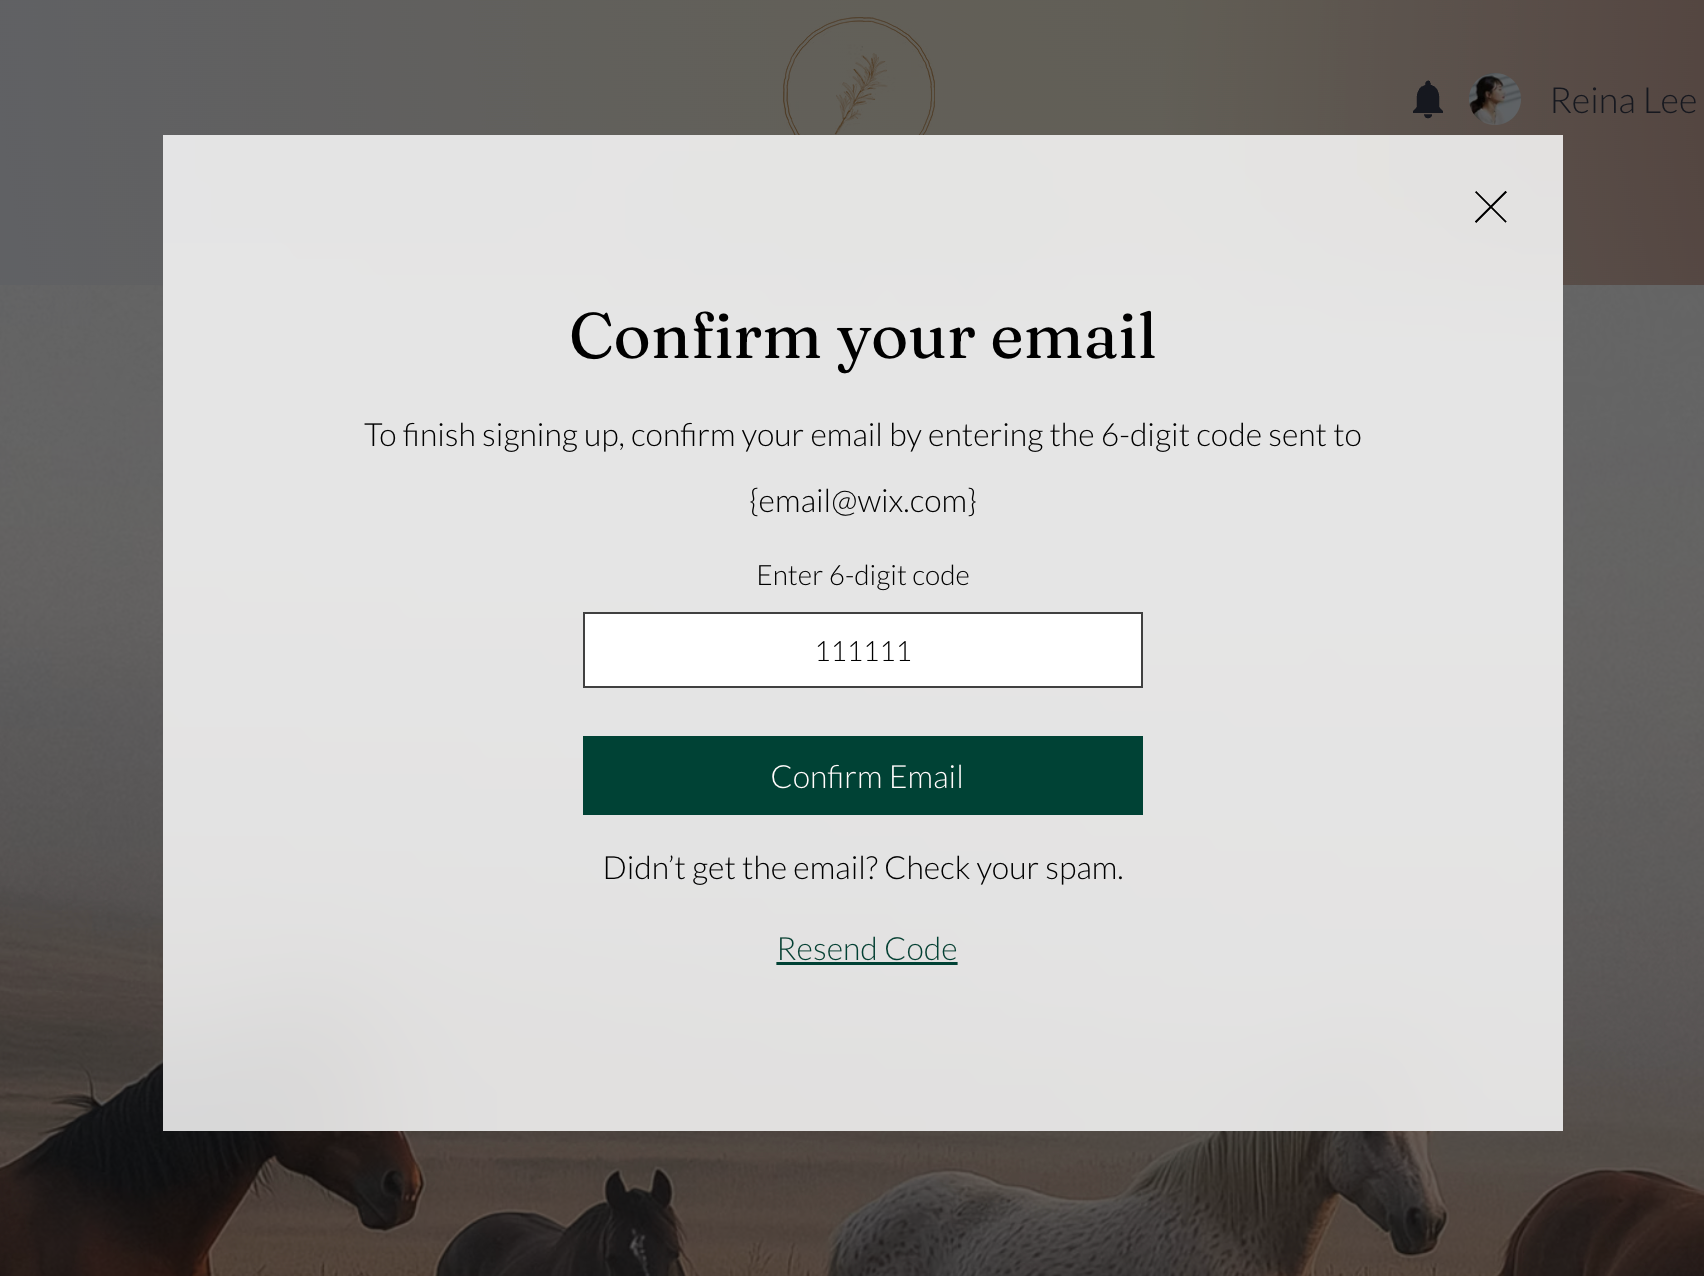
Email Confirmation (popup)
Appears when members need to verify their email address after signing up. This popup only shows when email confirmation is enabled.
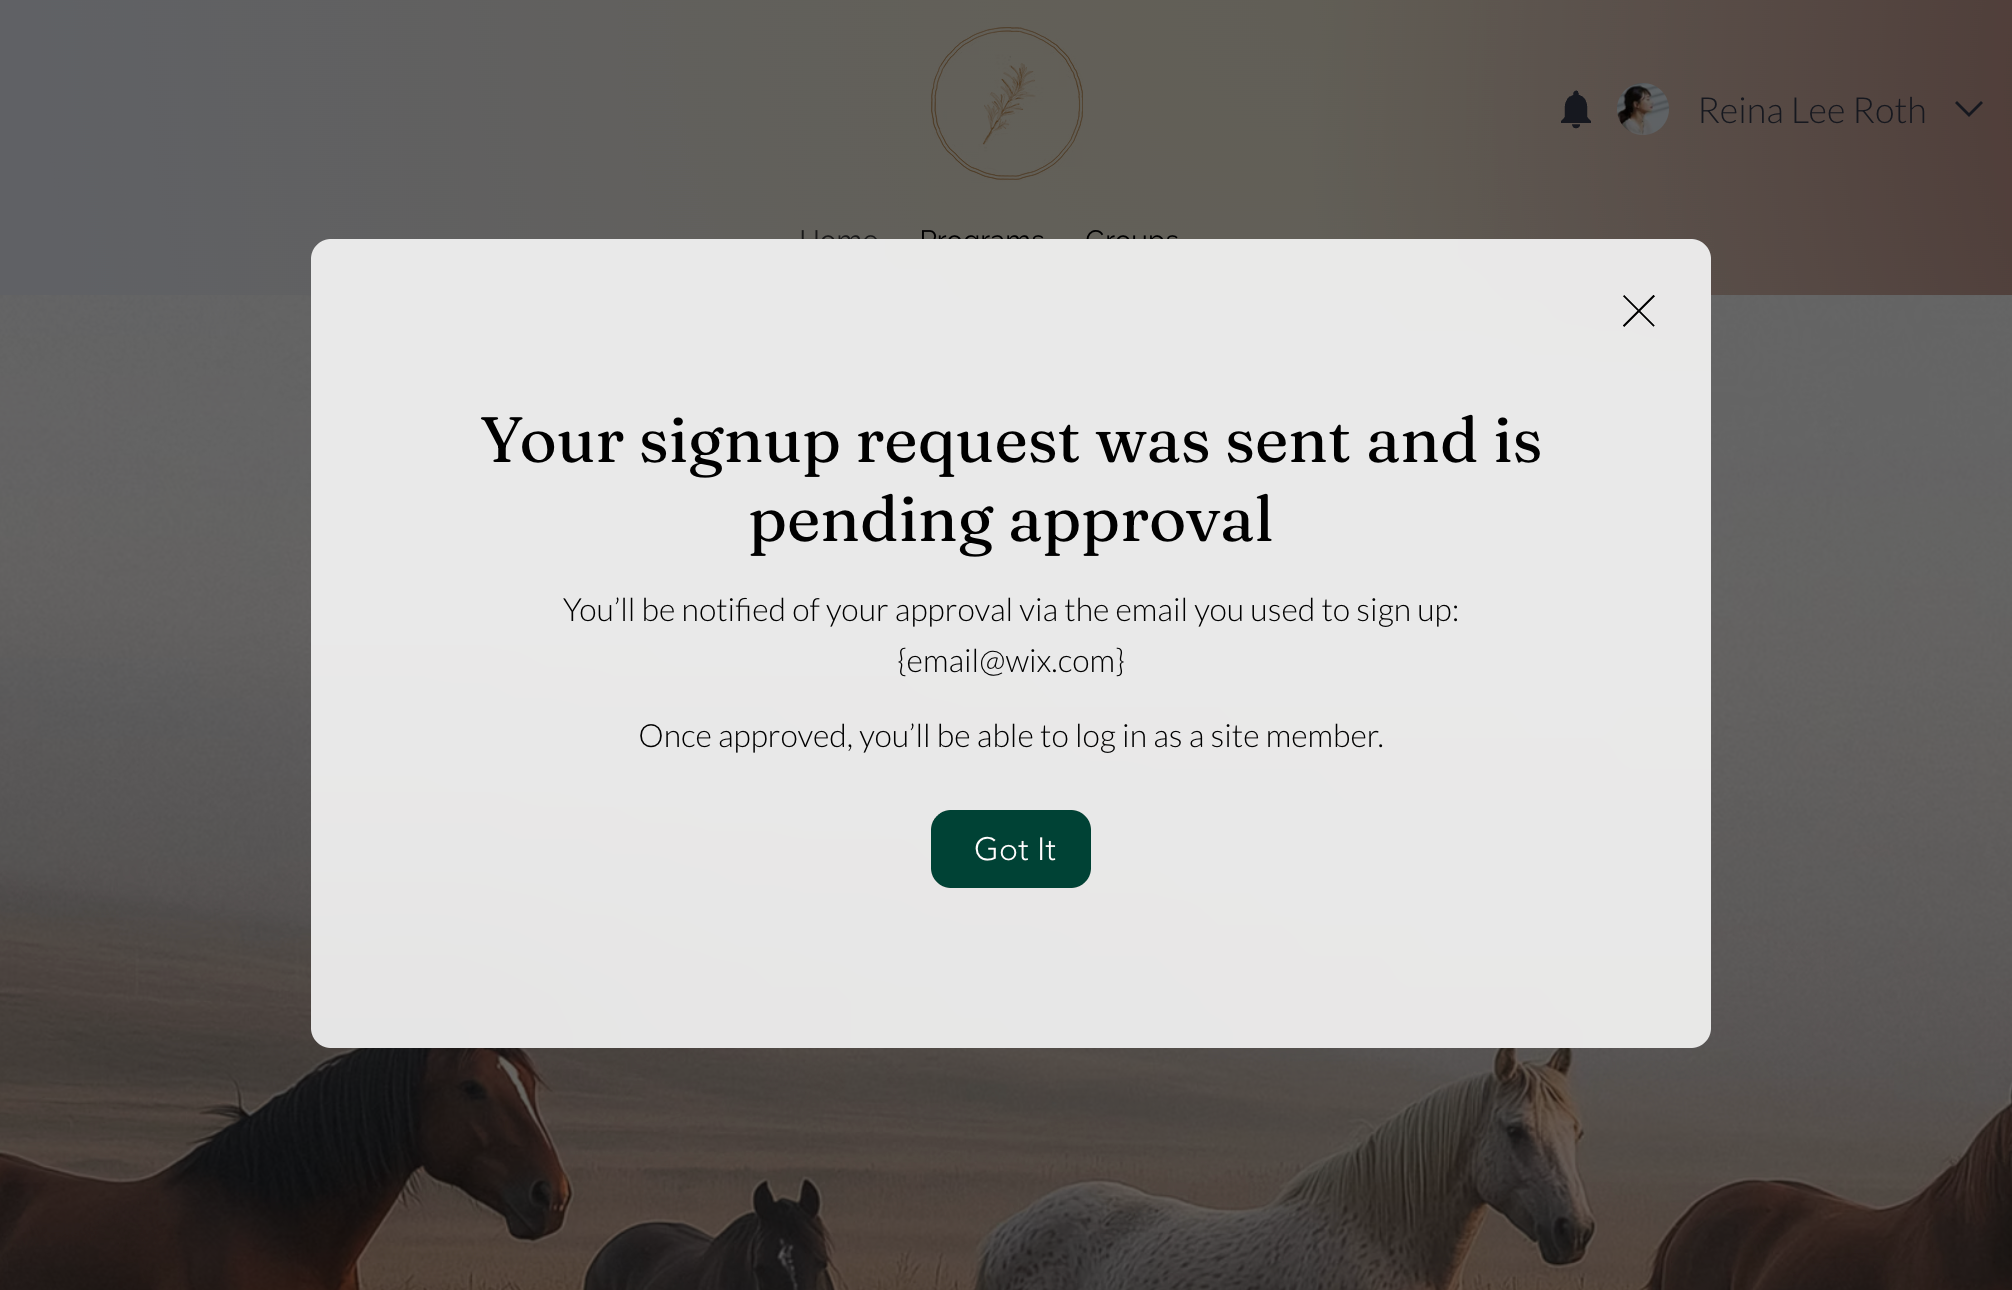
Pending Approval (popup)
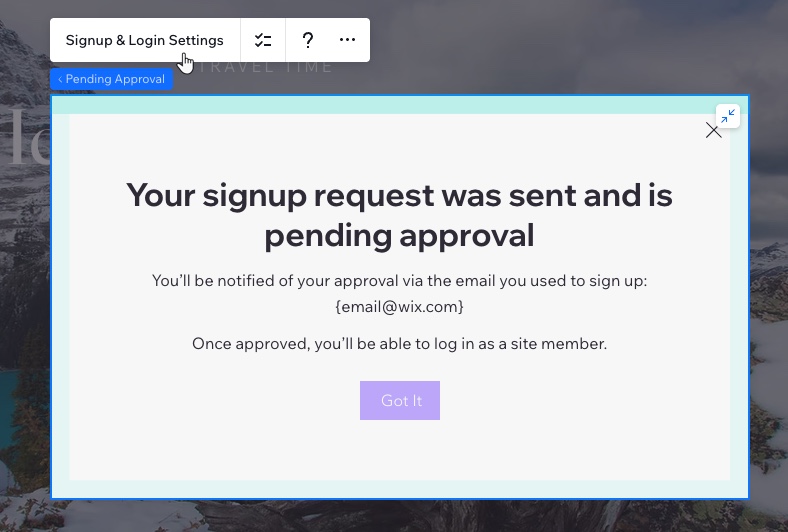
Appears when someone signs up and their request is waiting for your approval. This popup only shows when manual member approval is enabled.
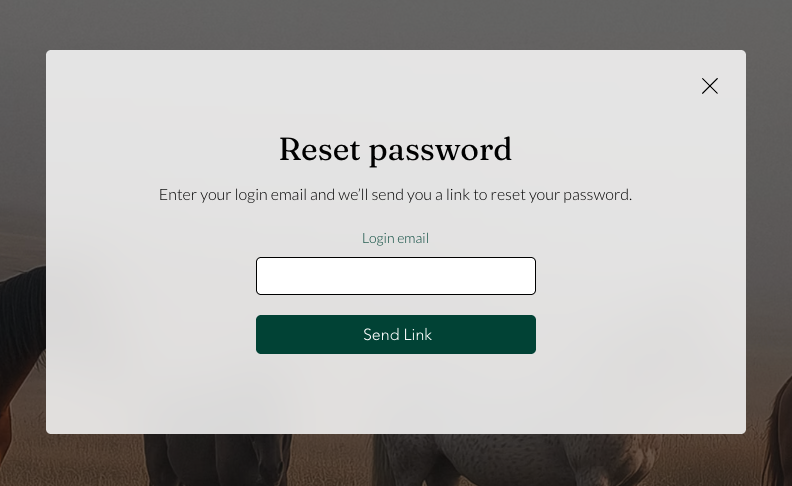
Reset Password (popup)
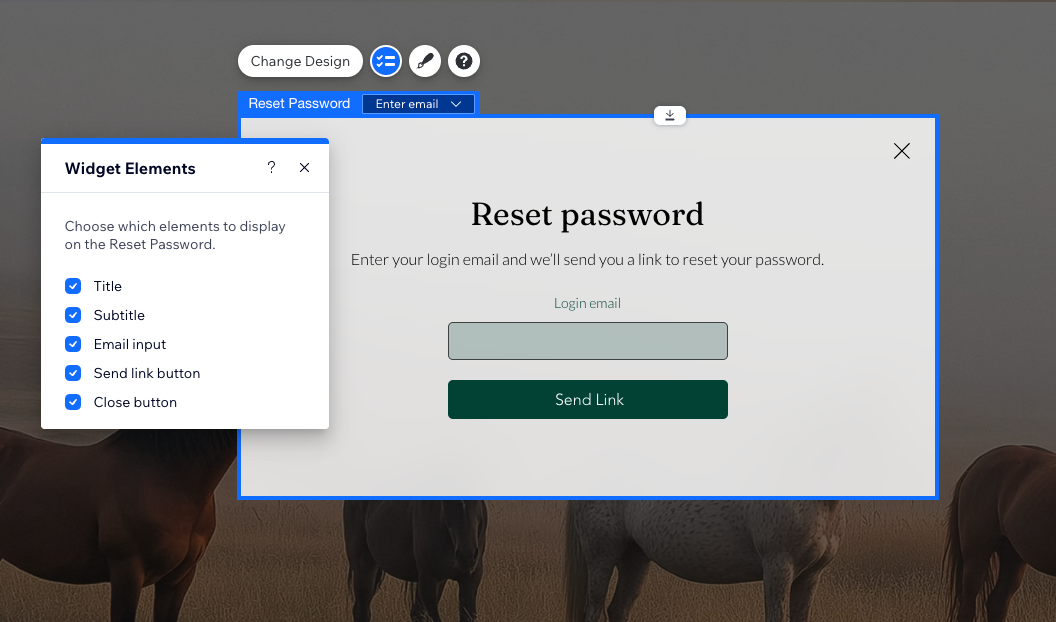
Appears when a member clicks Forgot password? on the login form.
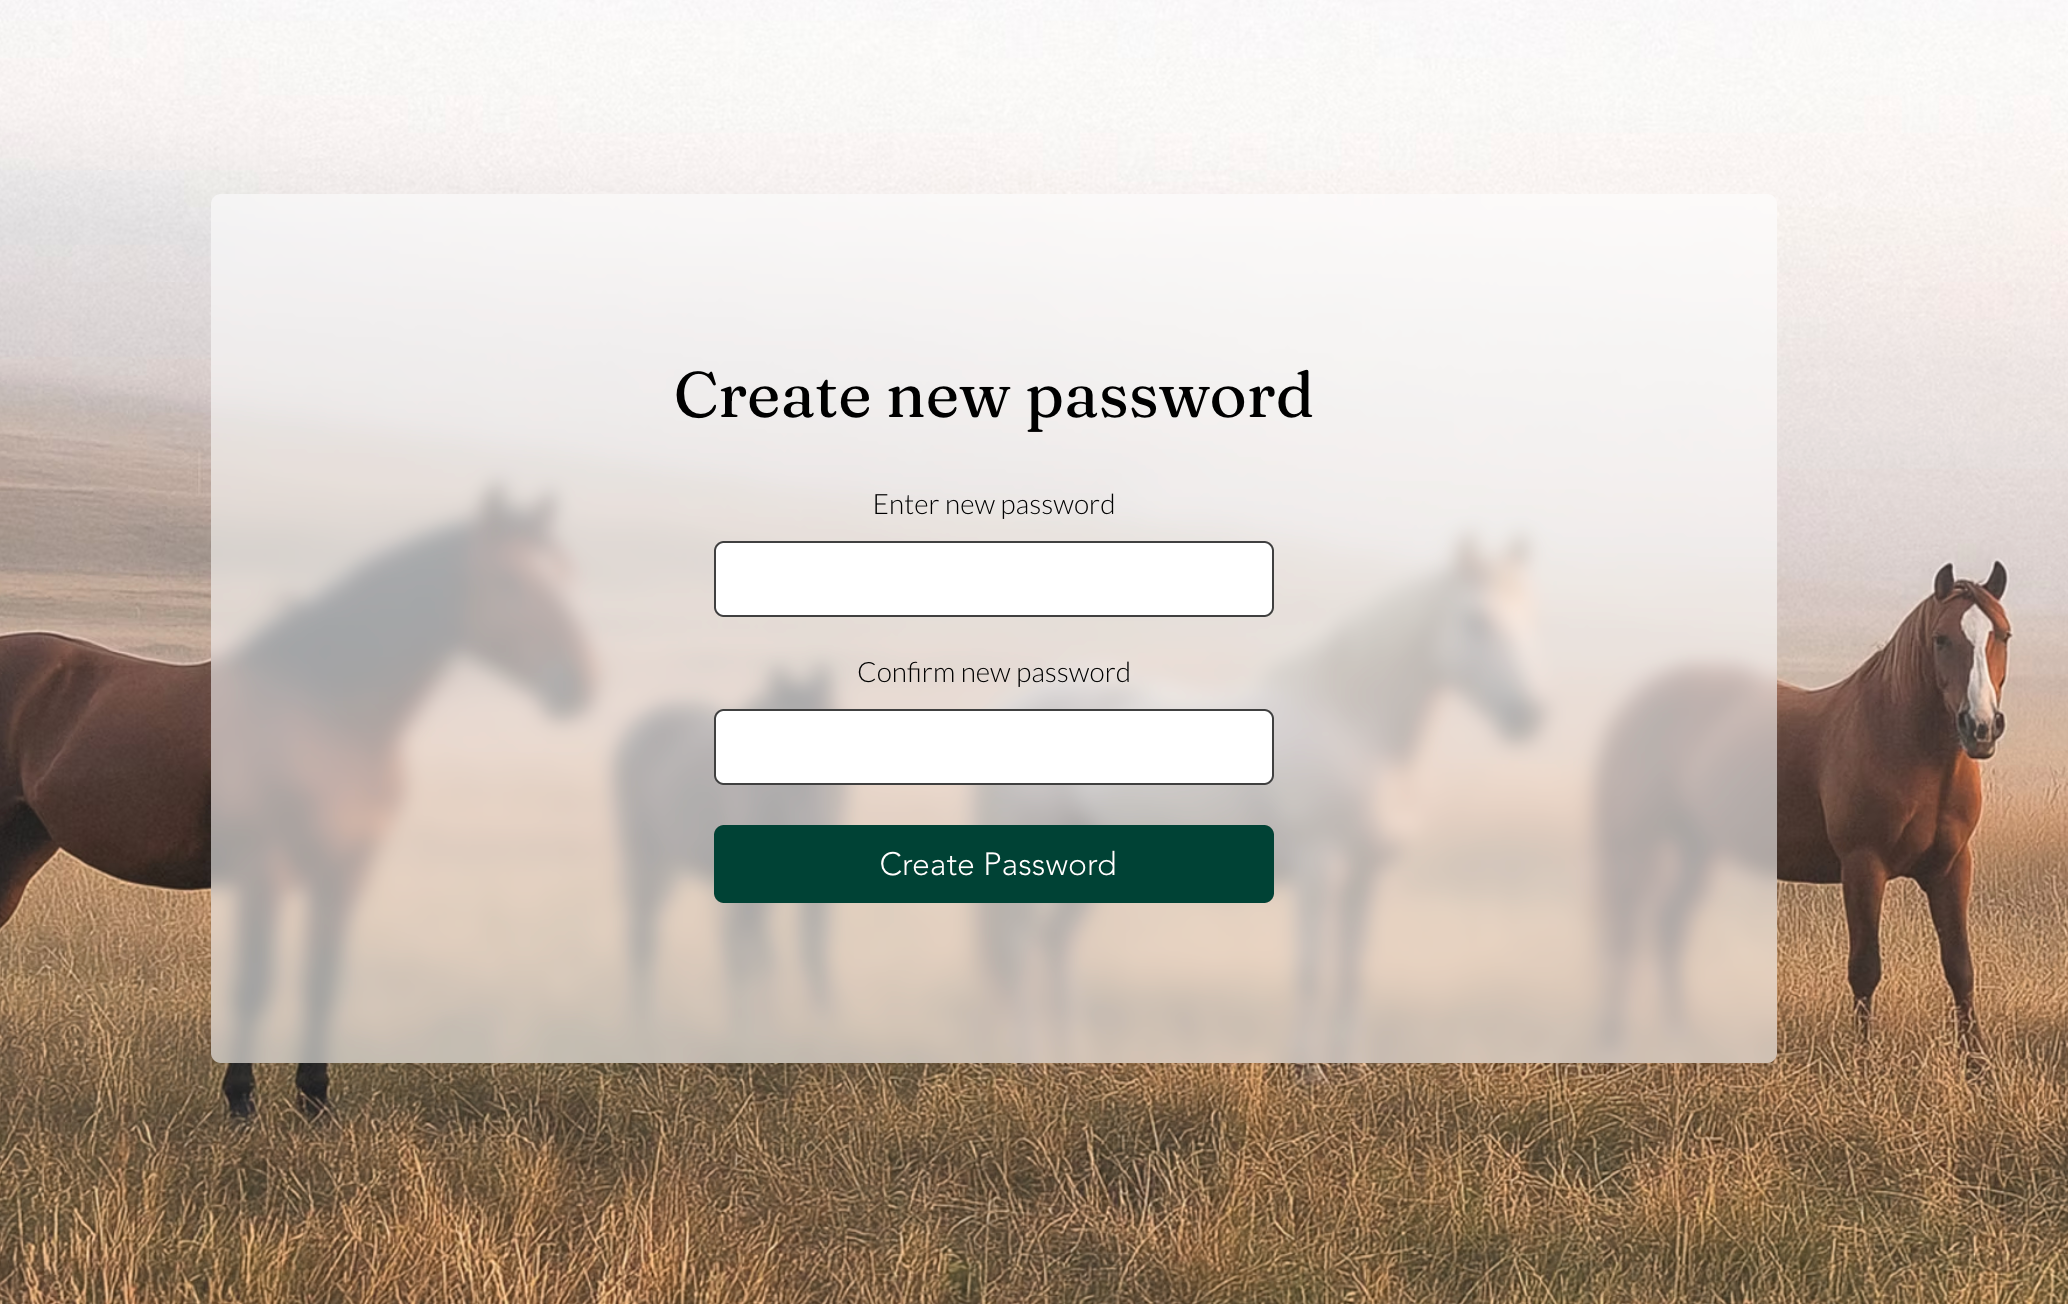
Create New Password (page)
Appears after a member clicks a password reset link in their email. Contacts you set as site members also use this page to create their first password.
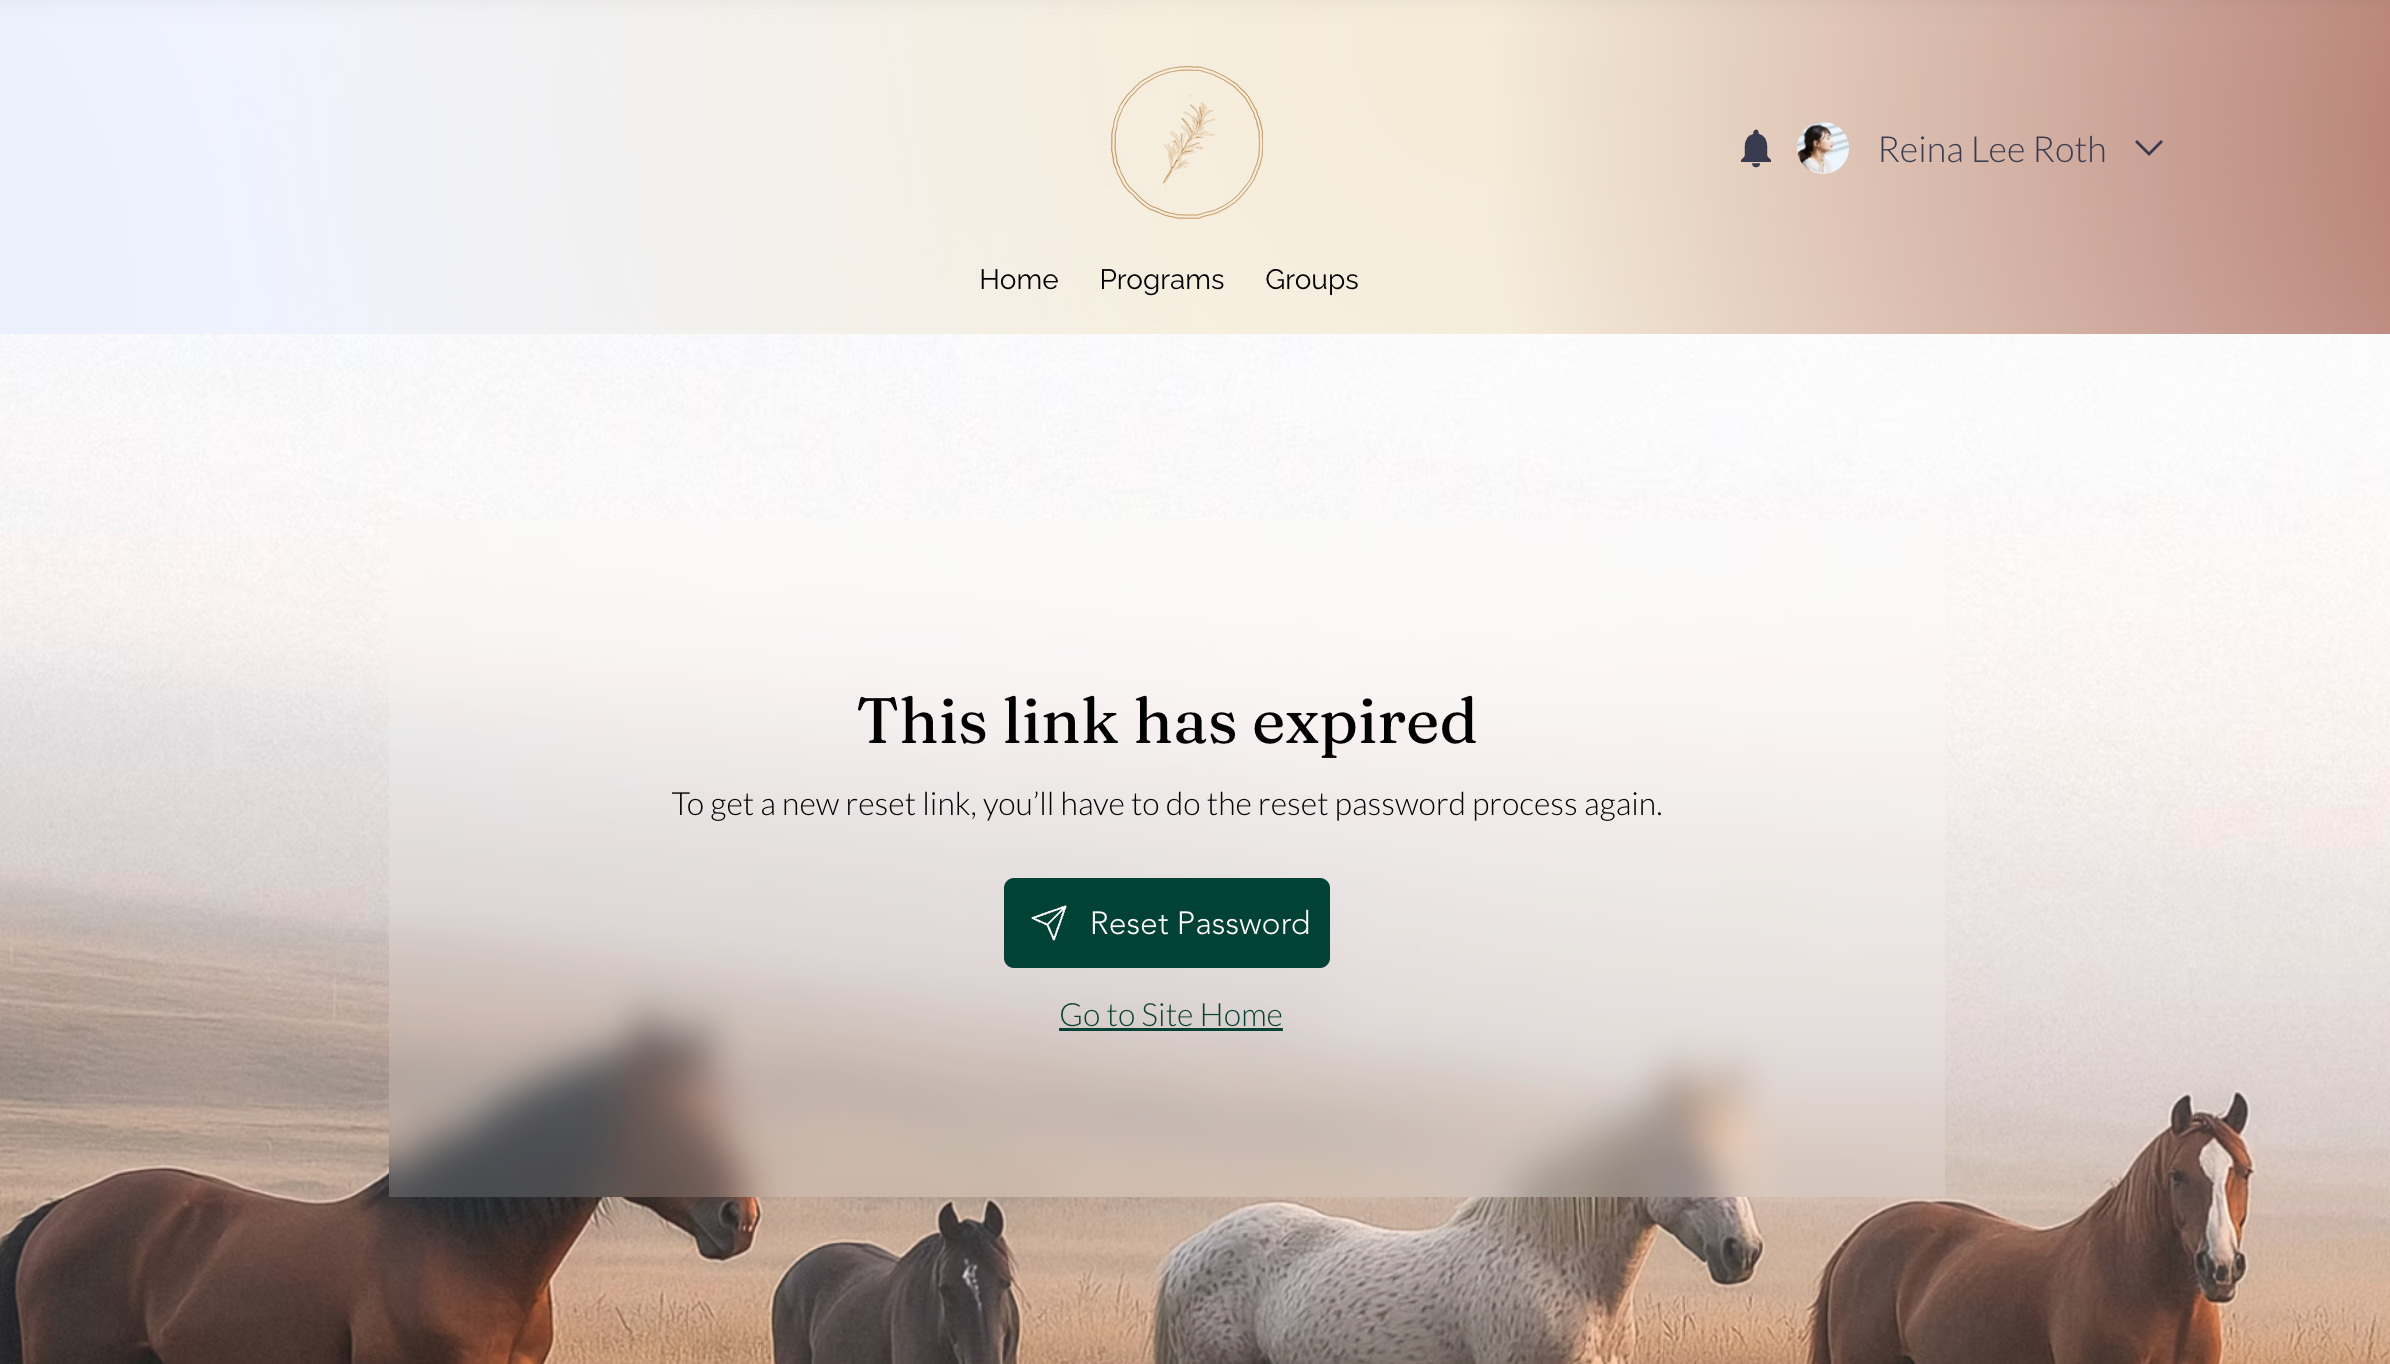
Expired Reset Link (page)
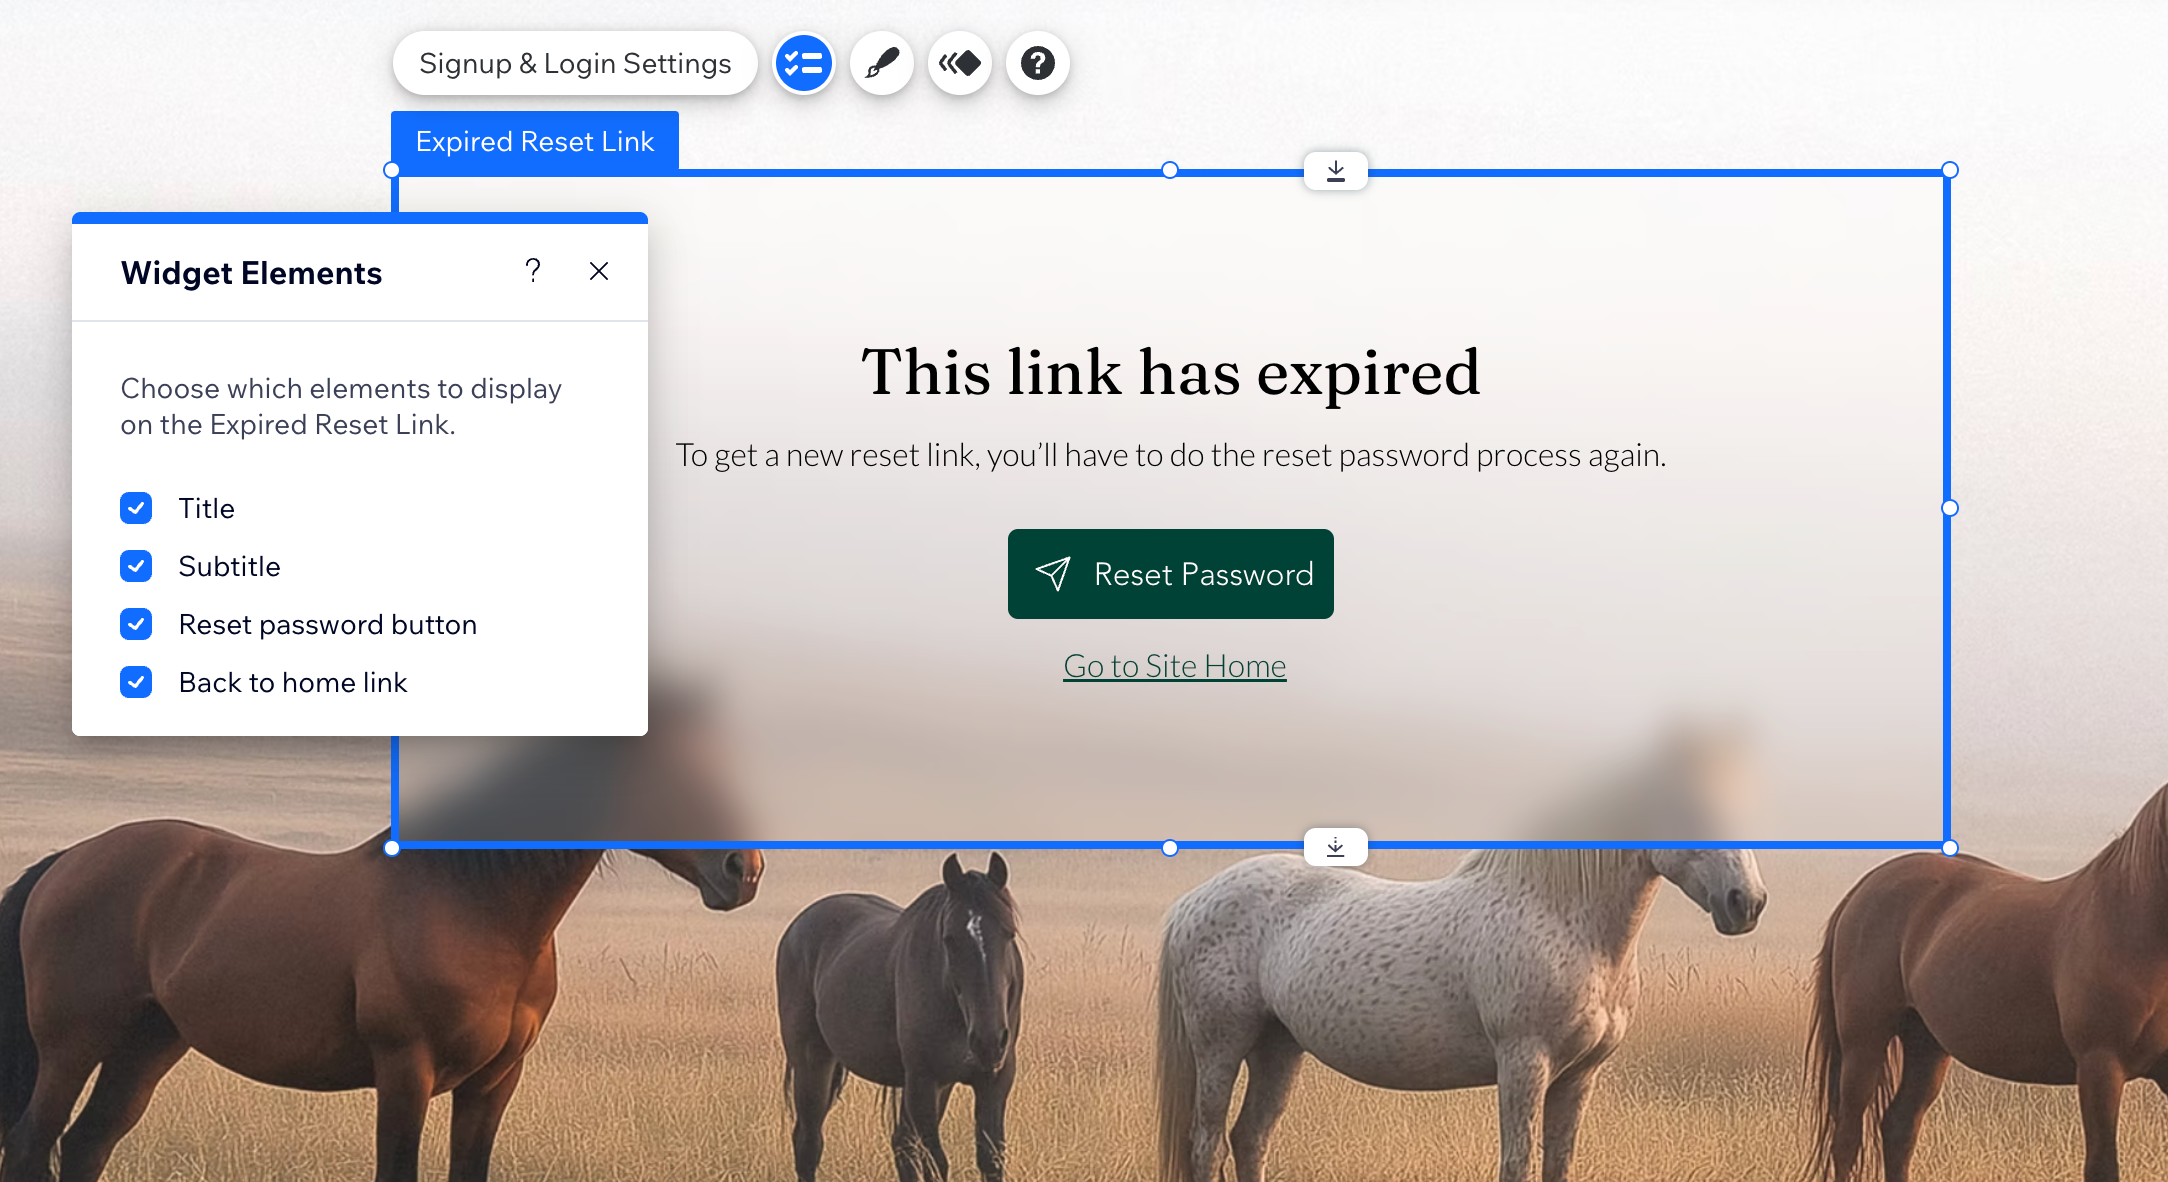
Appears when a member clicks a password reset link that is no longer valid.
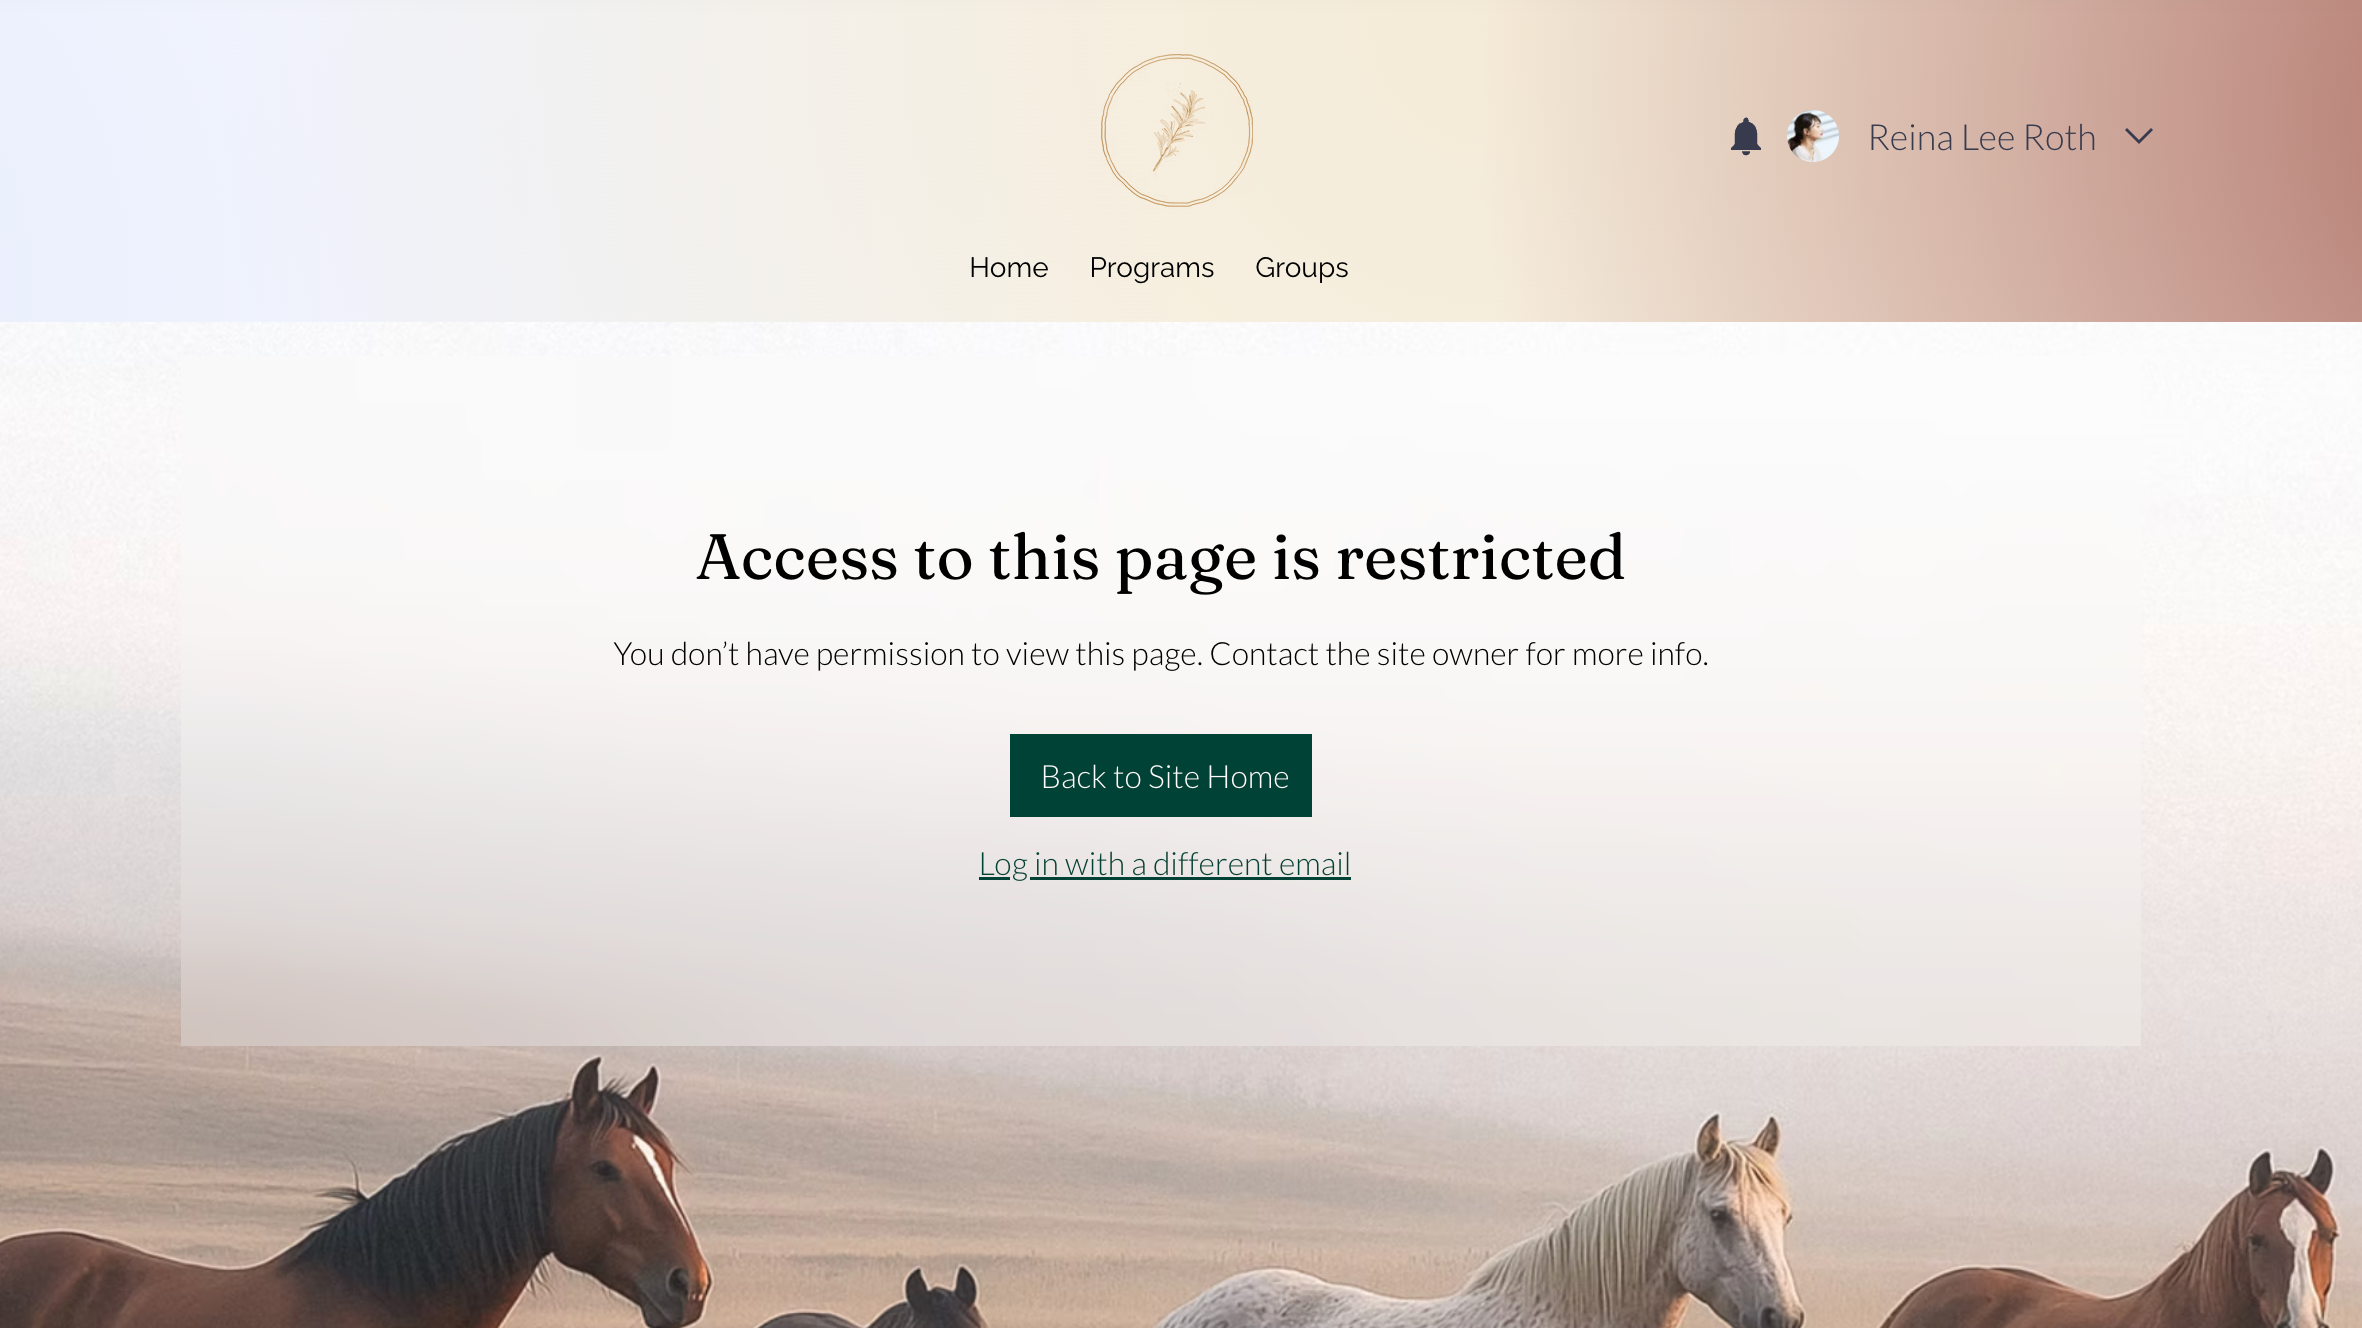
Access Restricted (page)
Appears when someone tries to open a members-only page they don't have permission to view.
Customizing a page or popup
Customize each page and popup separately from the Member Authentication section of your editor. Your changes to one don't affect the others.
Wix Editor
Click the Pages & Menu icon

on the left side of the editor.
Click Member Authentication.
Click the page or popup you want to customize.
Click the element on the page or popup.
Choose what you want to do next:
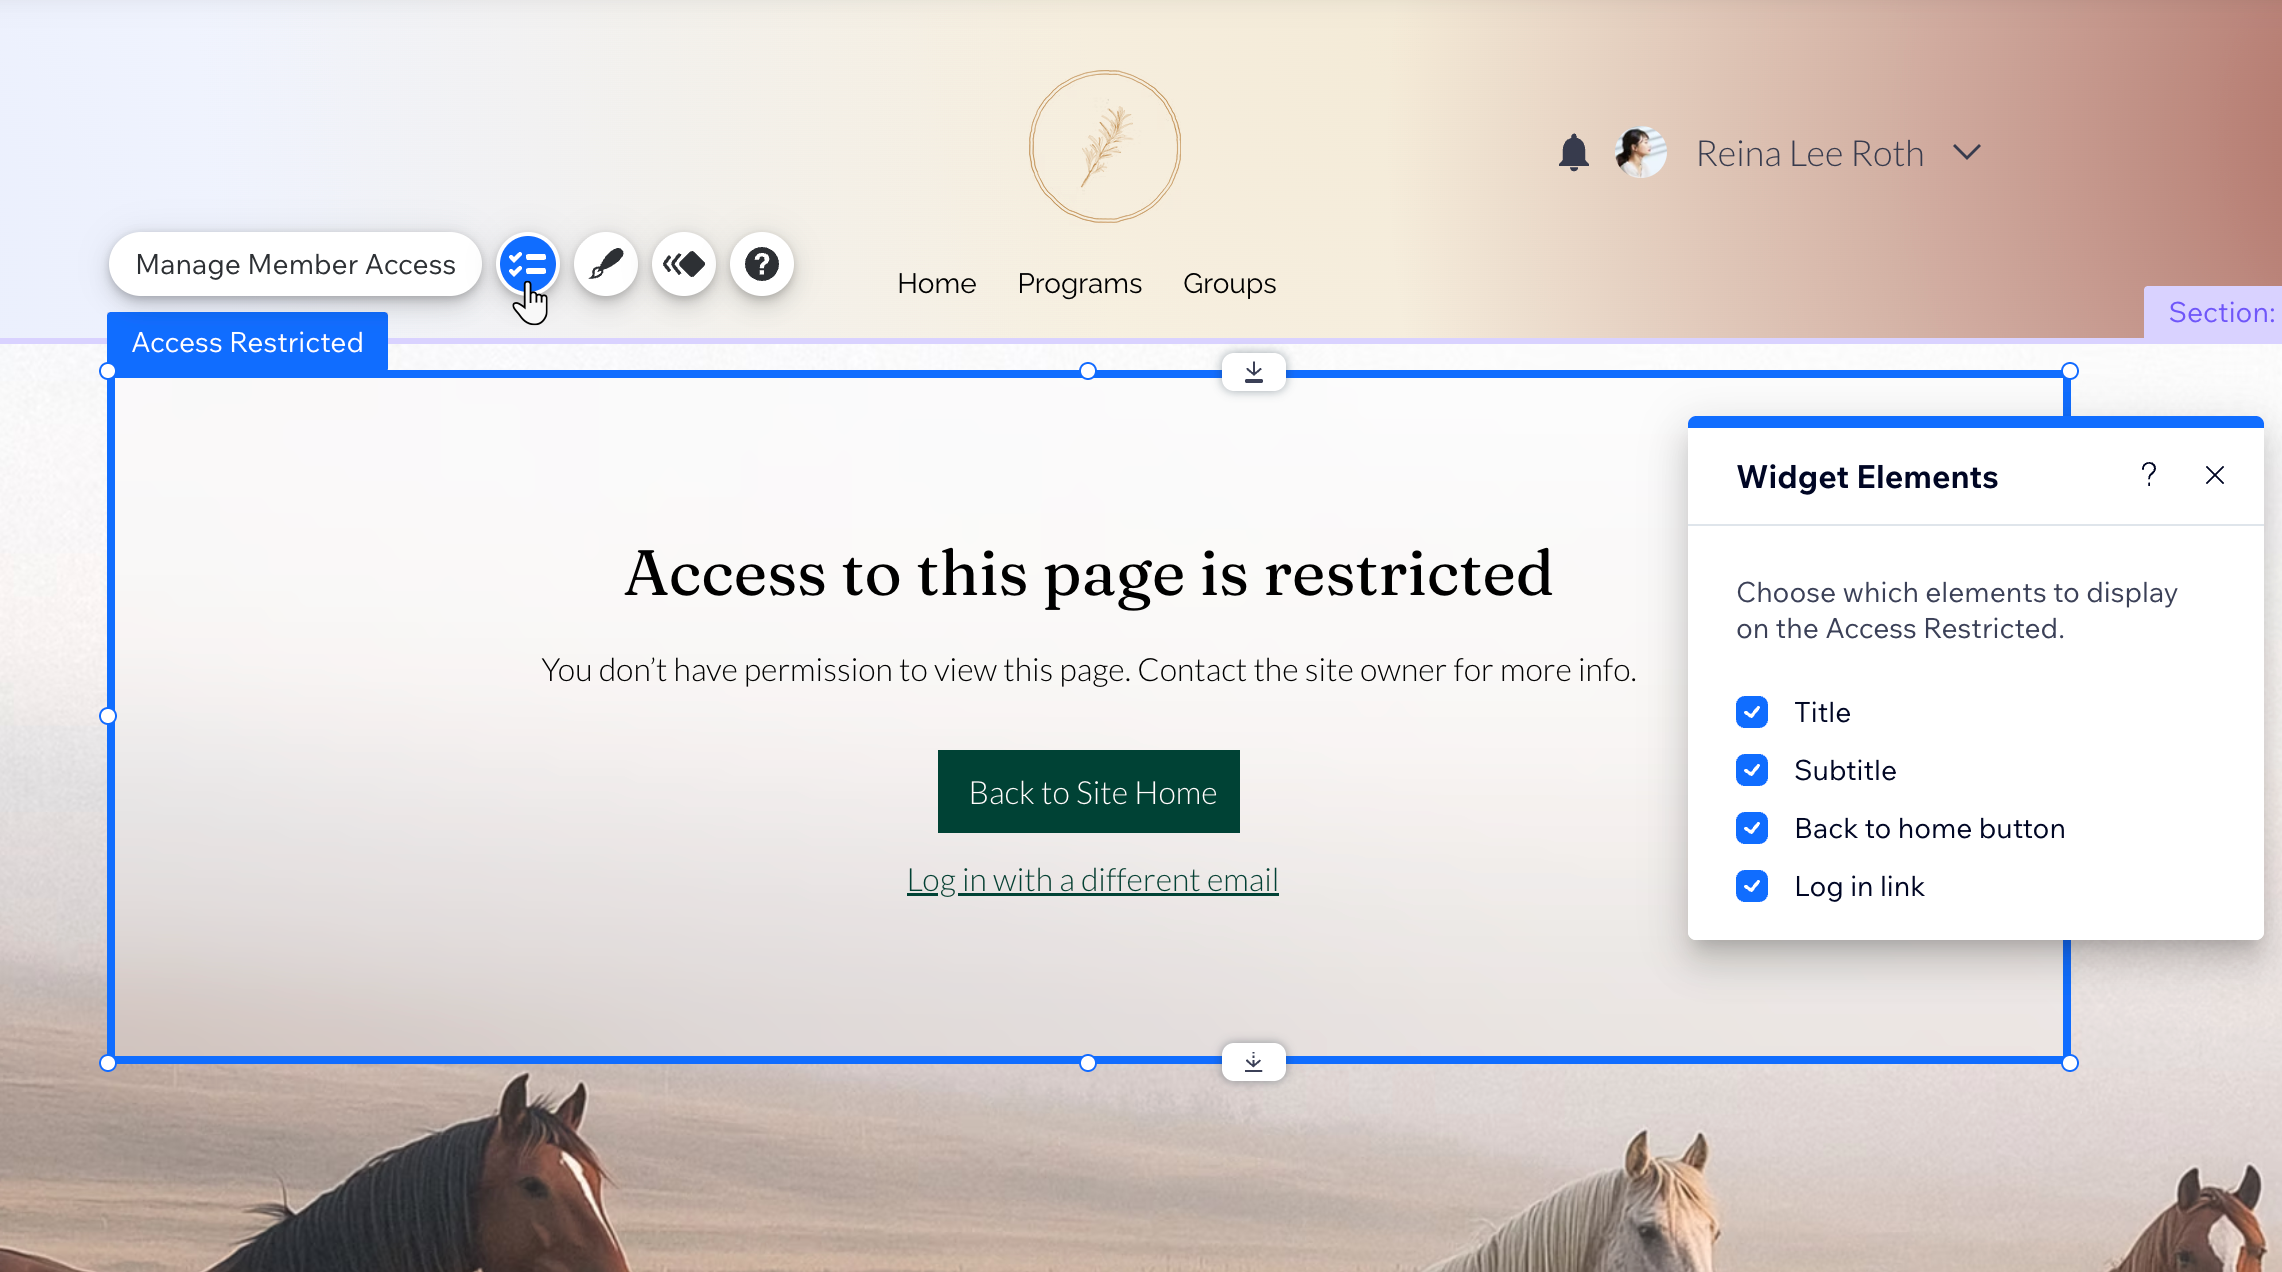
Manage displayed elements
Click the Elements icon

.
Select or deselect the elements you want to show.
Change the design
Click the Design icon

.
Select the element you want to customize.
Adjust the available design settings.
Edit the text
Click the text you want to edit on the page or popup.
Click Edit Text.
Enter your updated text.
Note: To change the text on a button or a link, click the element, click Settings, and enter your text in the Text field.
Edit the text for a specific state
Some pages and popups have several states, and each state has its own text.
To edit a state:
Click the dropdown with the page or popup name at the top.
Select the state you want to edit.
Click the text you want to edit.
Click Edit Text.
Enter your updated text.
These pages and popups have states you can edit separately:
Email Confirmation: Enter code, Submission error, Resend notification, Resend timer
Reset Password: Enter email, Reset link sent, Submission error
Create New Password: Create password, Success, Submission error
Studio Editor
Click the Pages icon

on the left side of the editor.
In the Site Pages panel, click the page or popup you want to customize under Member Authentication.
Click the element on the page or popup.
Choose what you want to do next:
Manage displayed elements
Click the Elements icon
.
Select or deselect the elements you want to show.
Change the design
Click the Design icon
.
Select the element you want to customize.
Adjust the available design settings.
Edit the text for a specific state
Some pages and popups have several states, and each state has its own text.
To edit a state:
Click the dropdown with the page or popup name at the top.
Select the state you want to edit.
Click the text you want to edit.
Click Edit Text.
Enter your updated text.
These pages and popups have states you can edit separately:
Email Confirmation: Enter code, Submission error, Resend notification, Resend timer
Reset Password: Enter email, Reset link sent, Submission error
Create New Password: Create password, Success, Submission error
Edit the text
Click the text you want to edit on the page or popup.
Click Edit Text.
Enter your updated text.
Note: To change the text on a button or a link, click the element, click Settings, and enter your text in the Text field.
Tips:
Publish your site to make your changes visible to members.
To go back to the original design, right-click the element and select Reset Widget.
Controlling who can access your member pages
Choose who can sign up to your site and who needs your approval first. You can also control which roles open your member pages. Change these settings to control when the Access Restricted page and the Pending Approval popup appear.
Wix Editor
Click the Pages & Menu icon
on the left side of the editor.
Click Member Authentication.
Choose what you want to manage:
Signup, login, and privacy settings
Click Email Confirmation, Pending Approval or Expired Reset Link.
Click the element on the page or popup.
Click Signup & Login Settings on the action bar.
Which roles can open your member pages
Click Access Restricted.
Click the Access Restricted element on the page.
Click Manage Member Access on the action bar.
Choose which roles can access your member pages.
Studio Editor
Click the Pages icon
on the left side of the editor.
Choose what you want to manage:
Signup, login, and privacy settings
Click Email Confirmation, Pending Approval or Expired Reset Link.
Click the element on the page or popup.
Click Signup & Login Settings on the action bar.
Which roles can open your member pages
Click Access Restricted.
Click the Access Restricted element on the page.
Click Manage Member Access on the action bar.
Choose which roles can access your member pages.
FAQs
Click a question below to learn more about customizing your Member Authentication pages and popups.
Why don't I see Member Authentication in my Pages & Menu panel?
Your site is still using the previous version of the signup and login forms. Add the Member Authentication app to your site to get these pages and popups.
Can I customize the signup and login forms too?
Yes. You can customize the signup and login forms from the same Member Authentication section of your editor.
Can I go back to my old signup form?
Yes. If you previously used a custom signup form, delete the Member Authentication app and your old form appears on your site again.
Do these pages and popups match my site's design automatically?
Yes. They use your site's colors and fonts, so you only need to change what you want to look different.
This article is credited to the Wix team - https://support.wix.com/ and we thank them for that!