Important:
Wix Mobile POS allows you to make sales from your phone while on the go. To process payments in a physical store, learn more about Wix POS Register.
You can only sell plans that have a one-time payment at a mobile POS, not plans with recurring payments.
Use your phone as a point of sale (POS) so your clients can pay for their pricing plans no matter where you are. Using the Wix App, you can add clients to plans and accept payments quickly.
Step 1 | Set up your account and payment settings
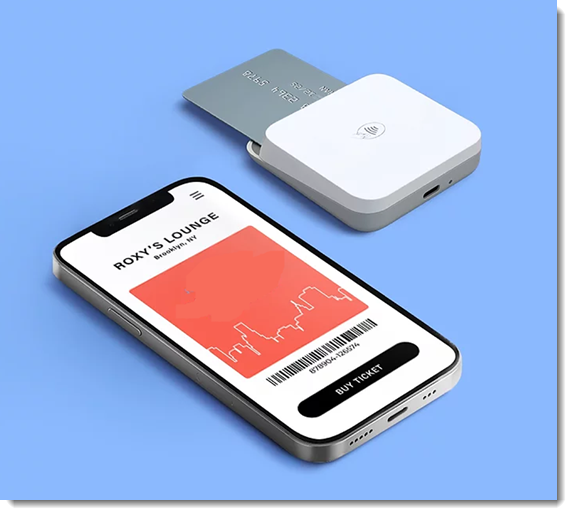
To use your mobile device as a Wix Mobile POS, you need to download the Wix app and set up your Wix Payments account. You can also order a card reader, or set up Tap to Pay on your phone to accept card payments.
Learn more about setting up a mobile point of sale.
Step 2 | Sell pricing plans using the Wix app
Now you can start using your phone as a point of sale for your pricing plans. This makes it easy to add new members to your plans at roadshows, exhibitions, or other events.
To sell your pricing plans using the Wix App:
Go to your site in the Wix app.
Tap Manage

at the bottom.
Tap Pricing Plans, or tap Catalog and select Pricing Plans.
Tap the More Actions icon

at the top.
Tap Sell a pricing plan.
Add a client to the sale using one of the following options:
Select an existing contact.
Tap + Add new contact to create a new one.
Enter the relevant contact information.
(Optional) Select the checkbox at the bottom to invite the person to join your site.
Tap Save.
Select the relevant plan and tap Next.
Tap Collect Payment.
Choose what you want to do:
Mark a sale as paid
This option allows you to mark the sale of a pricing plan as paid. When confirming the purchase, an email is sent to the client informing them of the purchase of the plan. This method is perfect if, for example, you sell a plan in person at an event and are paid in cash.
Tap Mark as paid.
Tap Next.
(In the pop-up) Tap Confirm.
Mark a sale as unpaid
Sell your pricing plan without collecting payment right away. You can collect payment later in your Orders tab by selecting the order and tapping Collect Payment at the bottom of the screen. When marking the sale as unpaid, your clients get an email informing them of the purchase of the plan, as well as providing access to the plan.
Tap Mark as unpaid.
Tap Next.
(In the pop-up) Tap Confirm.
Note:
When you later collect payment for this order you can only choose to mark the sale as paid. Other payment methods, such as paying by card, won't be available.
You can only collect partial payment on desktop via the Orders tab on your site's dashboard.
Accept card payment through Wix Mobile POS & Wix Payments
Notes:
Accepting credit or debit card payment with Mobile POS via Wix Payments is currently available only in the US, Canada and UK. If you are located elsewhere, learn more about collecting card payment with Wix Mobile POS via Square or via SumUp.
This method is not available for recurring plans.
Tap Card.
Select a payment option:
Card reader: Let customer swipe, insert, or tap the customer's credit card.
Tap to Pay: Let customer tap their card or phone.
(Optional) Tap Add a note at the top right to record details about the sale.
Note: The note can be up to 100 characters long.
(Optional) Tap Save.
(Optional) Choose how to provide a receipt:
Email a receipt:
Tap Email receipt.
Enter the customer's email address and name (optional), or tap Go to Contacts to select existing details on your contacts list.
Tap Send Receipt.
Send a text receipt: Tap Text receipt, enter the phone number and then tap Text Receipt.
Print a receipt: Tap Print receipt. If you have not set up your thermal printer, learn how to set up receipt printing for Mobile POS.
Manually enter credit card details
Important: Entering credit card details manually is the least secure way of accepting card payments. We recommend accepting manual payment only from buyers you trust. Note that in case of fraud, it is the merchant who is liable. Learn more about handling offline card payments.
Tap Manual card entry.
Enter all the credit card details and tap Confirm & Pay.
(Optional) Tap Add a note at the top right to record details about the sale
Note: The note can be up to 100 characters long.
(Optional) Tap Save.
(Optional) Choose how to provide a receipt:
Email a receipt:
Tap Email receipt.
Enter the customer's email address and name (optional), or tap Go to Contacts to select existing details on your contacts list.
Tap Send Receipt.
Send a text receipt: Tap Text receipt, enter the phone number and then tap Text Receipt.
Print a receipt: Tap Print receipt. If you have not set up your thermal printer, learn how to set up receipt printing for Mobile POS.
Notes:
Manual card payment is only available for merchants using a payment provider that allows manual card entry payments. Learn which payment providers accept payments by manual card entry.
Wix Payments processing fees for manual card entry are the same as for other card payments. Learn more about Wix Payments processing fees.
FAQs
Click a question below to learn more about using Wix Mobile POS for Pricing Plans.
Who is this service available to?
Wix Mobile POS availability depends on the payment method you wish to use:
Accepting card payments (via Bluetooth card reader or Tap to Pay) with Wix Payments as a payment provider is currently only available in the US, Canada and UK.
For users located elsewhere, card payment is available to a wider list of countries via 3rd-party solutions. Learn more about collecting card payment with Wix Mobile POS via Square or via SumUp.
Manual card entry via Wix Payments is only available in select countries. Learn more about manual card entry availability.
Marking sales as paid/unpaid is available in every country.
Are there limitations to what I can do on mobile POS?
Currently, it is not possible to do the following with Mobile POS:
Sell recurring membership plans or packages
Redeem membership plans or packages
Can I offer a refund for a payment made at a point of sale?
It's possible to process some types of refunds at a mobile POS. Others need to be processed on desktop. Learn more about refunding customers.
This article is credited to the Wix team - https://support.wix.com/ and we thank them for that!