If your business has more than one location, you can choose which branch is connected to your Wix POS Register tablet.
Wix Stores: Select your physical location. In the next step, you'll select an inventory location.
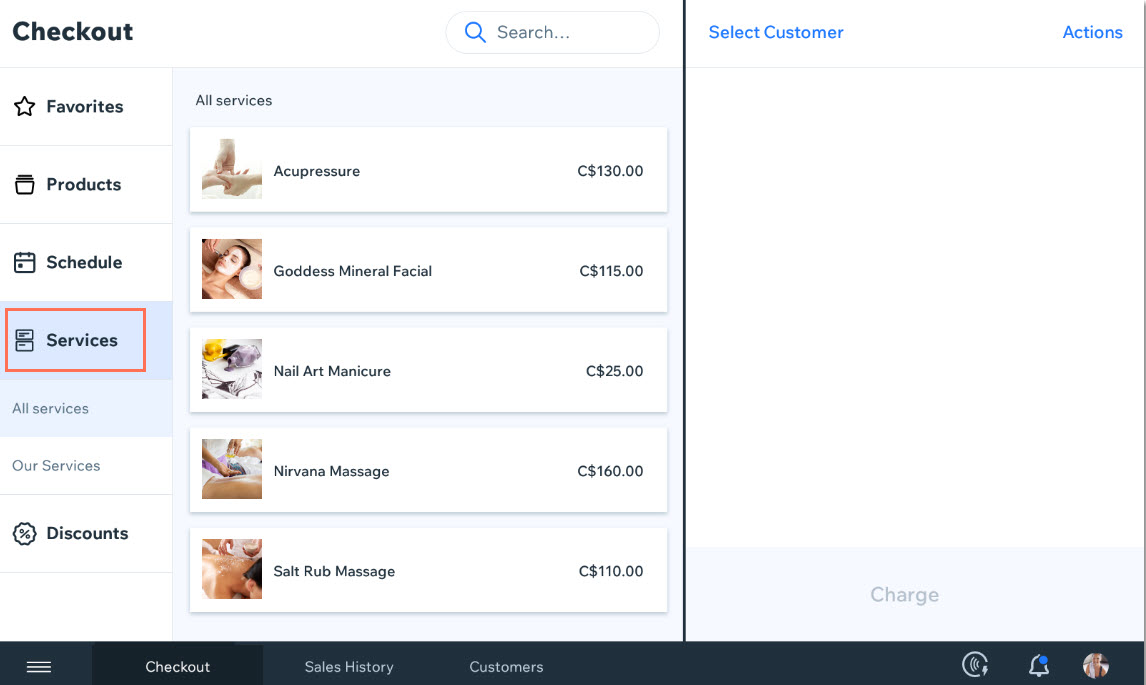
Wix Bookings: This selection determines which services are displayed in the tablet (see FAQ below for more details about what appears in the Services tab).
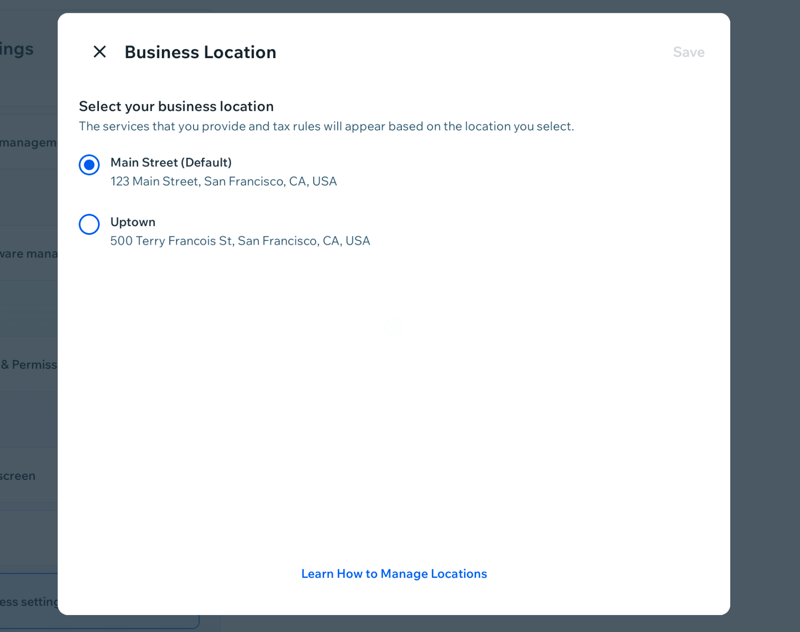
Step 1 | Select a business location
The first time you connect to the POS software, you're prompted to select where your brick-and-mortar store is located from the available locations and click Continue. You can edit your selection at any time.
Tip:
If you don't see your location, go to Business Info in the Wix dashboard to add it. Learn how to add locations to your business info.
To edit your business location:
How do I know if I'm using the New Wix POS or Wix POS Register?
Learn about the differences between the New Wix POS and Wix POS Register.
New Wix POS
Tap the Menu icon

.
Tap the Settings tab.
Scroll down and tap Business settings.
Tap Edit location next to your location.
Select a location and tap Save.
POS Register
Tap the Menu icon

at the bottom left.
Tap the Settings tab.
Scroll down and tap Business Info.
Tap Edit location next to your location.
Select a location and tap Save.
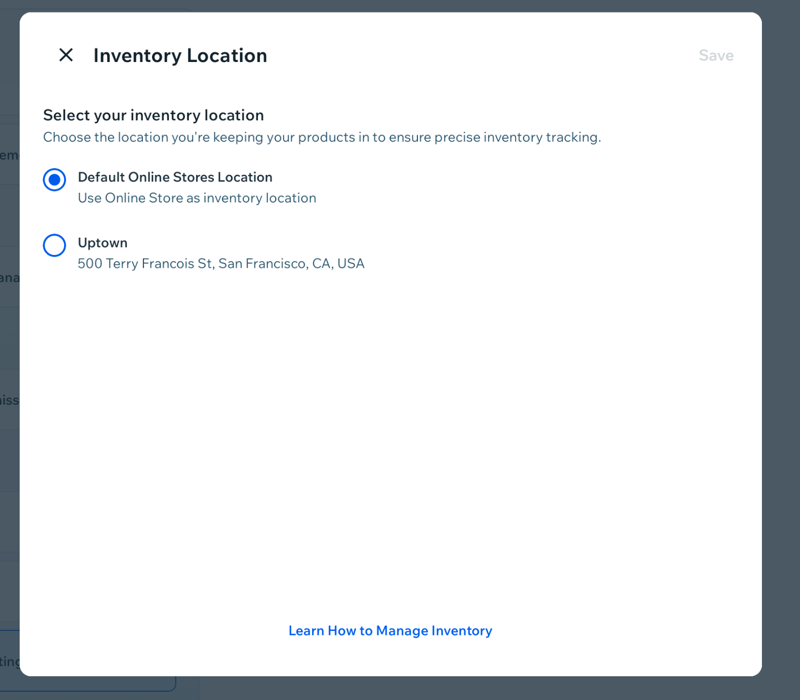
Step 2 | Select an inventory location (Wix Stores only)
Select the location where you manage inventory for your store and click Continue. This will generally be the same as your business location.
To edit your inventory location:
New Wix POS
Tap the Menu icon
.
Tap the Settings tab.
Scroll down and tap Business settings.
Tap Edit location next to your inventory location.
Select a location and tap Save.
Tip:
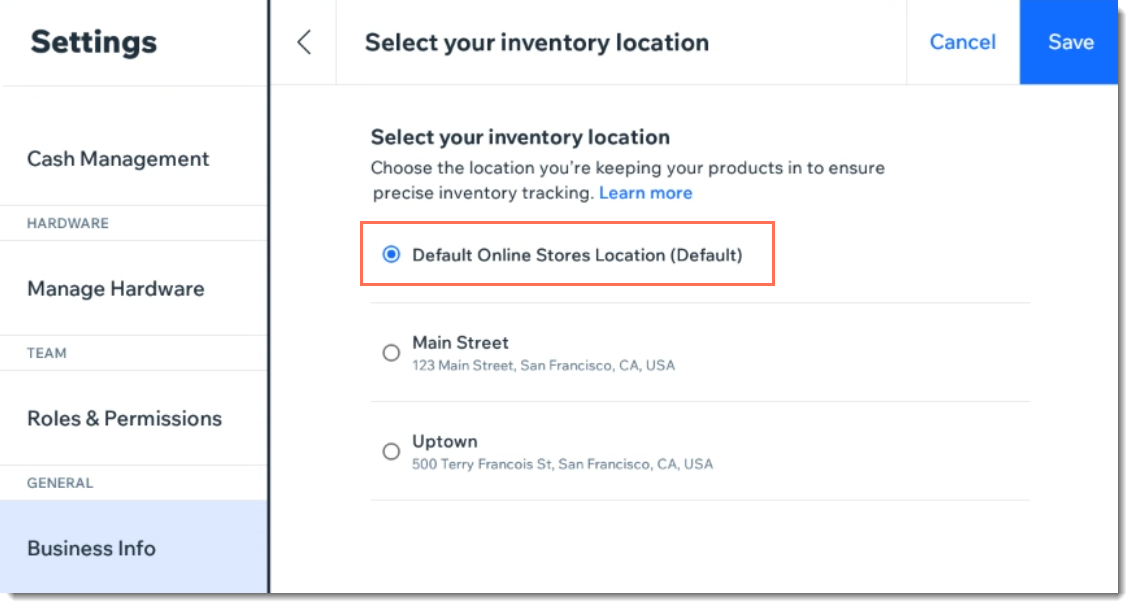
If you manage inventory together for your online store and the physical location you're currently setting up, select Default Online Stores Location.
POS Register
Tap the Menu icon
at the bottom left.
Tap the Settings tab.
Scroll down and tap Business Info.
Tap Edit location next to your inventory location.
Select a location and tap Save.
Tip:
If you manage inventory together for your online store and the physical location you're currently setting up, select Default Online Stores Location.
FAQs
Click a question below to learn more.
How can I add a new location or edit the details of an existing location?
To make changes, you need to go to your desktop. Learn more about:
For Wix Bookings, which factors limit which services appear in the Services tab?
Besides location, a number of other factors influence which services appear in the Services tab:
Only appointments appear - no classes or courses.
Services that you hide from your site do still appear in the list.
Can I assign a role to a staff member and associate it with a location for Wix Bookings?
Yes, you can create a role for a staff member and assign that role to a specific location. Learn more about assigning Wix Bookings roles to locations.
This article is credited to the Wix team - https://support.wix.com/ and we thank them for that!