Foster an online community around your business. Add people to your group to create a shared space for networking, collaboration, and discussions. Assign group admins to help monitor activity and grant members permission to create their own groups.
Managing members
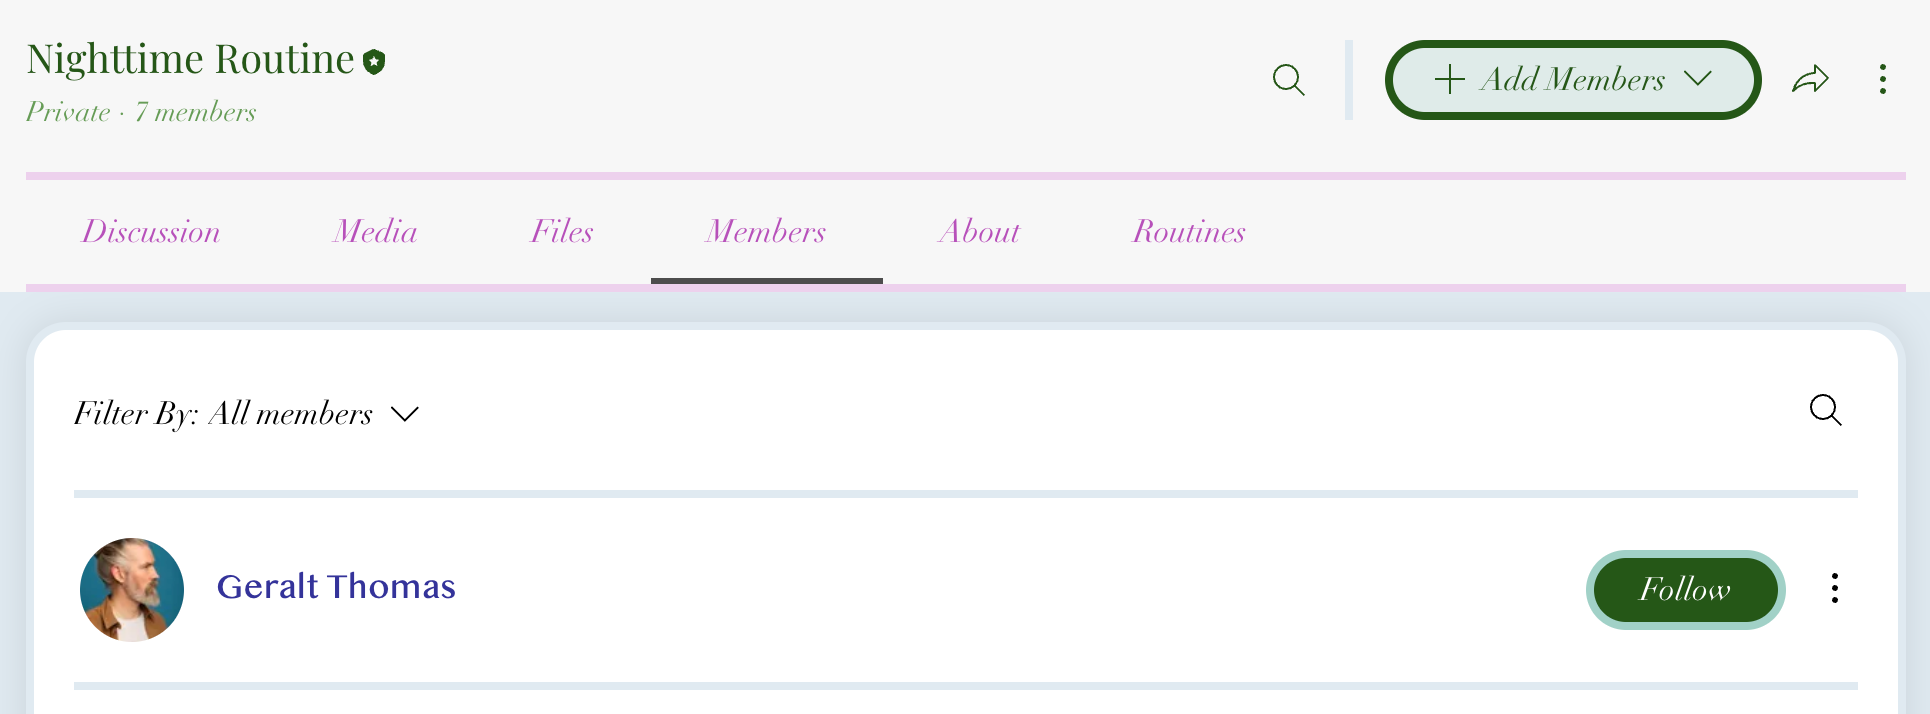
In the members tab you can add members to your group, view a member's profile, review answers to membership questions, set group members as admins, and remove members.
Dashboard
Go to Groups in your site's dashboard.
Click the relevant group.
Click the Members tab.
Choose what you want to do next:
Add members to your group
You can add members to your group in different ways. Choose the one that's relevant for you.
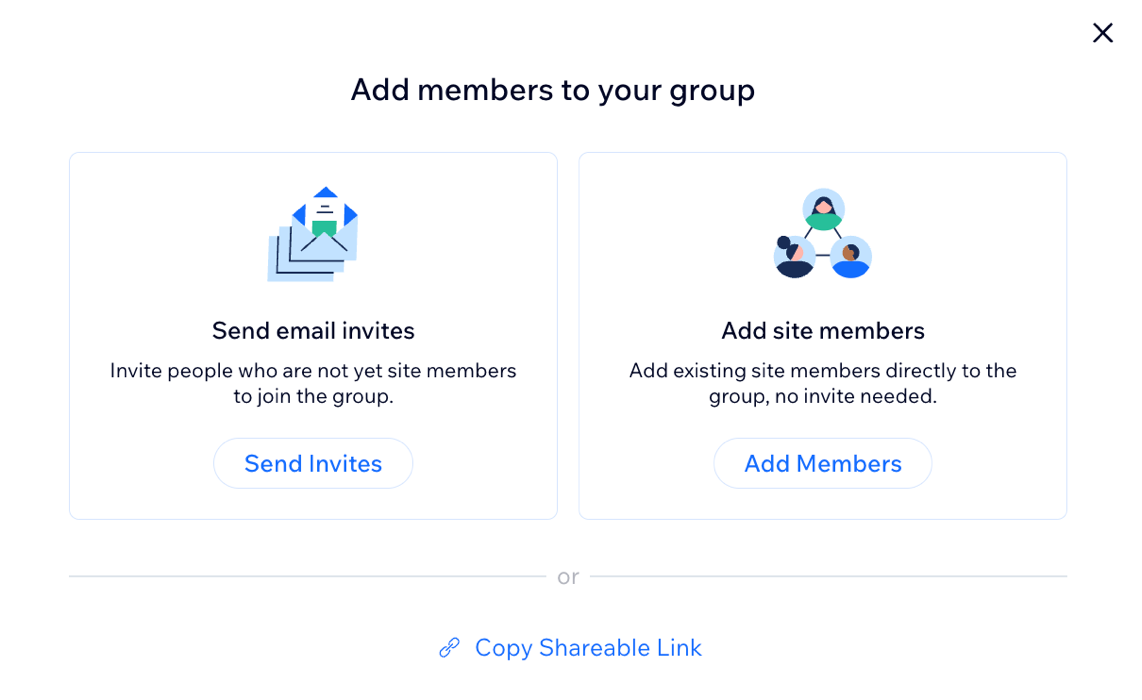
Click + Add Members on the right.
Choose how you want to add members to your group: Send email invites, add existing site members, or copy a shareable link to send.
Note: You can add public site members directly to your group. If a site member's profile is private, you can only invite them to join. They need to accept the invite themselves before joining the group.
Tip: Add your group's invite link to an email marketing campaign and send it to people you'd like to join your group.
Review answers to membership questions
If your group is set to private, when potential members want to access it, they need to request to join. You can set up membership questions to examine if you wish to approve the pending requests or not. You can also review the answers even after you approved the request.
To review membership questions for pending members:
Click View All next to Member Requests.
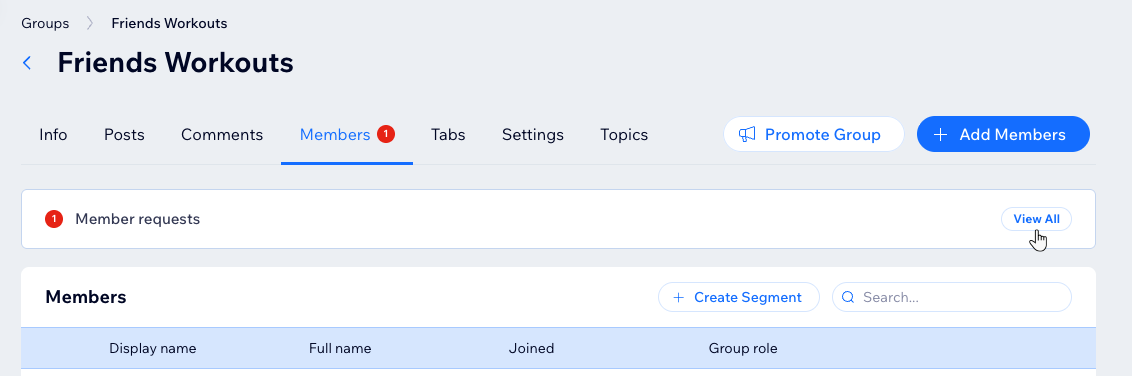
Click Review Answers next to the relevant pending member.
Review the answers then choose an option: Approve or Decline.
To review answers by existing members:
Click the More Actions icon

next to the relevant member and select View answers.
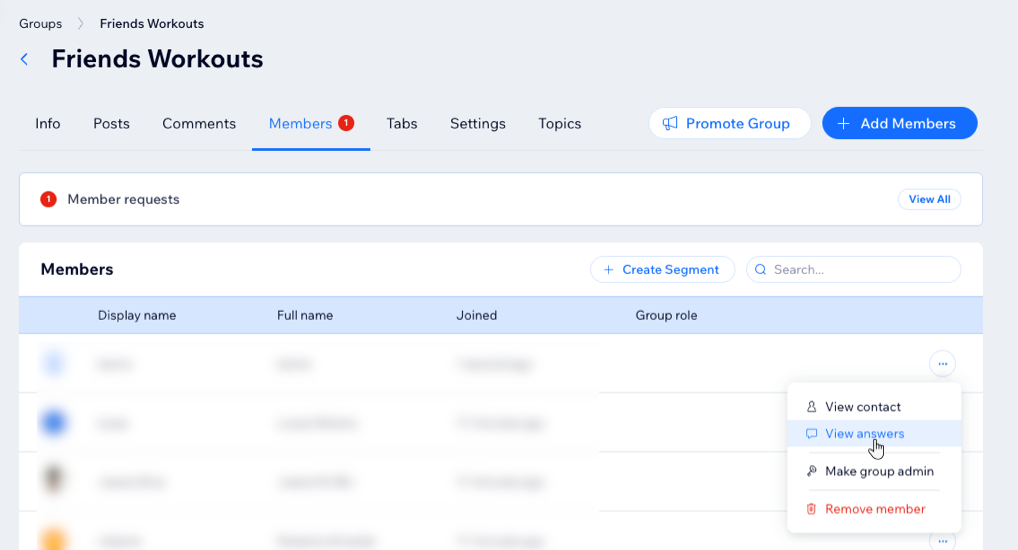
Review the answers and click Close when you're done.
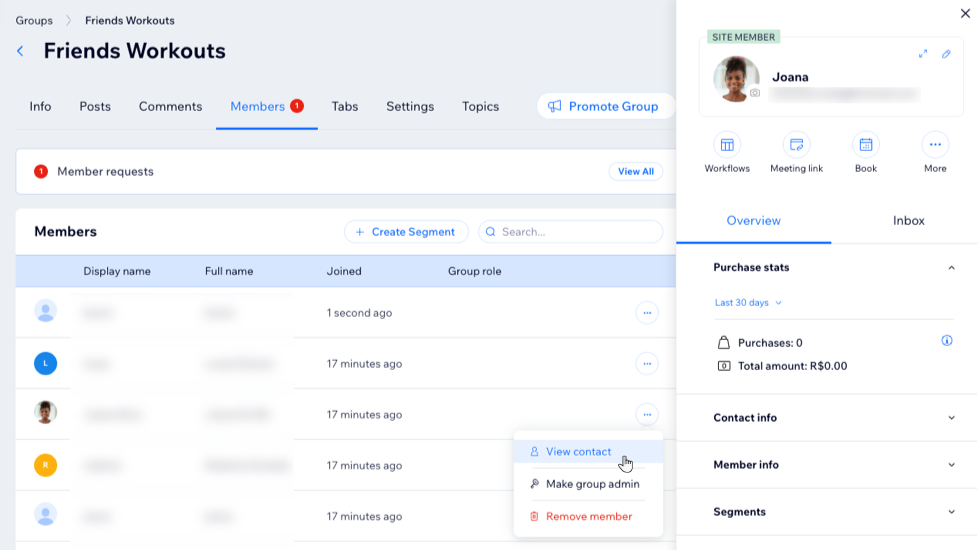
View a member's profile
You can edit a contact's information at any time to update their details or add details or custom fields that are relevant to them.
Click the More Actions icon
next to the relevant member.
Select View contact.
View and manage your contact.
Set a group member as an admin
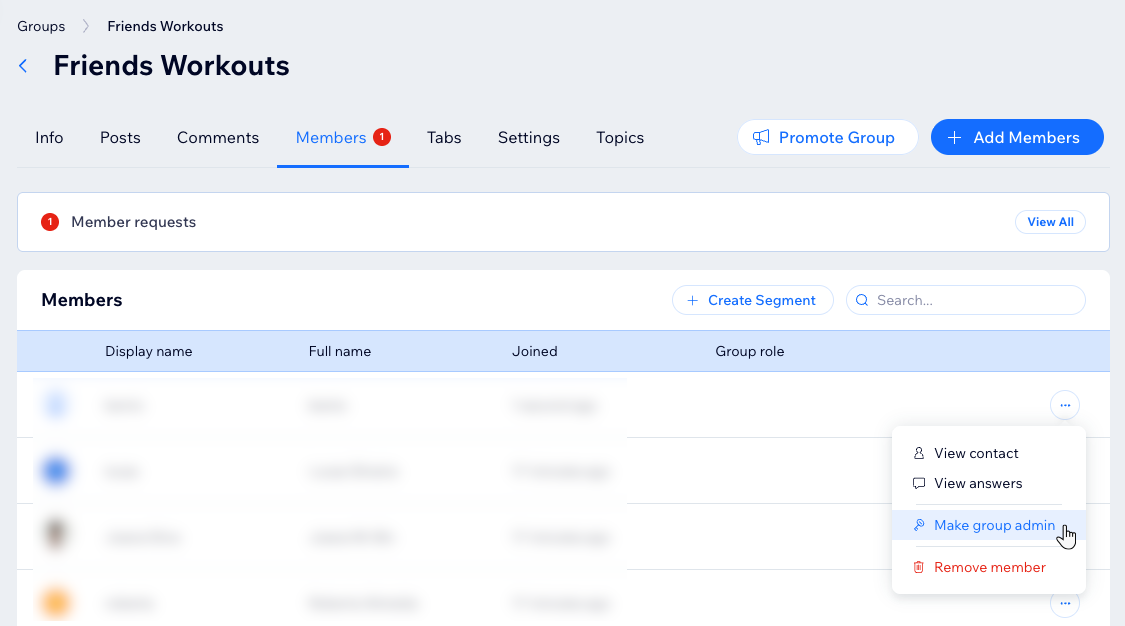
Group admins can moderate discussions, update settings, approve new member requests, remove members, and more. Group admins are not members of your site. They can make changes only through the live site. If you want someone to in make changes in your group via your site's dashboard, create a create a custom role for a group collaborator.
Click the More Actions icon
next to the relevant member and select Make group admin.
Remove a member
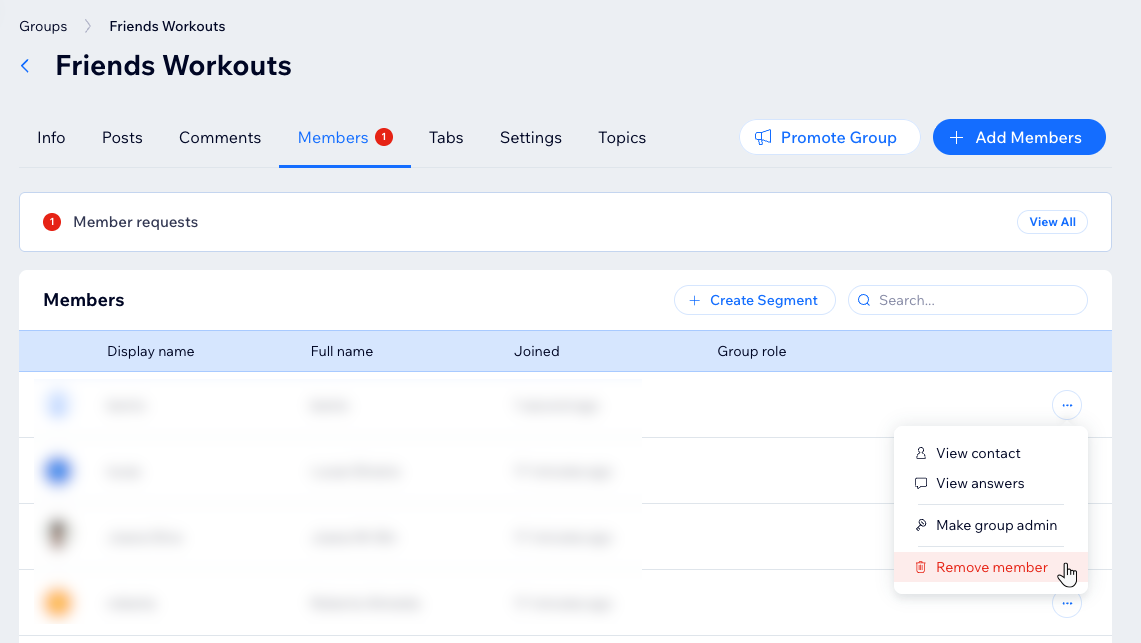
When you remove a group member, they are still members of your site. However, blocking a member means they can't access your site at all.
Click the More Actions icon
next to the relevant member and select Remove member.
Create a segment
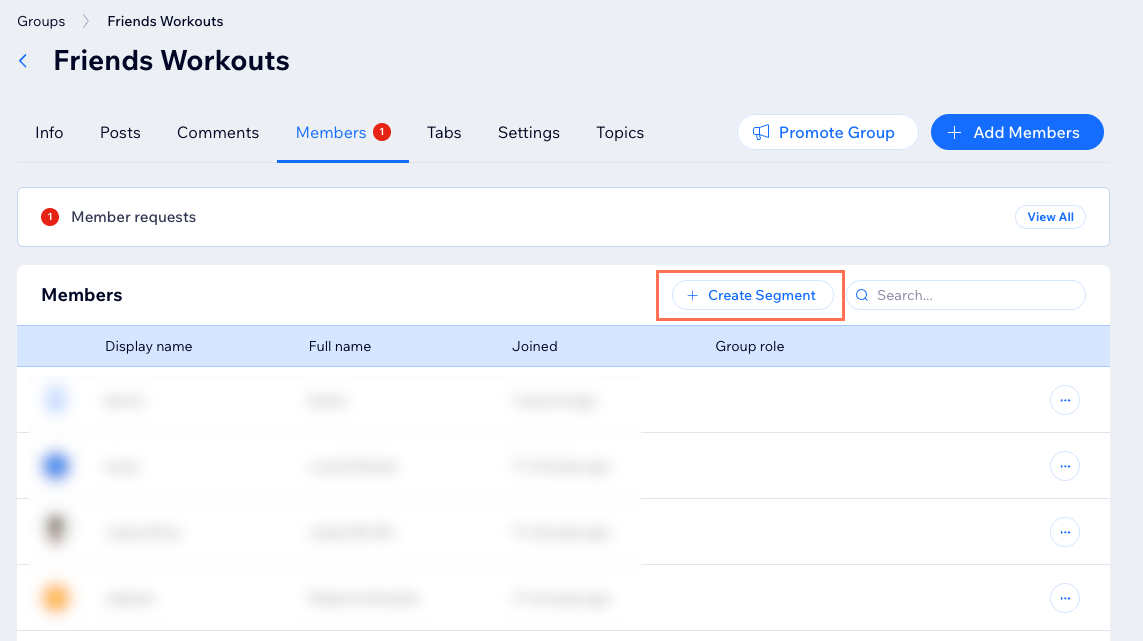
Build a targeted audience based on your group activity. Use group-based filters such as "Joined group", "Had posts in group", or "No posts in group" to reach the right members with an email campaign.
Click + Create Segment at the top of the Members tab.
Click Create Segment on the popup.
Note: Group related filters are under the Groups category when you add a filter.
Wix app
Go to your site in the Wix app.
Tap Manage

at the bottom.
Tap Groups.
Tap the relevant group.
Choose what you want to do next:
Add members to your group
You can add members to your group in different ways. Choose the one that's relevant for you.
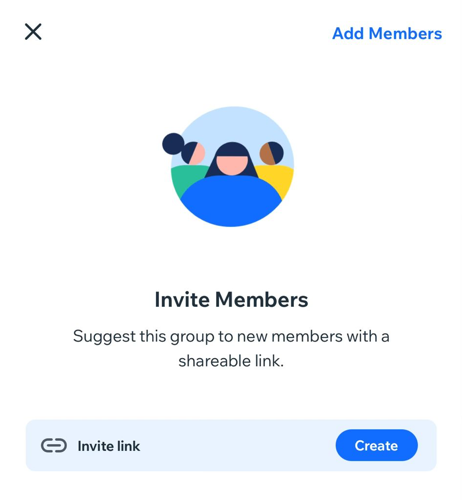
Tap + Invite Members and decide what you want to do:
Tap Create next to the invite link to create and send the link to new members. If you don't see Create, tap the More Actions icon

and select Copy to get the invite link that you have previously created.
Tap Add Members to select public members and directly add them into the group.
Review answers to membership questions
If your group is set to private, when potential members want to access it, they need to request to join. You can set up membership questions to examine if you wish to approve the pending requests or not. You can also review the answers even after you approved the request.
To review membership questions for pending members:
Tap Requests to join.
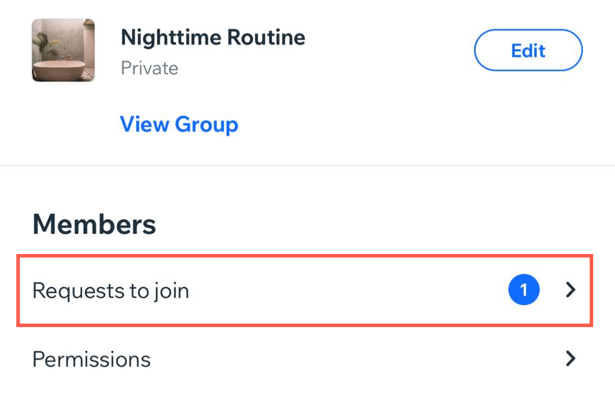
Tap Show all answers.
Review the answers then choose an option: Approve or Decline.
To review answers by existing members:
Tap # Members.
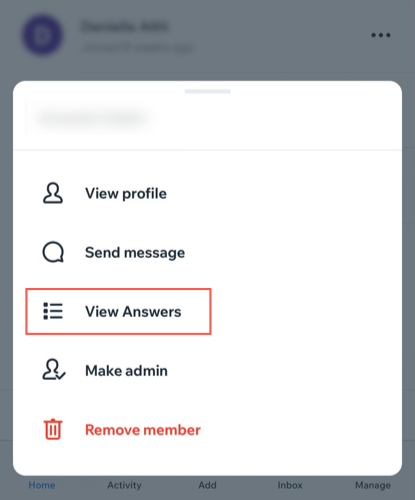
Tapthe More Actions icon
next to the relevant member.
Tap View Answers.
Review the answers and tap the X when you're done.
View a member's profile
You can edit a contact's information at any time to update their details or add details or custom fields that are relevant to them.
Tap # Members.
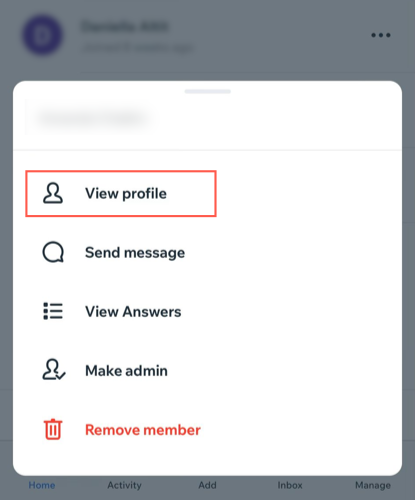
Tapthe More Actions icon
next to the relevant member.
Tap View Profile.
Send a message to individual members
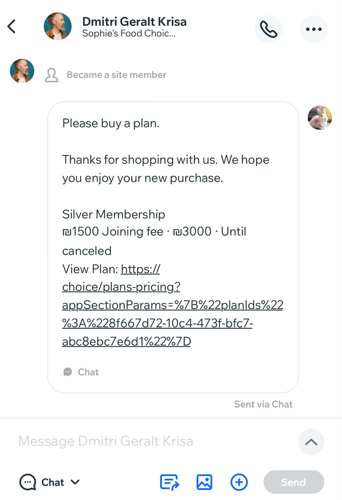
You can initiate chats, send messages with attachments, and set up saved replies for smooth communication.
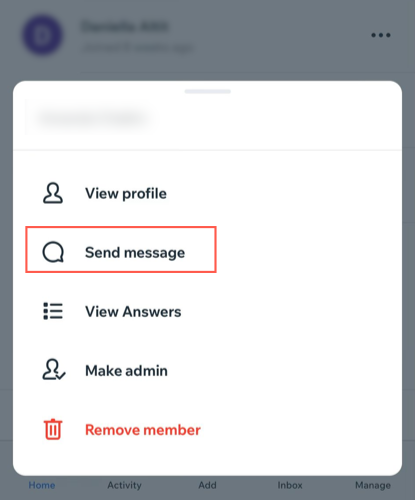
Tap # Members.
Tapthe More Actions icon
next to the relevant member.
Tap Send Message.
Decide what you want to do next:
Use a saved reply, create a new one, edit it, or write your own text.
Send an item like a payment request, pricing plan, product, service, media, etc.
Tap Send.
Tips:
Tap the Phone icon

on the top right to call your members via the Wix app.
Tap the More Actions icon
on the top right to manage your contact. You can create a task, star, or delete the conversation, and more.
Set a group member as an admin
Group admins can moderate discussions, update settings, approve new member requests, remove members, and more. Group admins are not members of your site. They can make changes only through the live site. If you want someone to in make changes in your group via your site's dashboard, create a create a custom role for a group collaborator.
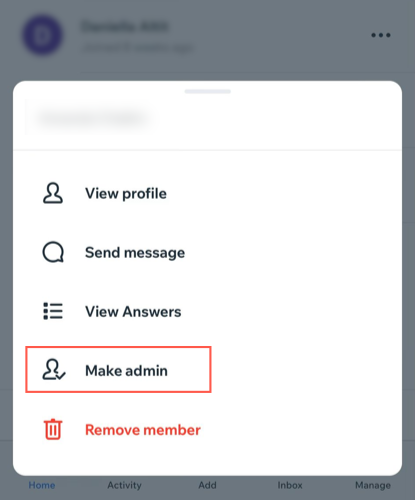
Tap # Members.
Tapthe More Actions icon
next to the relevant member.
Tap Make Admin.
Remove a member
When you remove a group member, they are still members of your site. However, blocking a member means they can't access your site at all.
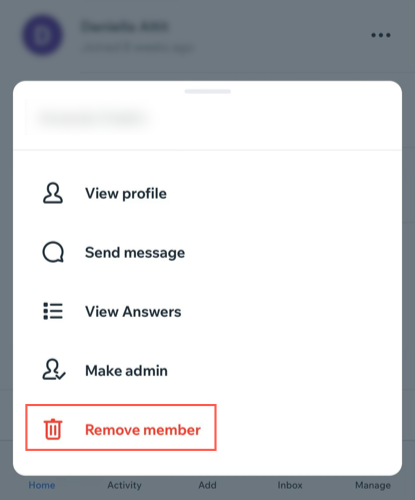
Tap # Members.
Tapthe More Actions icon
next to the relevant member.
Tap Remove Member.
Live site
Go to your live site and log in.
Go to the relevant group on your live site.
Select the Members tab.
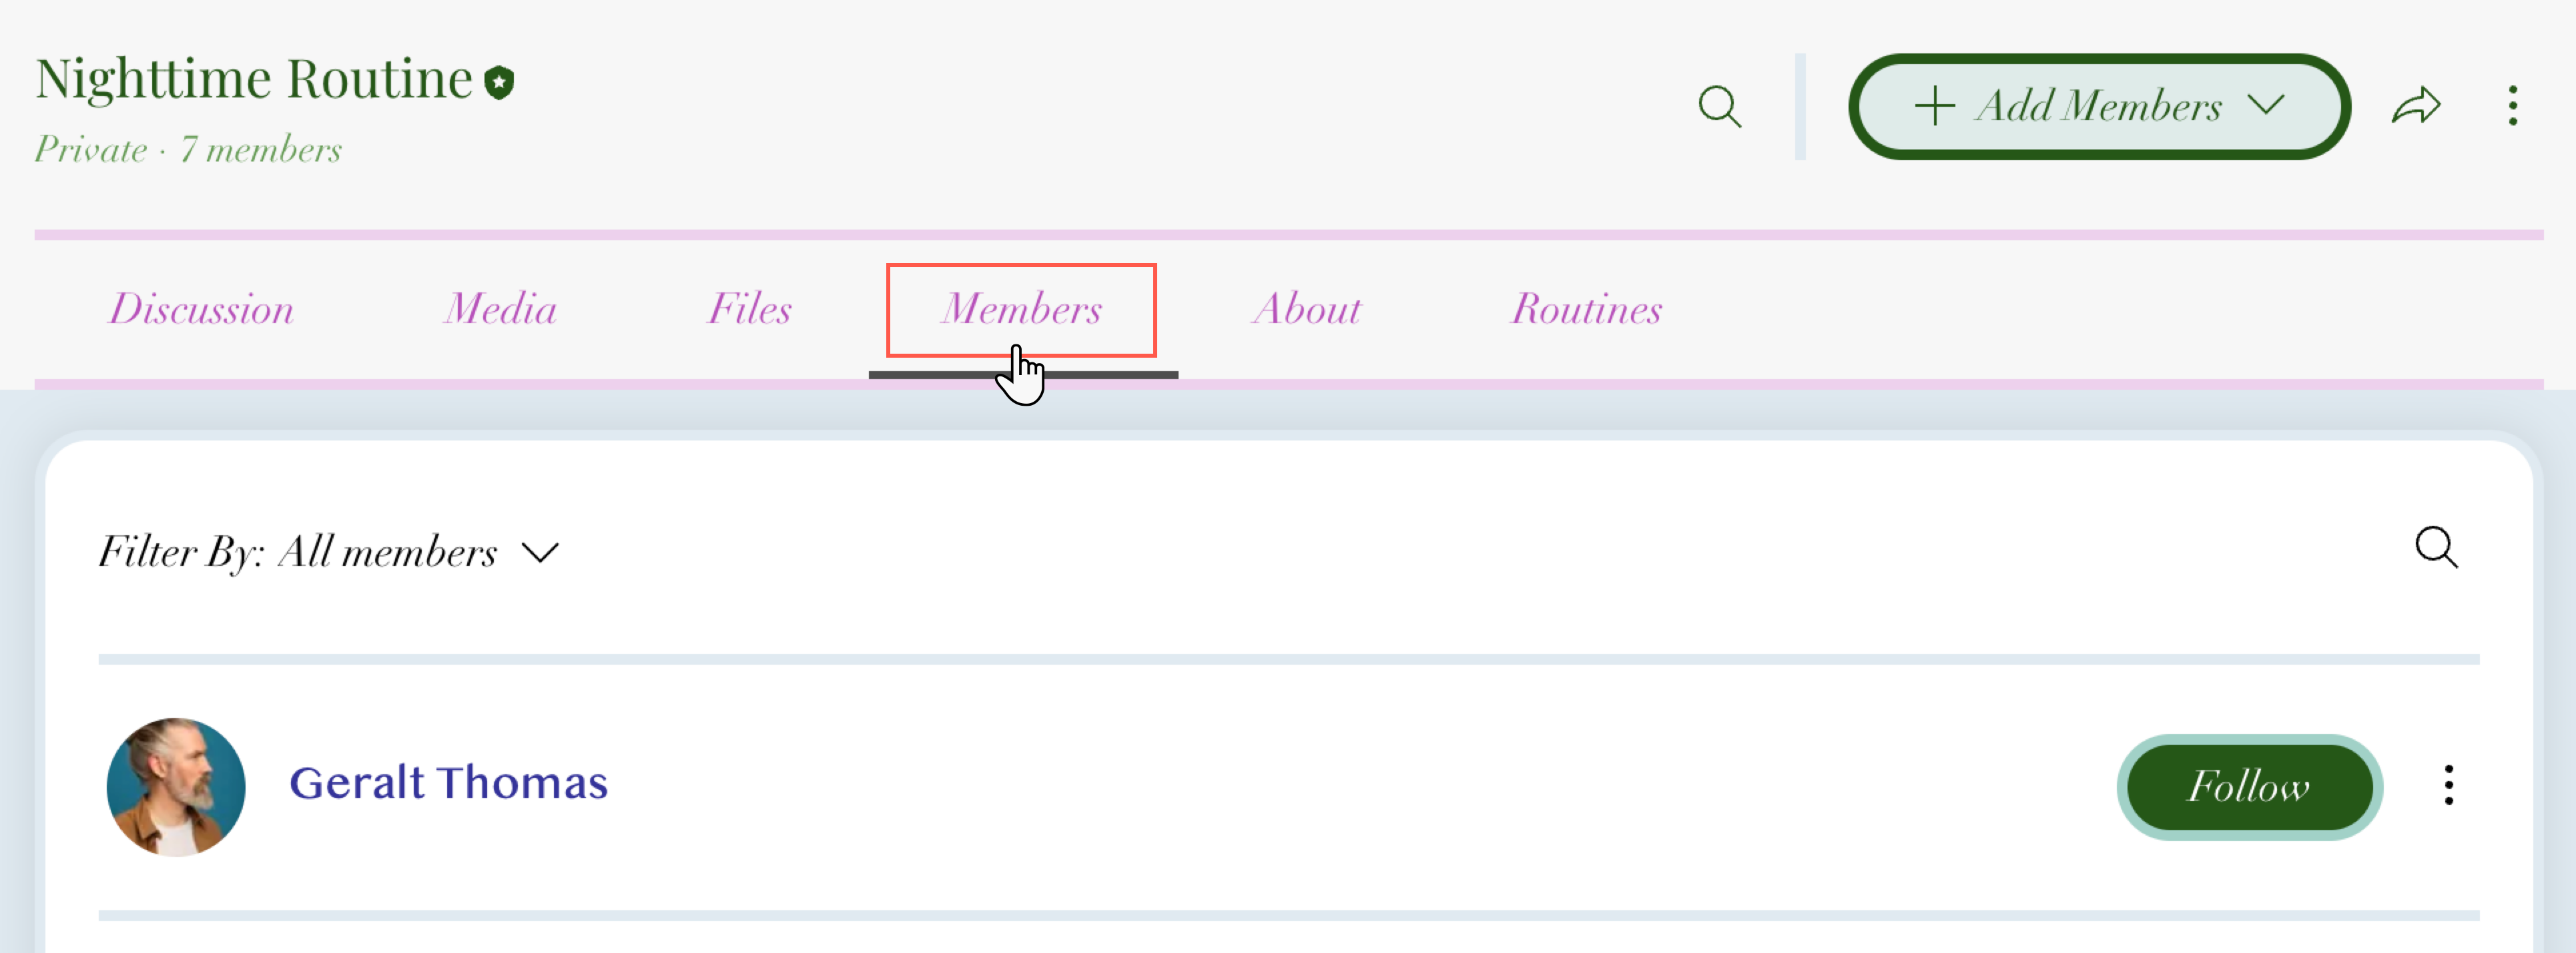
Choose what to do next:
Add members to your group
You can add members to your group in different ways. Choose the one that's relevant for you.
Click + Add Members on the right.
Choose how you want to add members to your group: Send email invites or add existing site members.
Tip: Click the Share Group icon

to copy a sharable link to send. You can add your group's invite link to an email marketing campaign and send it to people you'd like to join your group.
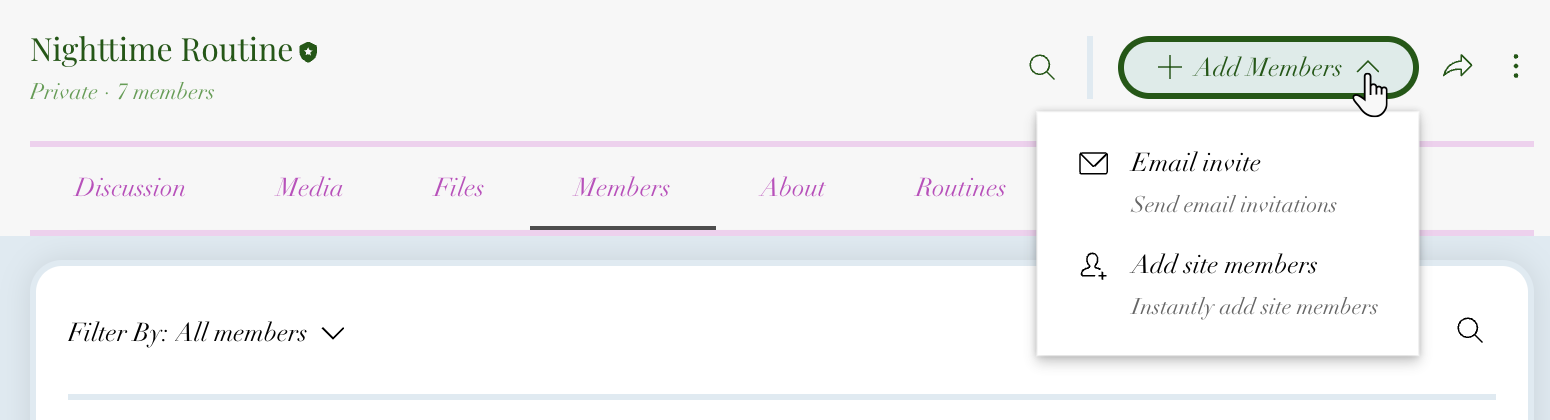
Review answers to membership questions
If your group is set to private, when potential members want to access it, they need to request to join. You can set up membership questions to examine if you wish to approve the pending requests or not. You can also review the answers even after you approved the request.
To review membership questions for pending members:
Click New Member Requests.
Click Review.
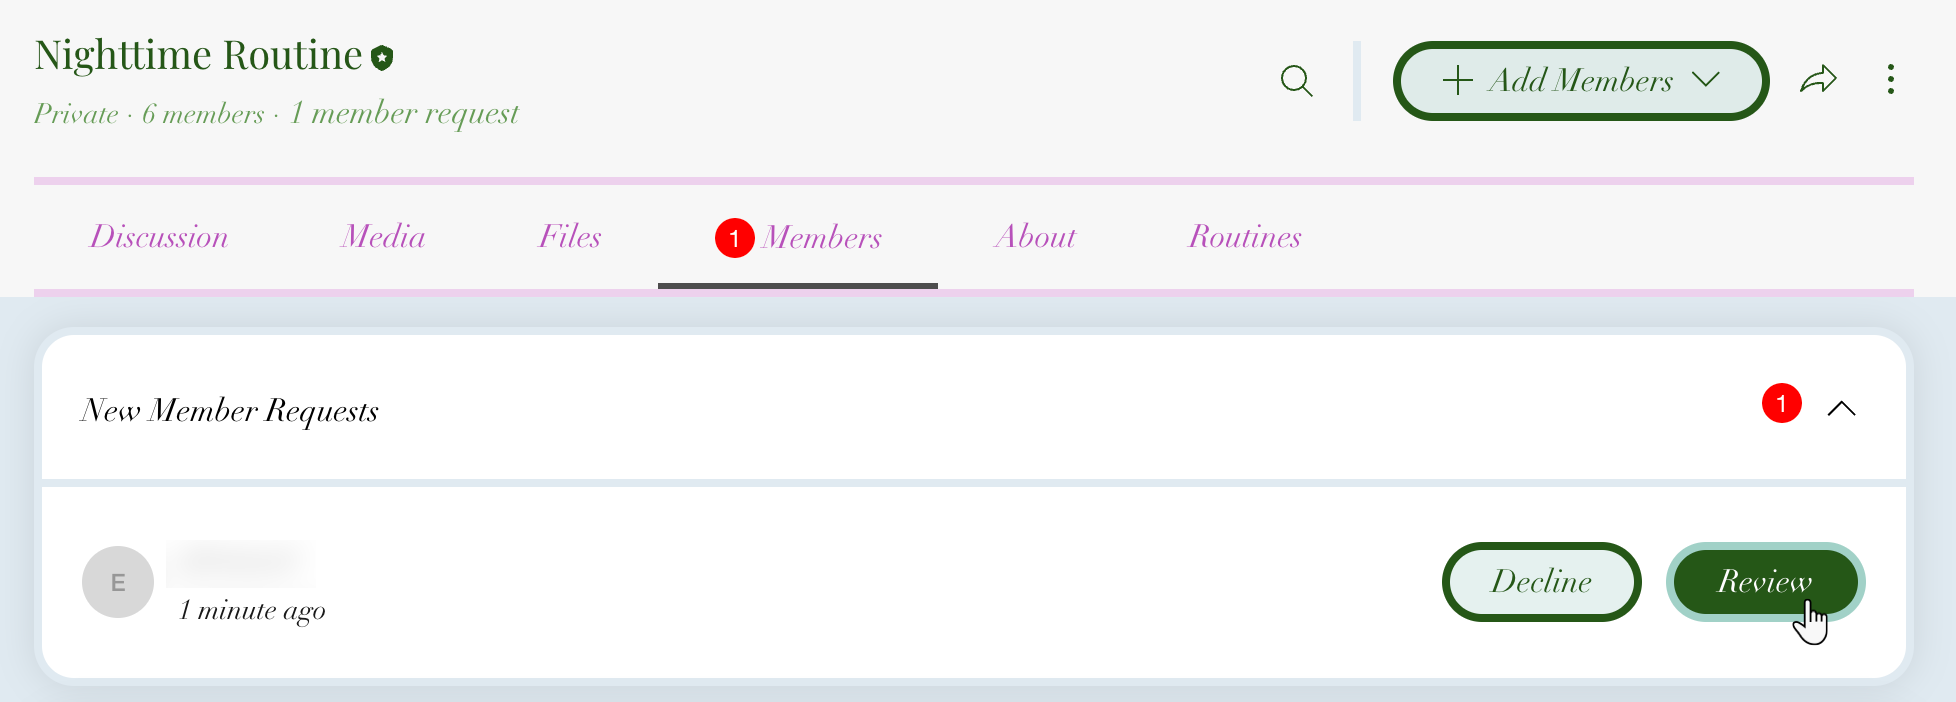
Review the answers and choose an option: Approve or Decline.
To review answers by existing members:
Click the More Actions icon

next to the relevant member and select View Answers.
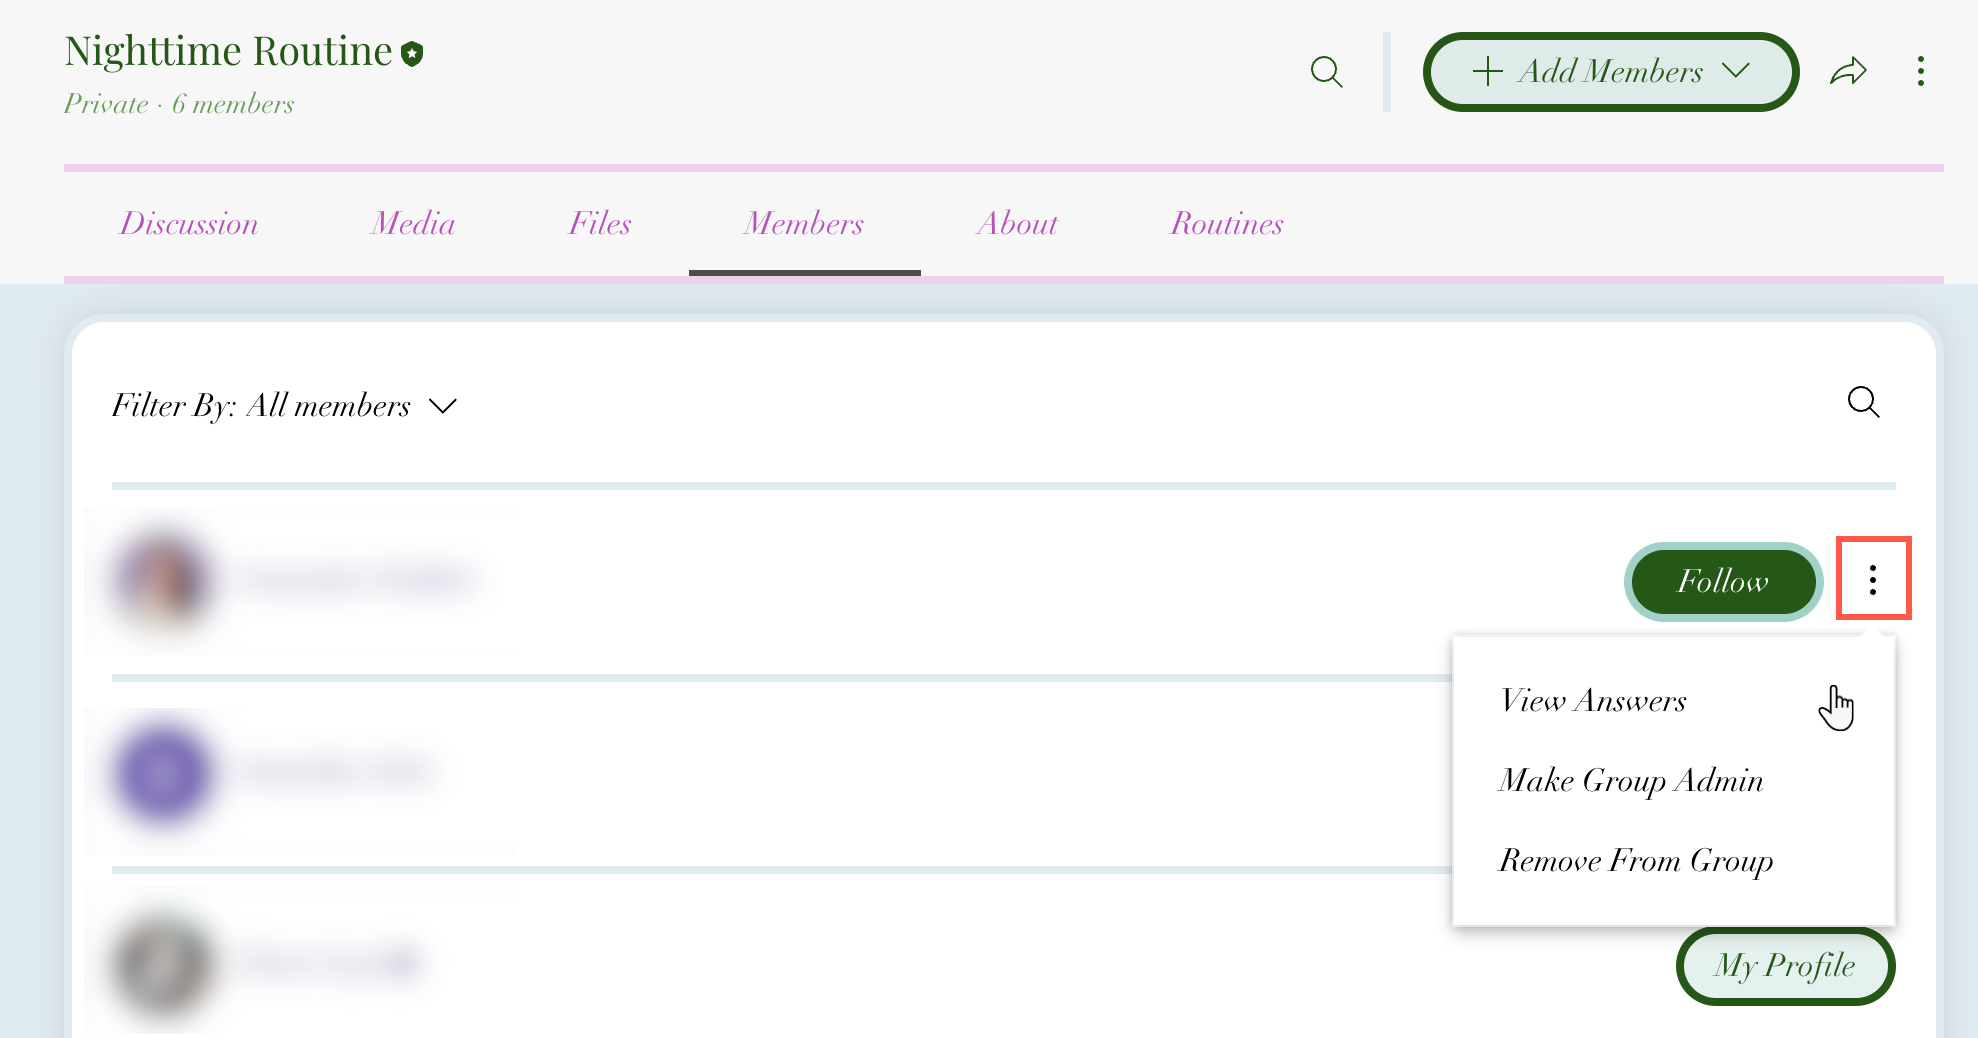
Review the answers and click the X when you're done.
View a member's profile
You can edit a contact's information at any time to update their details or add details or custom fields that are relevant to them.
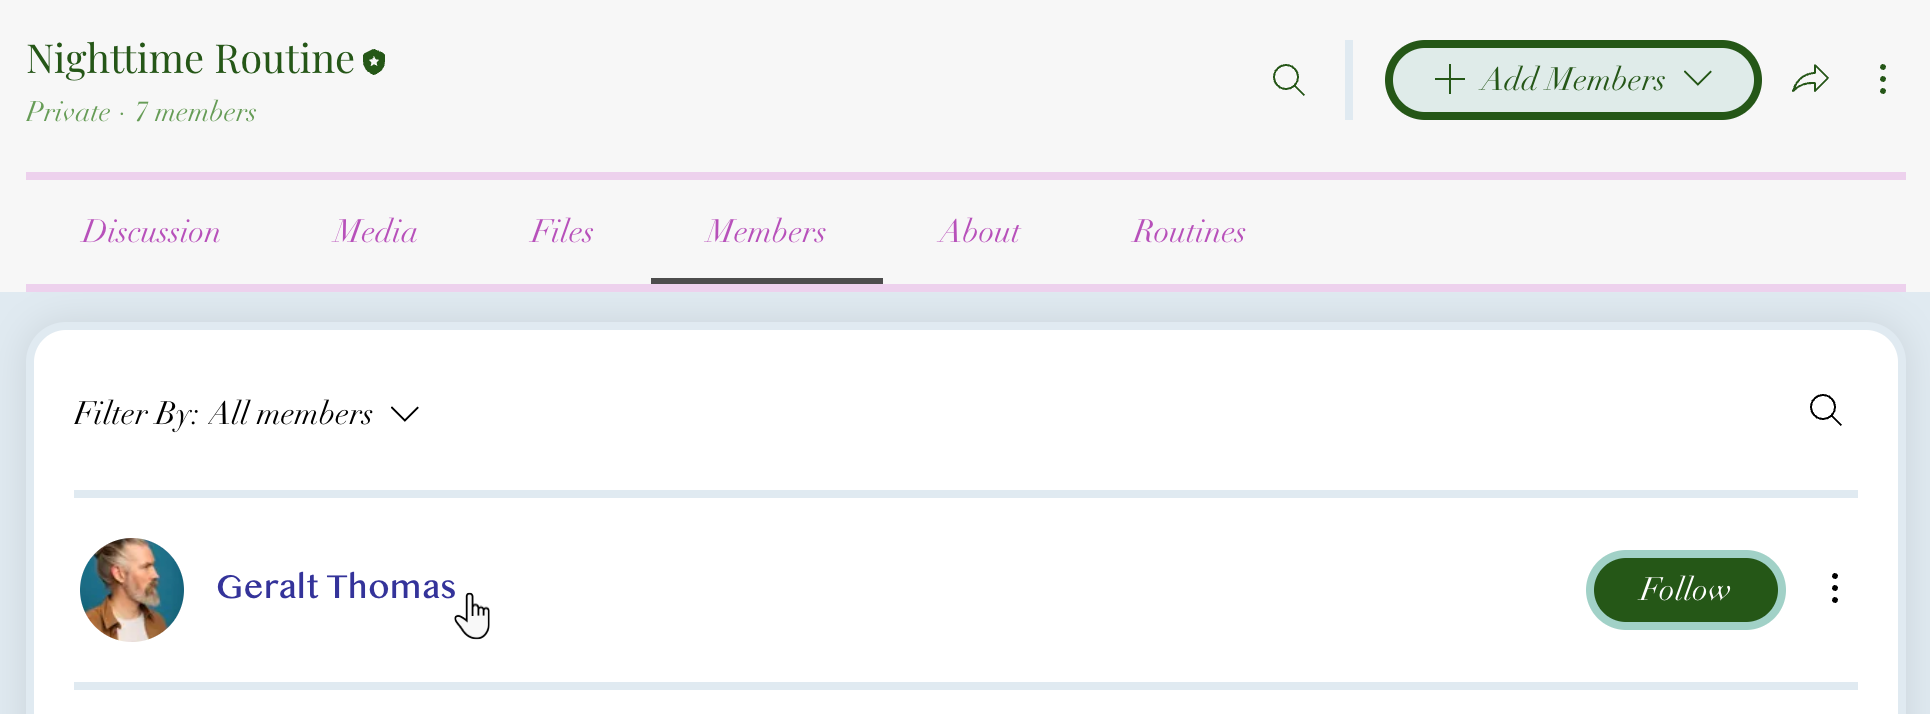
Click a member's name to view their profile.
Follow members
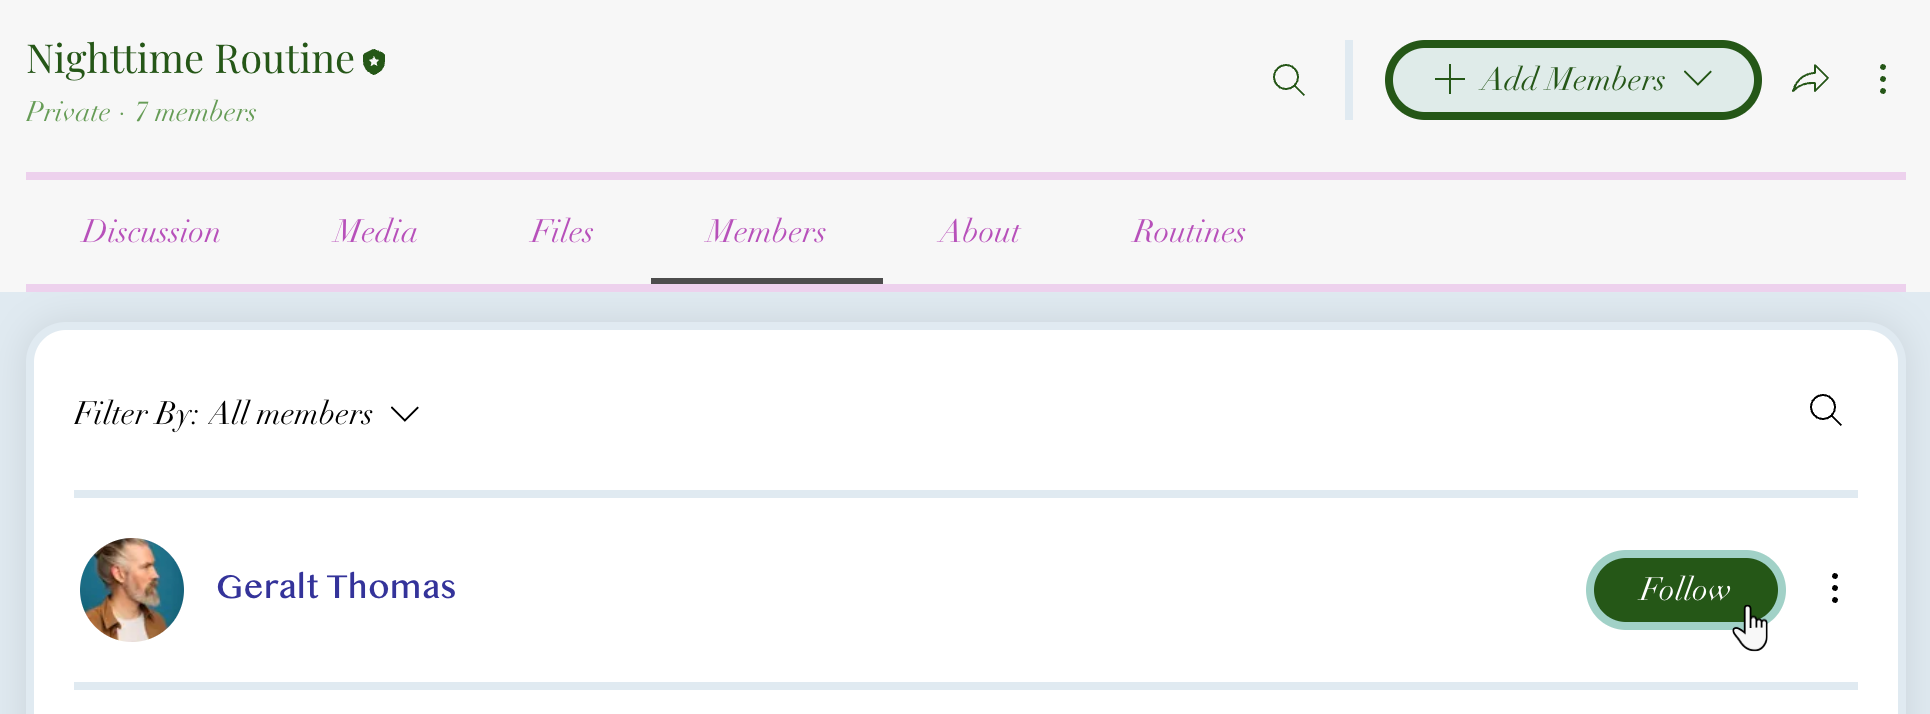
Click Follow next to a member's name to receive notifications when they post or comment.
Set a group member as an admin
Group admins can moderate discussions, update group settings, approve new member requests, remove members, and more. Group admins are not site collaborators with backend access to your site. They can only take group admin actions on your live site.
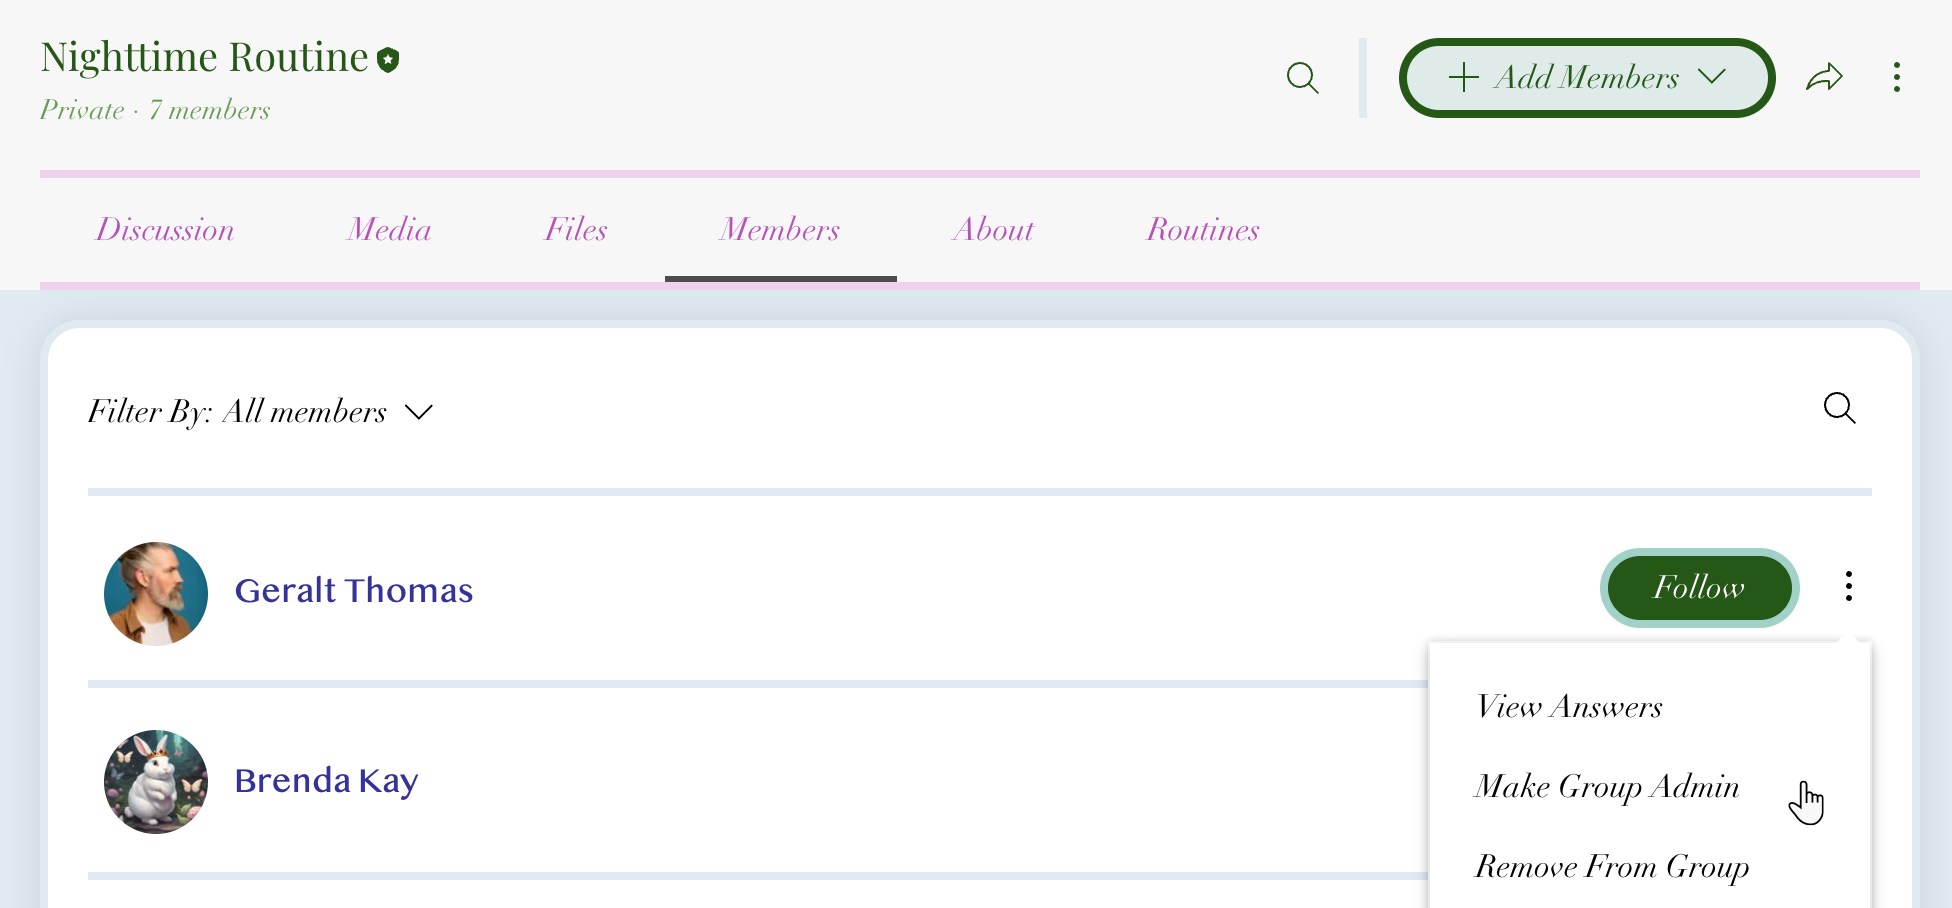
Click the More Actions icon
next to the relevant member and select Make Group Admin.
Tip: If you want someone to have access to your group via your site's dashboard, create a custom role for a group collaborator.
Remove a member
When you remove a group member, they are still members of your site. However, blocking a member means they can't access your site at all.
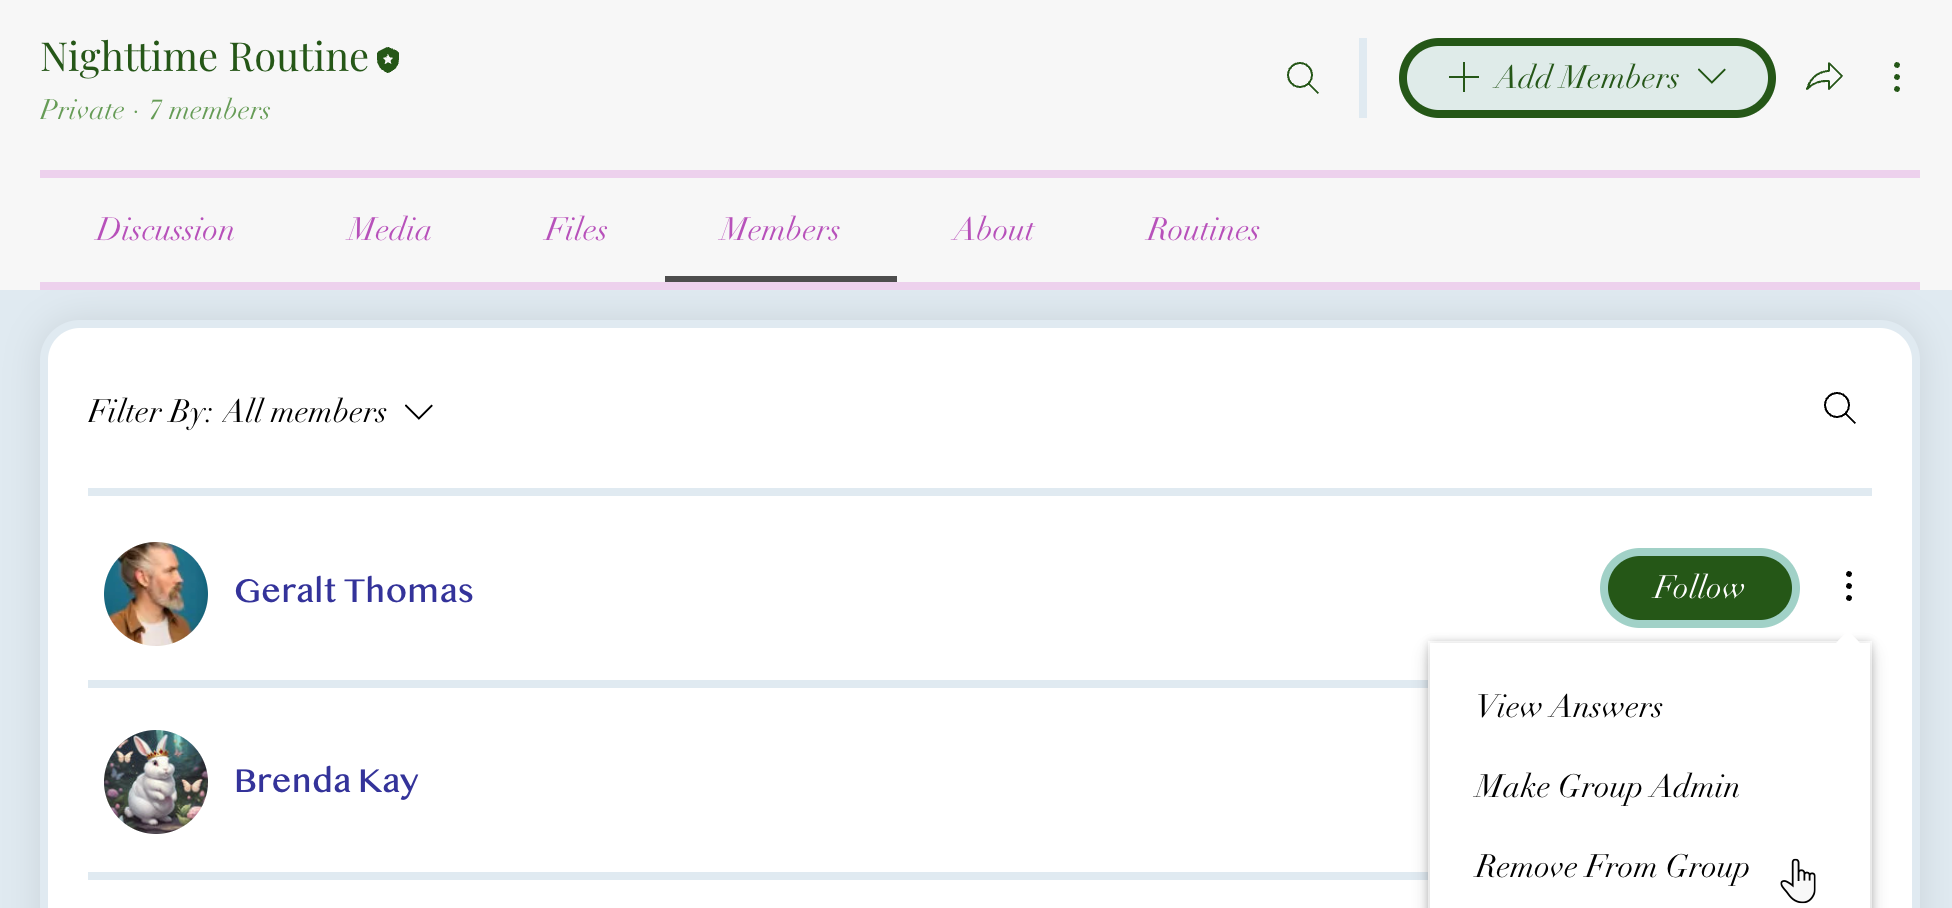
Click the More Actions icon
next to the relevant member and select Remove from Group.
Note: To remove the member from your site, go to your site dashboard.
Tip:
Your group members can manage their accounts directly from their members area on your site. They can update their name, adjust site preferences, customize notification settings, and view their subscriptions.
Customize members settings
You can customize your members' permissions and privacy settings. Create and manage membership questions, choose who can create groups on your site, and limit access to certain members.
Dashboard
Go to Groups in your site's dashboard.
Choose what you want to do next:
Customize your group members' permissions
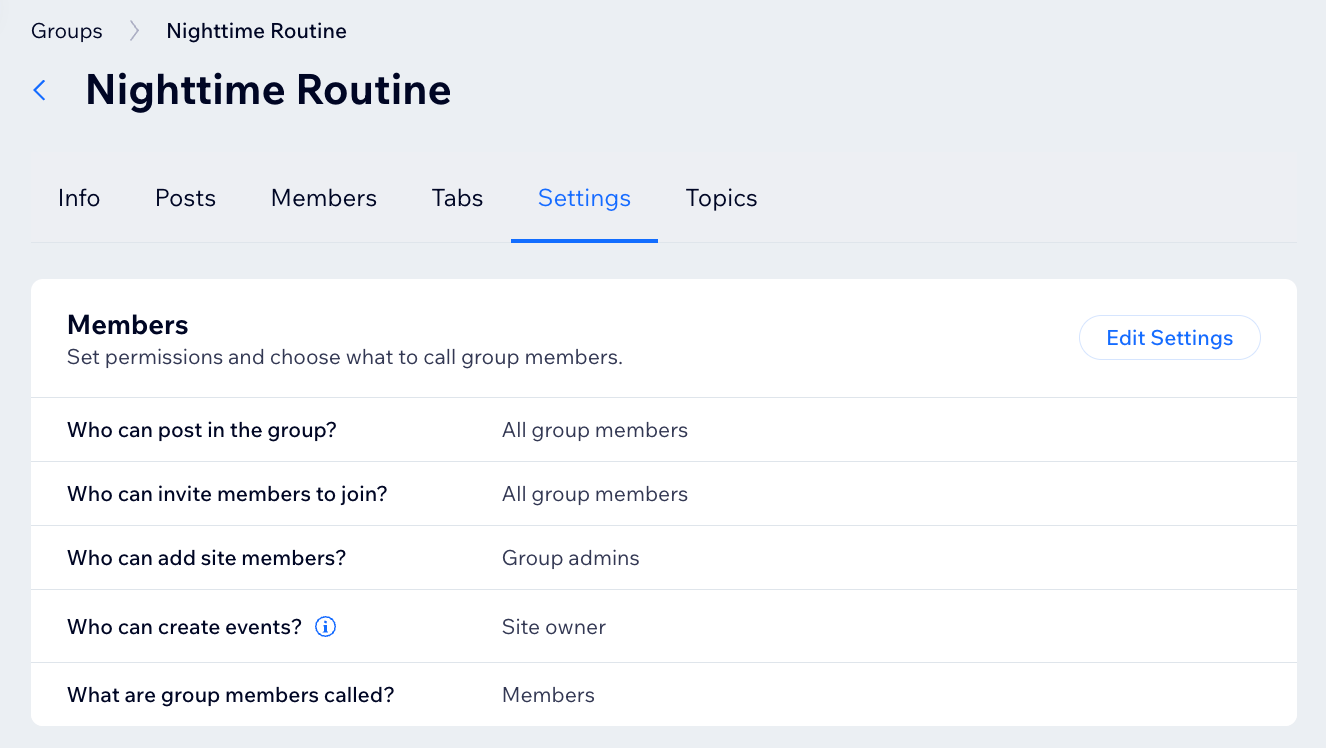
You can choose what people can do in your group by setting member permissions. Decide which group members can post in your group, who can send invitations to join, and who can add site members manually. You can also choose what to call "members" of your group (e.g. members, students, coworkers).
Click the relevant group.
Click the Settings tab.
Click Edit Settings next to Members.
Select the relevant options for each setting:
Who can post in the group?
Who can invite members to join?
Who can add site members?
Who can create events?
What are group members called?
Click Save.
Create and manage membership questions
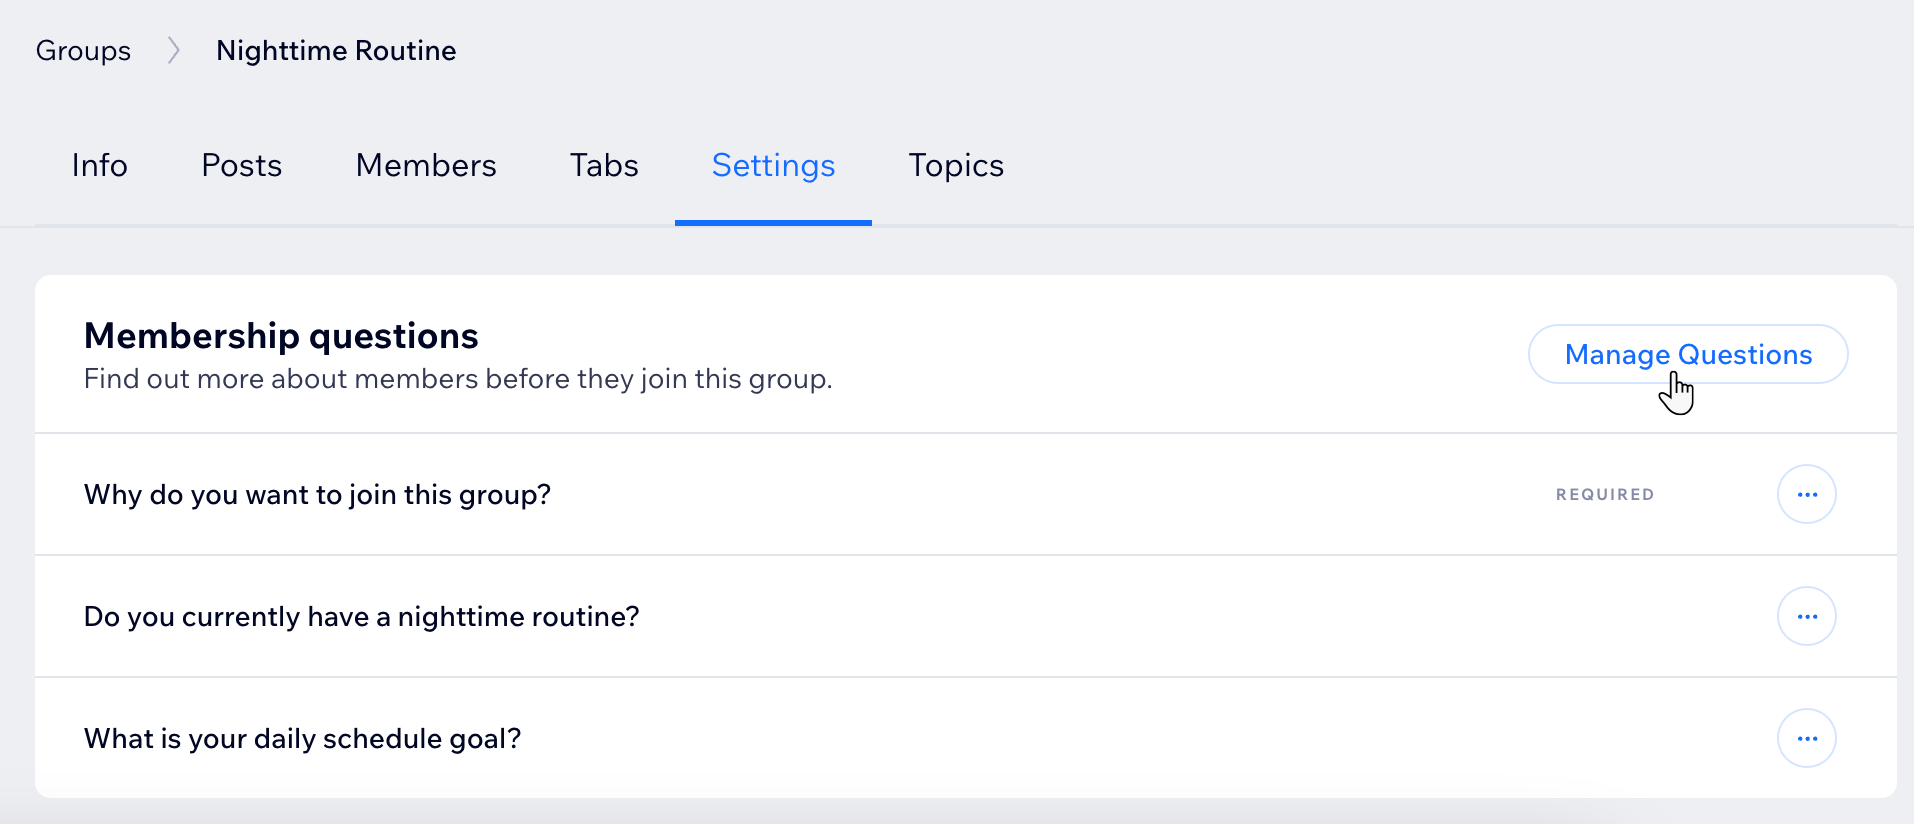
Create questions for people to answer when requesting to join your group. Ask visitors how they found out about the group, why they're interested in joining, or collect some basic details. Potential members can answer these questions from a desktop or Spaces by Wix or Fit by Wix.
Click the relevant group.
Click the Settings tab.
Click Manage Questions in the Membership questions section.
Tip: Click + Add Question if this is the first question you're adding.
Choose what you want to do next:
Click + New Question.
Decide if the question is required or optional.
Edit your questions.
Delete your questions.
Choose who can create groups on your site
Click the More Actions icon

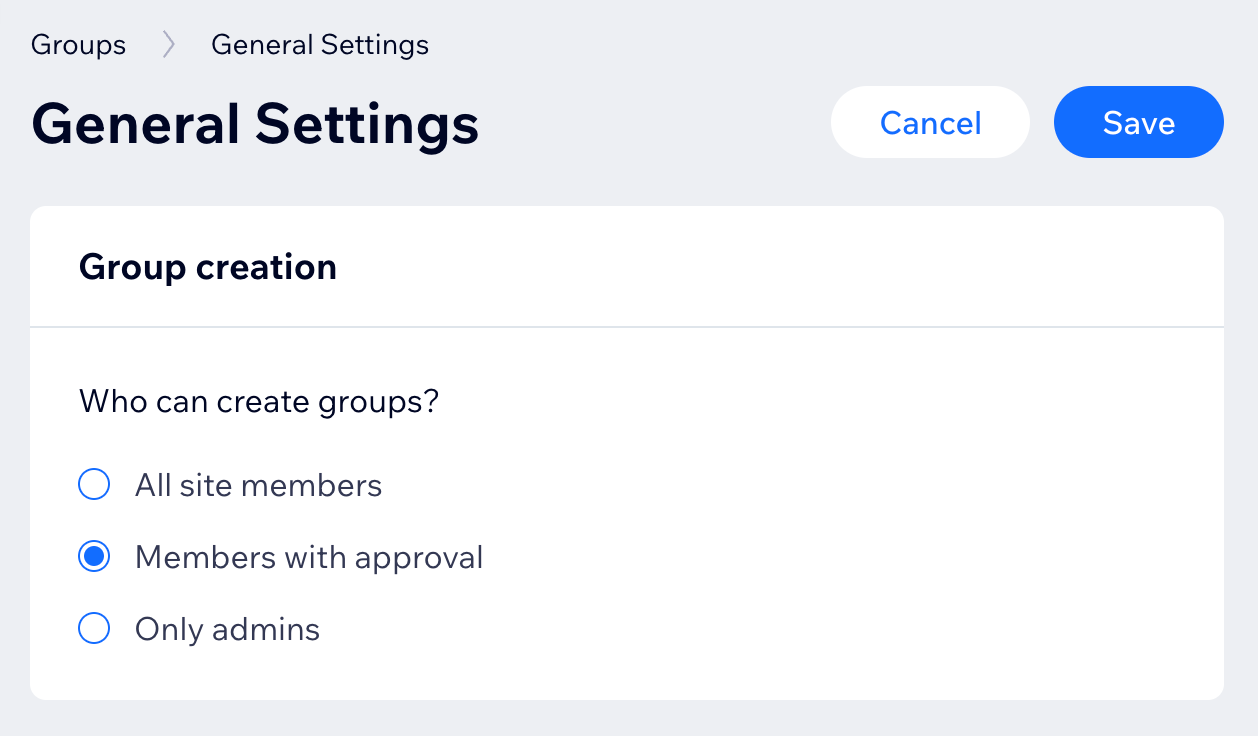
at the top right and select General settings.
Select an option under Who can create groups?:
All site members: All members can create a new group without needing an admin's approval.
Members with approval: All members can request to create a new group, but you (or another admin) need to approve the request.
Only admins: Only you and other admins may create new groups.
Click Save.
Limit your group's access
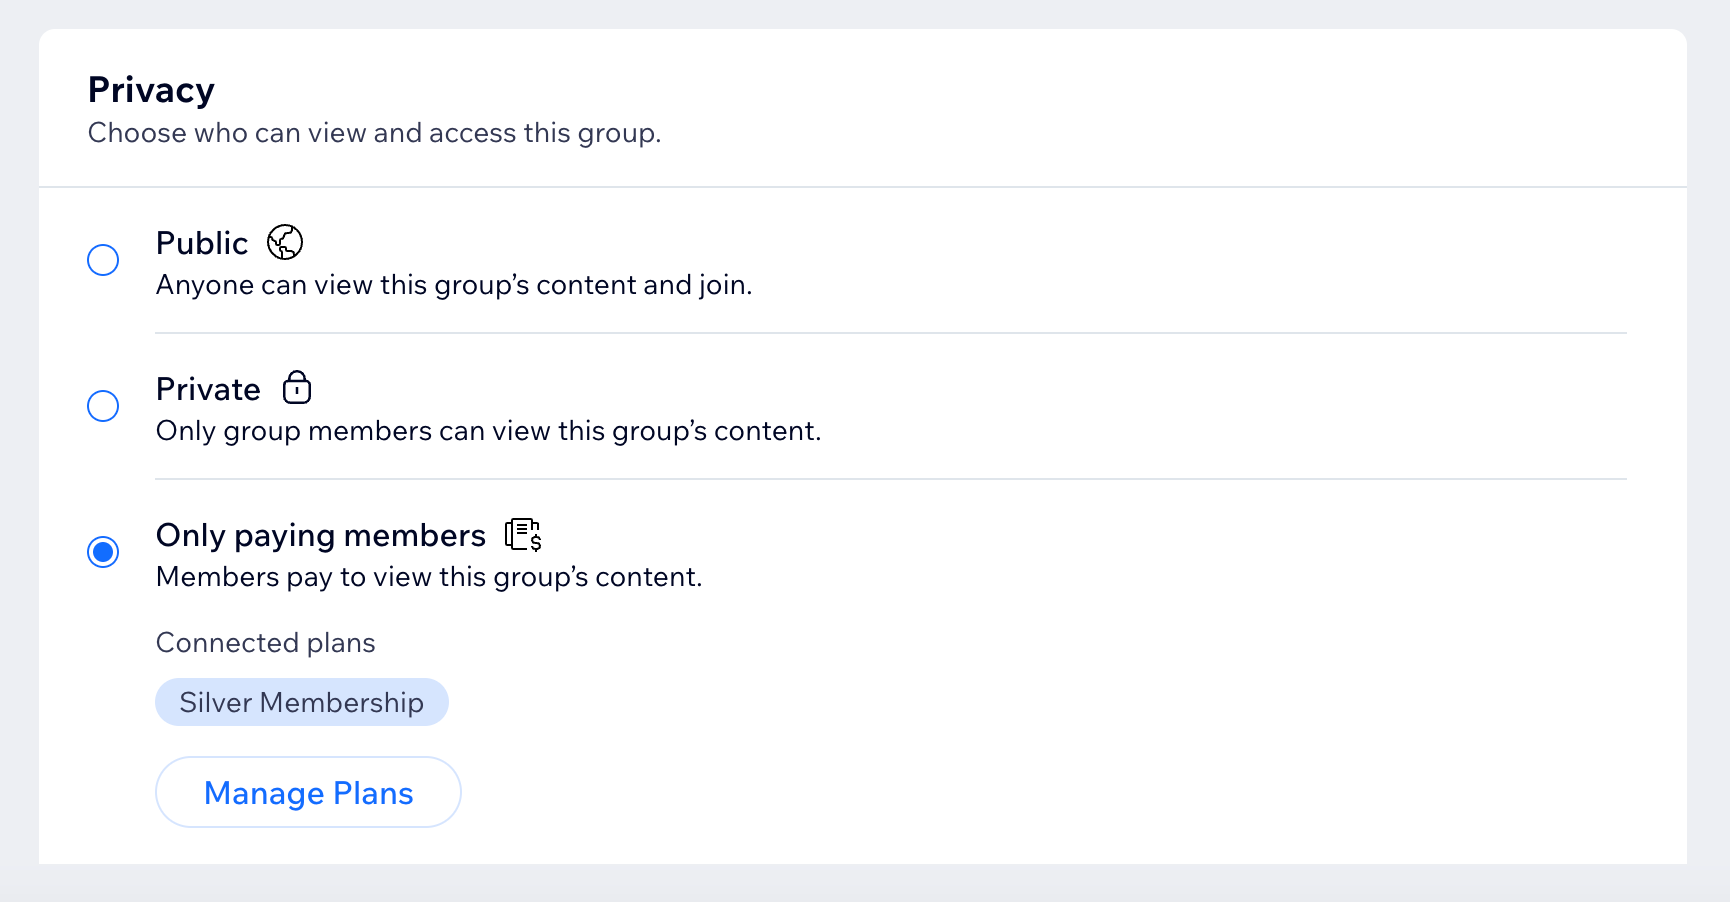
Decide who can see or access your group. You can make your group private and allow access only to approved members, pricing plan holders, or event participants. Private groups can be visible to all site visitors or group members.
Click the relevant group.
Select the Info tab.
In the Privacy section, choose the privacy setting for your group: Public, Private, or Only paying members.
Wix app
Go to your site in the Wix app.
Tap Manage at the bottom.
Tap Groups.
Choose what you want to do next:
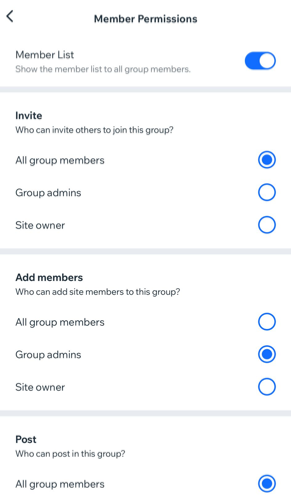
Customize your group members' permissions
You can choose what people can do in your group by setting member permissions. Decide which group members can post in your group, who can send invitations to join and who can add site members manually. You can also choose what to call "members" of your group (e.g. members, students, coworkers).
Tap the relevant group.
Tap Permissions.
Tap the Member List toggle to show or hide the member list to all group members.
Select the relevant options for each setting:
Invite: Who can invite members to join?
Add members: Who can add site members?
Post: Who can post in the group?
Create and manage membership questions
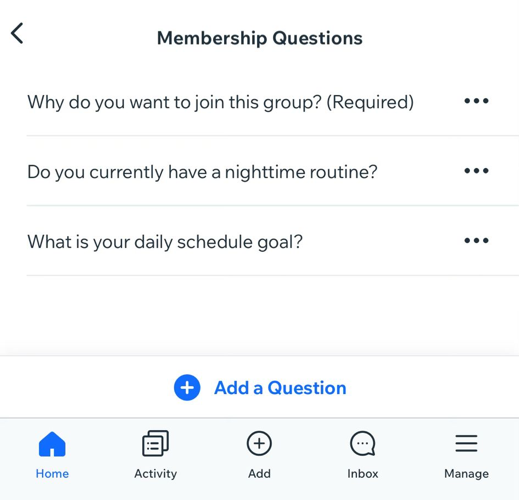
Create questions for people to answer when requesting to join your group. Ask visitors how they found out about the group, why they're interested in joining, or collect some basic details. Potential members can answer these questions from a desktop or Spaces by Wix or Fit by Wix.
Tap the relevant group.
Tap Manage Questions in the Membership questions section.
Tip: Tap + Add Question if this is the first question you're adding.
Choose what you want to do next:
Tap + Add a Question.
Tap the More Actions icon
next to the relevant question to:
Edit it and decide if it is required or optional.
Delete a question.
Choose who can create groups on your site
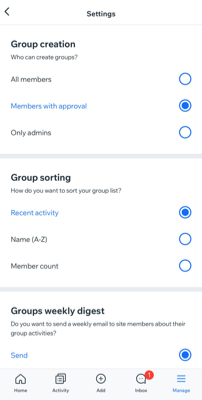
Tap Group preferences.
Select the relevant option under Group creation:
All members: Any member of your site can create a group.
Members with approval: Any member of your site can create a group with your approval.
Only admins: Members aren't allowed to create groups unless they are admins.
Tip: You can also allow your members to create their own groups straight from the relevant member app.
Limit your group's access
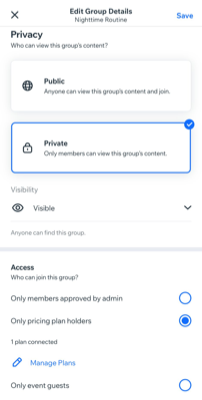
Decide who can see or access your group. You can make your group private and allow access only to approved members, pricing plan holders, or event participants. Private groups can be visible to all site visitors or group members.
Tap the relevant group.
Tap Edit next to the group's name.
In the Privacy section, choose the privacy setting for your group: Public or Private.
For private groups, decide who can find and access your group.
Tap Save.
Live site
Go to your live site and log in.
Go to the relevant group on your live site.
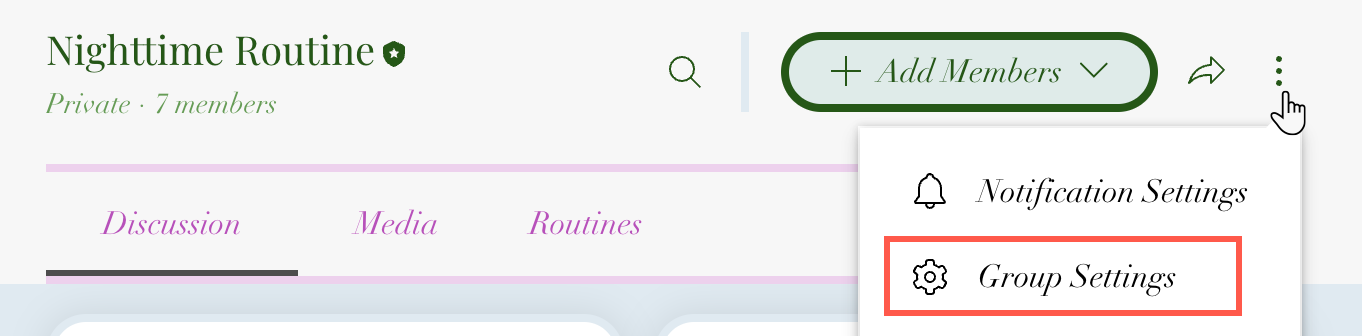
Click the More Actions icon next to the group's name and select Group Settings.
Choose what you want to do next:
Customize your group members' permissions
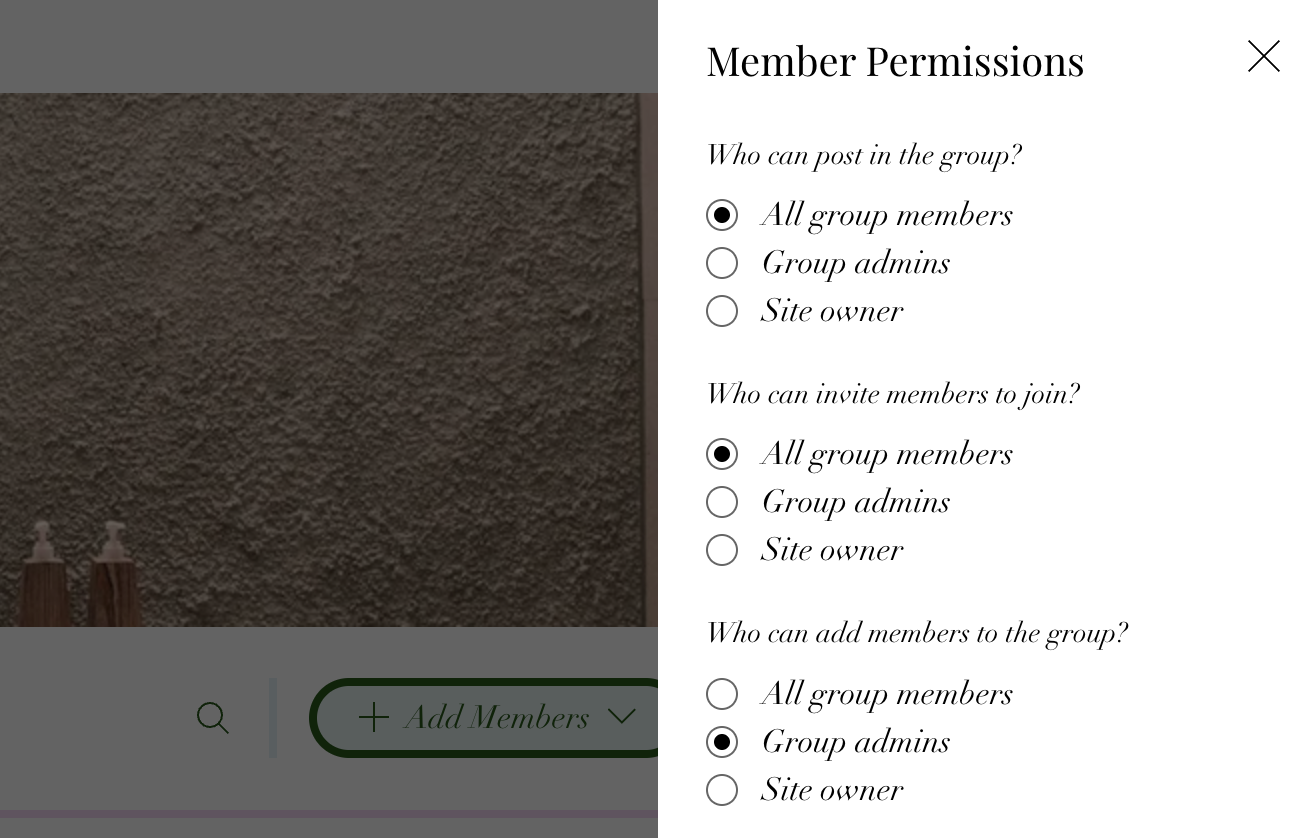
You can choose what people can do in your group by setting member permissions. Decide which group members can post in your group, who can send invitations to join and who can add site members manually.
Click the Admin Tools tab.
Click Edit under Member Permissions.
Select the relevant options for each setting:
Who can post in the group?
Who can invite members to join?
Who can add site members?
Click Save.
Create and manage membership questions
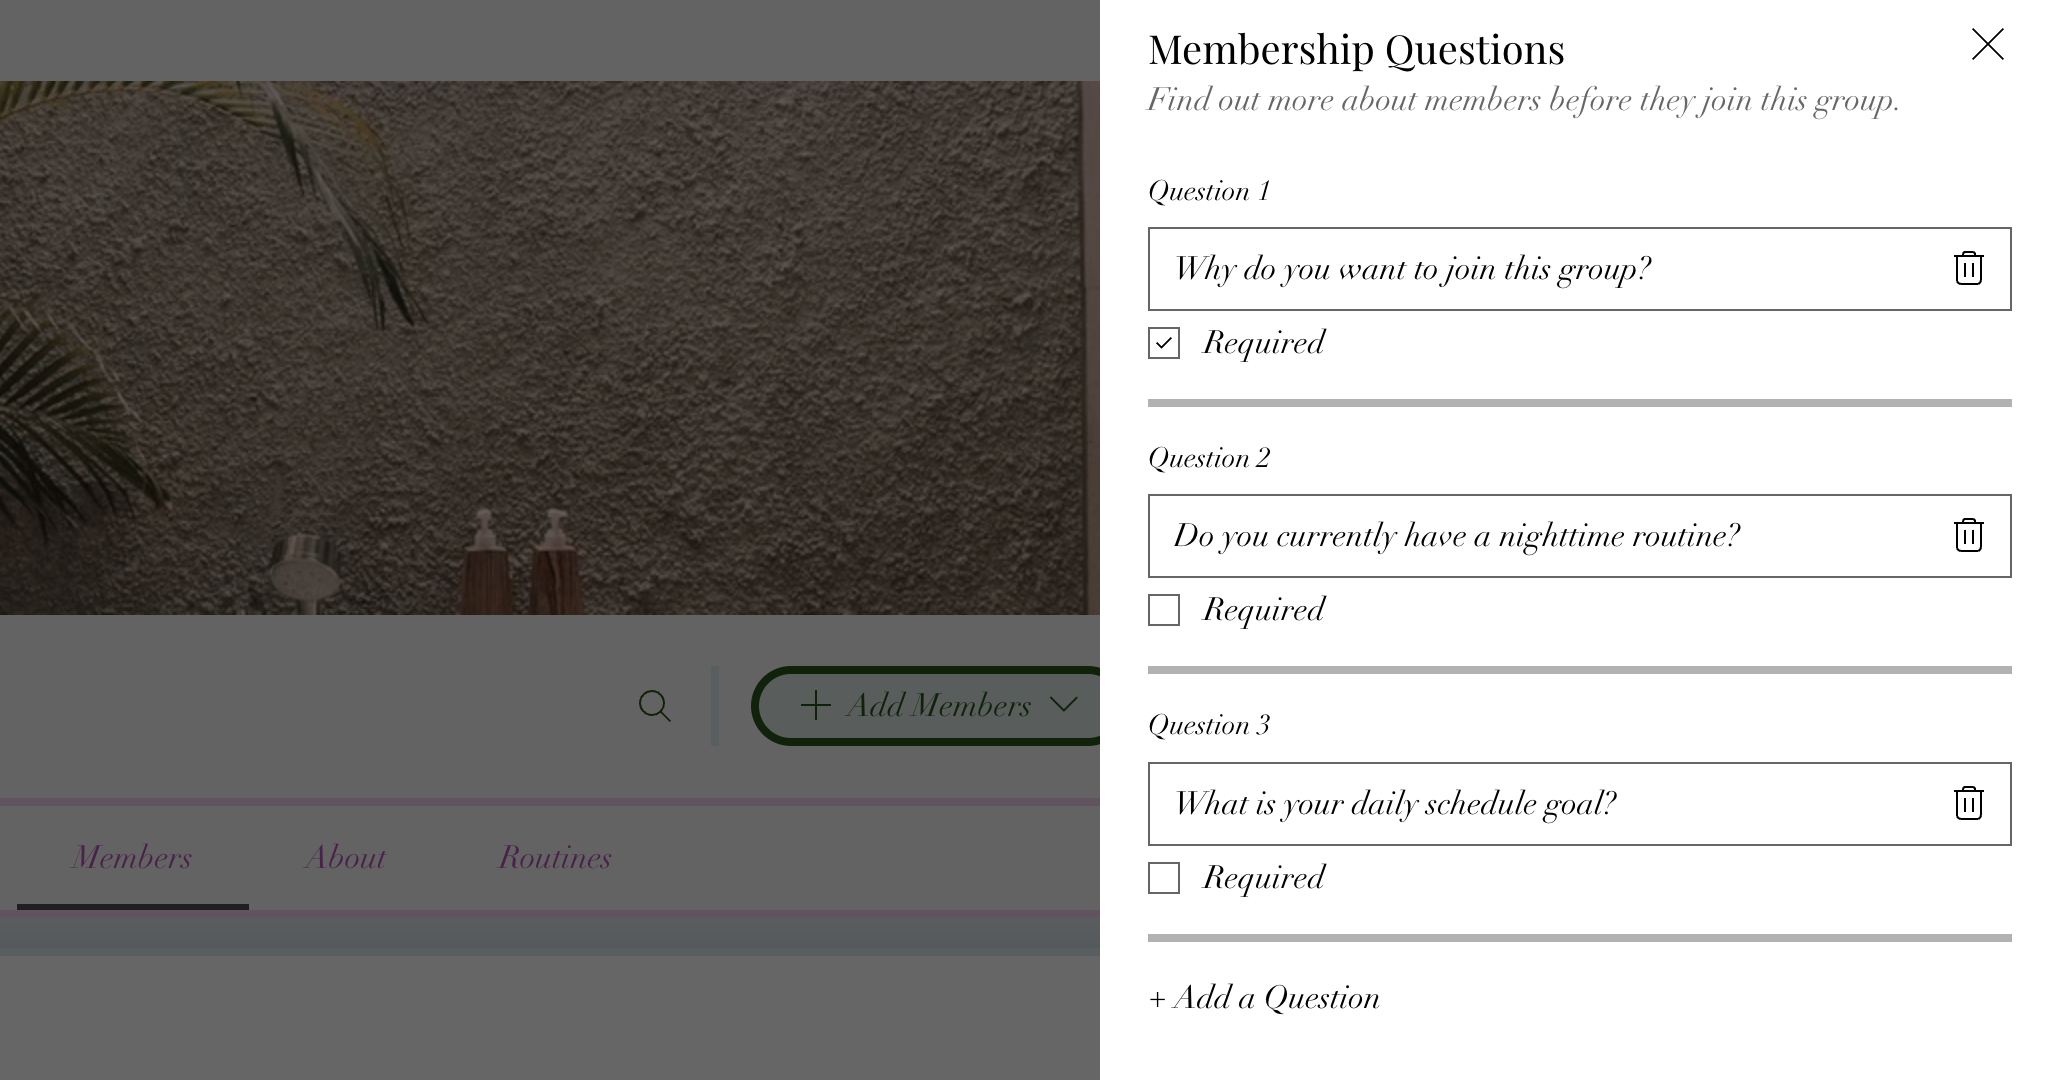
Create questions for people to answer when requesting to join your group. Ask visitors how they found out about the group, why they're interested in joining, or collect some basic details. Potential members can answer these questions from a desktop or Spaces by Wix or Fit by Wix.
Click the Admin Tools tab.
Click Edit under Membership Questions.
Choose what you want to do next:
Click + Add a Question.
Decide if the question is required or optional.
Edit your questions.
Delete your questions.
Click Save.
Limit your group's access
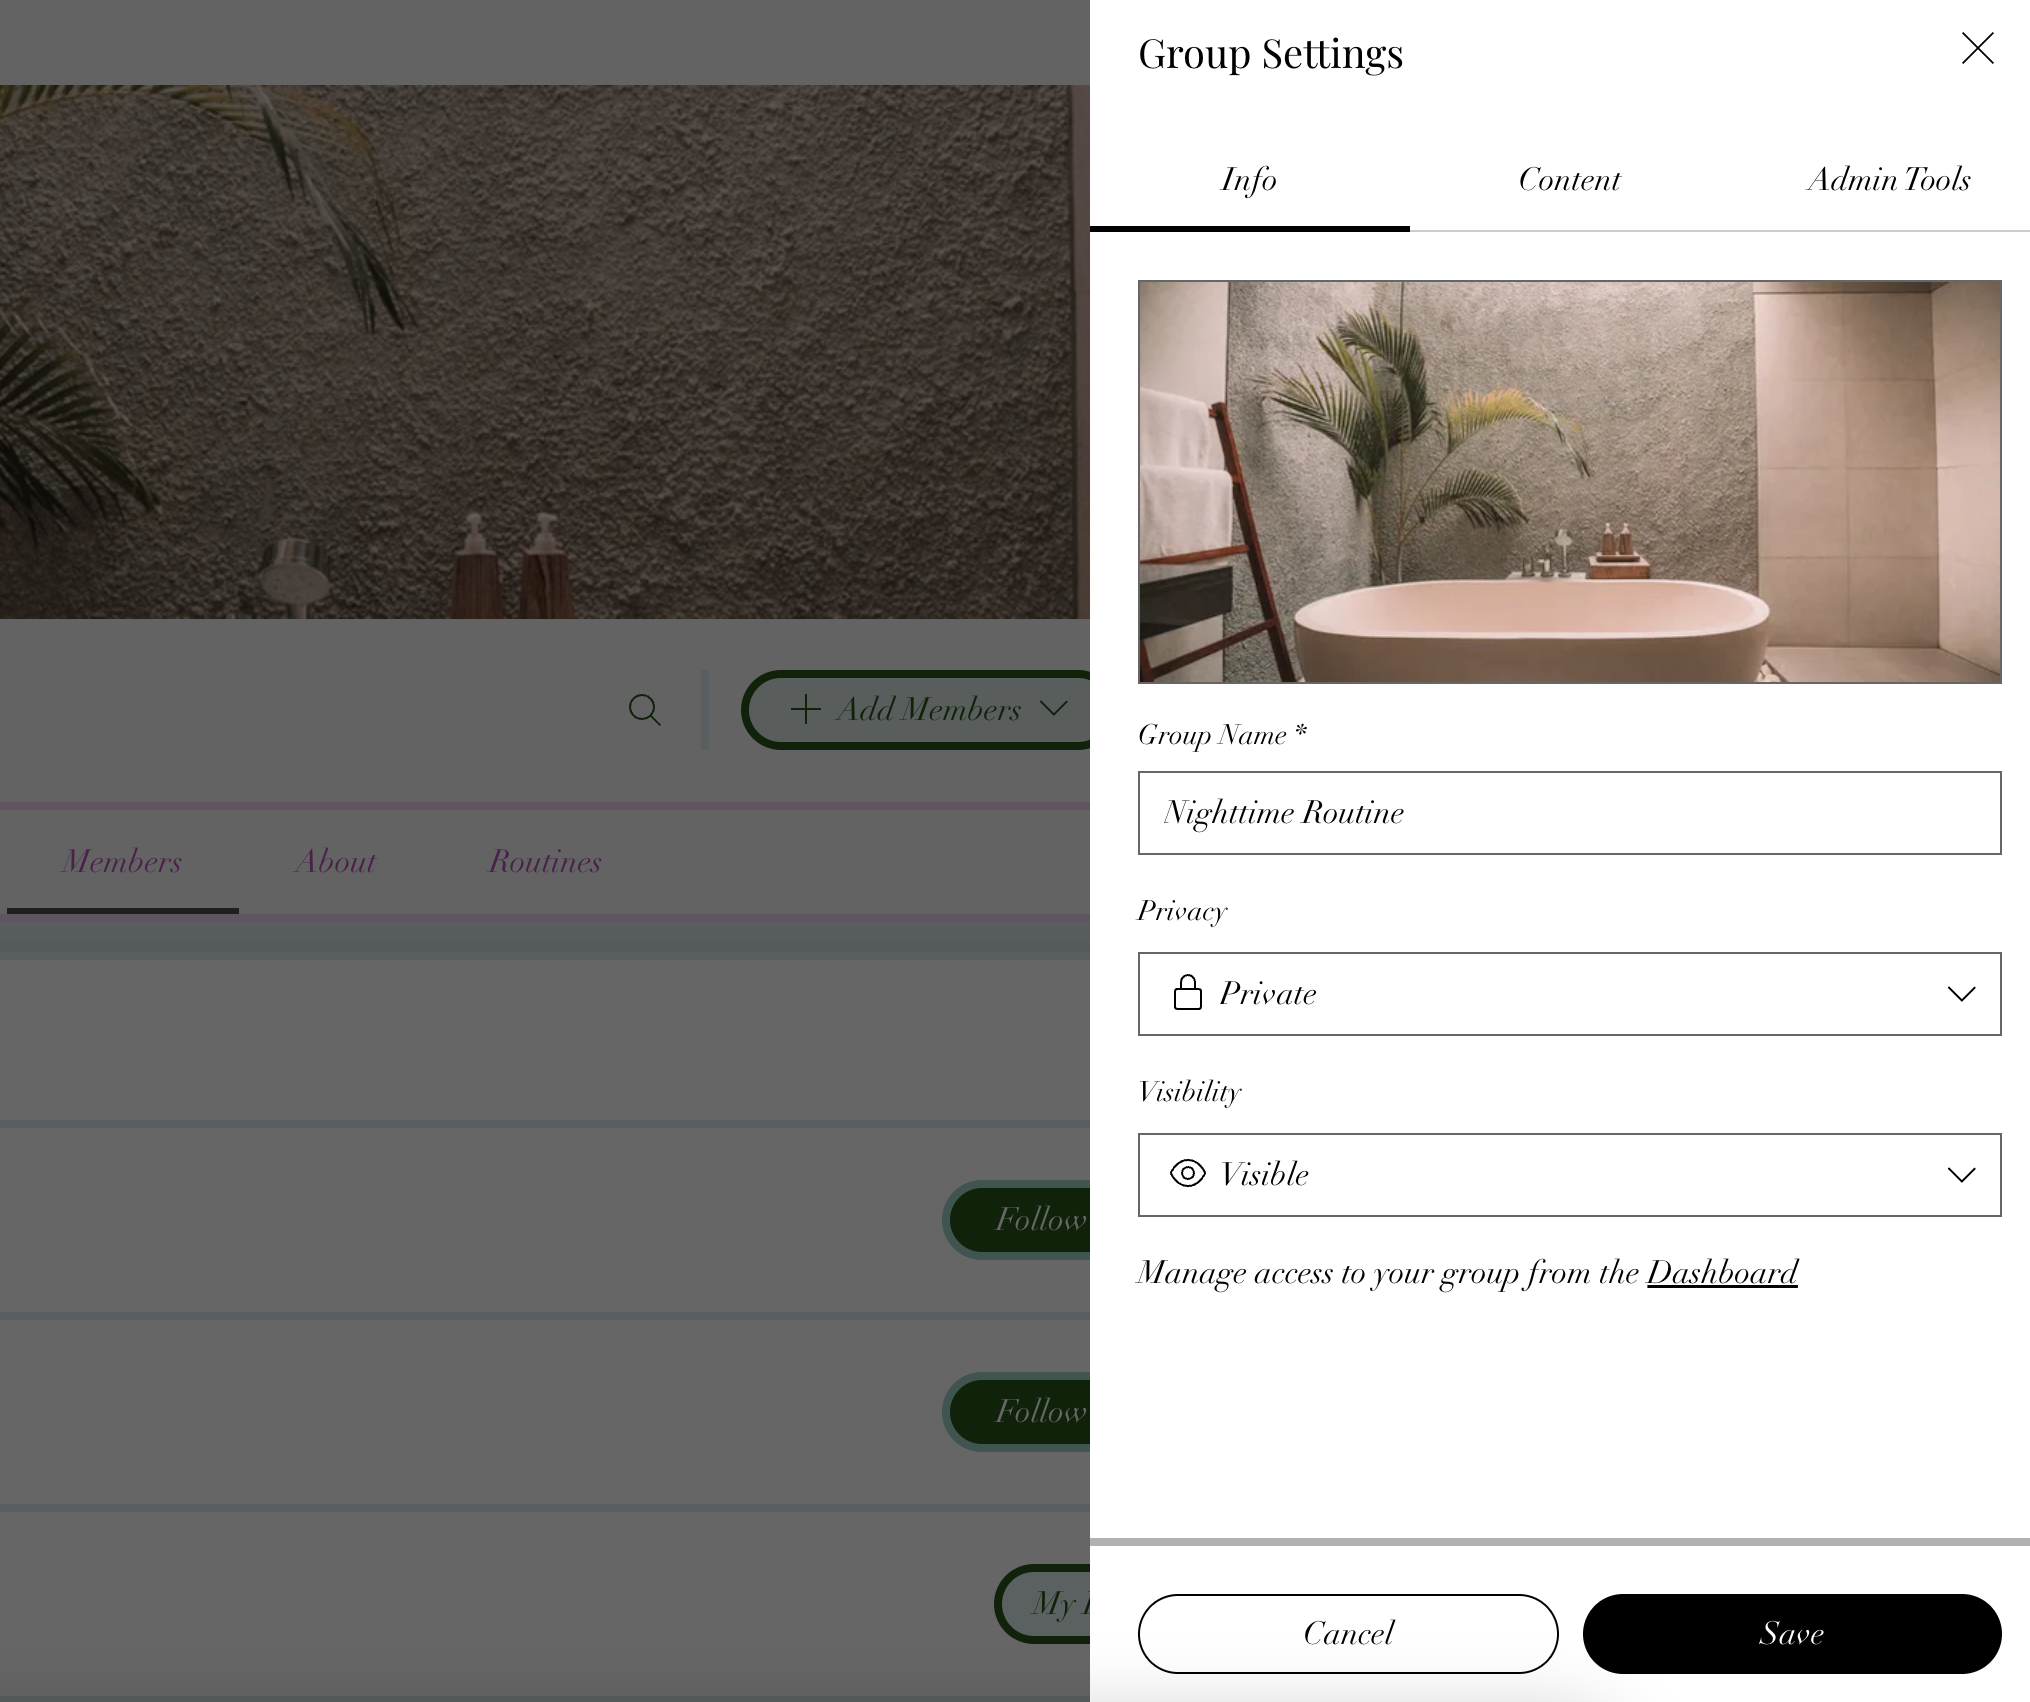
Decide who can see or access your group. You can make your group private and allow access only to approved members, pricing plan holders, or event participants. Private groups can be visible to all site visitors or group members.
Click the Info tab.
Choose the privacy setting for your group: Public or Private.
Choose the visibility of your group: Visible or Hidden.
Click Save.
Tip:
Learn more about managing your member privacy settings and about site member privacy settings for Wix Groups. You can also customize the member menu.
FAQs
Click a question below to learn more about managing group members.
Can I change a member's profile from private to public and vice versa?
No. Only the member can change their own profile visibility. If they want to switch to a public profile, they need to sign in to your site and update their profile visibility settings.
Can I add private and public members to my group?
You can add public site members directly to your group. If a site member’s profile is private, you can only invite them to join. They need to accept the invite themselves before joining the group.
Only the member can change their profile visibility. If they want to update it, they need to sign in to your site and change the setting in their account.
How does a private member join a group after being invited?
If a site member has a private profile, they don't join the group automatically.
After you send the invite, they need to:
Open the invite email.
Click the join link.
Sign in to your site.
Accept the invitation to join the group
How many contacts can I invite to a group at one time?
You can invite up to 500 contacts per invite.
What is the maximum number of members who can be invited to groups?
You can invite up to 500 contacts per invite.
Why is someone who bought a program, subscription, or event still asked to request to join?
If someone bought an Online Program, event, or Pricing Plans subscription connected to your group but still sees 'Request to Join', they were not added automatically.
This can happen for 2 reasons:
Their profile is private: Private members are never added automatically. They receive an email invite to join instead.
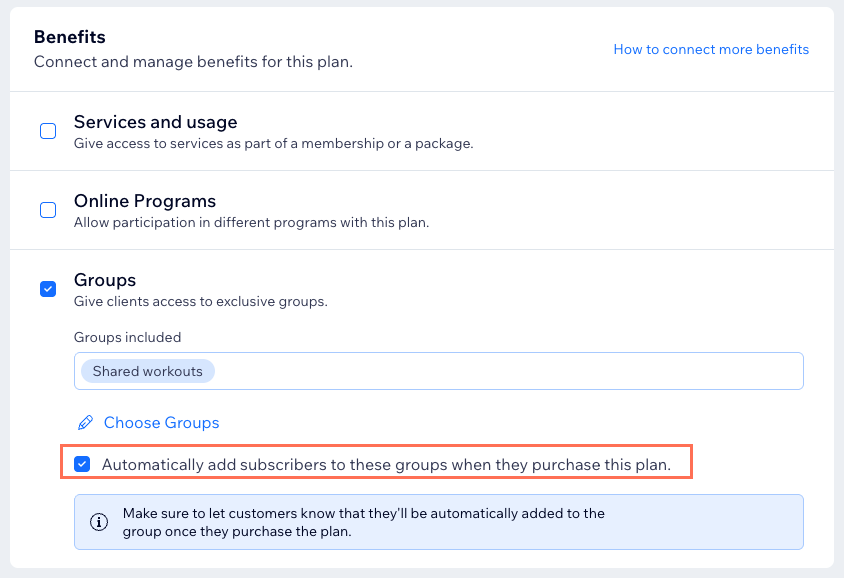
The plan setting is off: For Pricing Plans, the plan may not be configured to add subscribers to the group automatically when they purchase.
Here's what you can do:
Ask them to check their email for a group invite and click the link to join.
If this is a Pricing Plans subscription, make sure the plan is connected to the group and that Automatically add subscribers to these groups when they purchase this plan is enabled. Learn how to connect a plan to content and services.
Note: This setting only applies to future purchases. Members who already bought the plan before it was enabled won’t be added automatically and need to be added manually.
Can new members see content posted in a private group before they joined?
Yes, once a member joins a private group, they can access all content that was posted prior to their joining.
Can I change the color of the membership request popup?
No, the color of the 'You've requested to join' popup can't be customized.
This article is credited to the Wix team - https://support.wix.com/ and we thank them for that!