A basic button contains text, making it a minimalist, clear call-to-action for visitors to your client's site. You can manage the button's settings and customize its design to ensure it continues to complement the site's look, and encourage interaction.
Important:
This article refers to old buttons (basic buttons). These buttons are no longer available to add in the Add Elements panel. However, you can manage any existing old buttons with the steps in this article.
We recently released our new one button component that has a wide variety of customization options. Learn how to add and set up a new button.
How do I know which button I have?
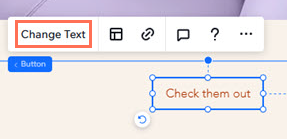
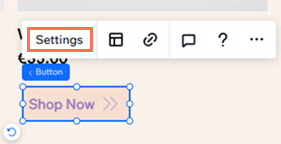
Old (basic) buttons display only text, and styled buttons can display both text and icons. You can check which you have by clicking the button in your editor:
Basic buttons: The Change Text option is displayed.
Styled buttons: The Settings option is displayed.
Managing a button's settings
You can change where the button links to at any time. You can also update the text to reflect the button's action.
To adjust your button settings:
Select the button.
Choose what you want to adjust:
Change the text
Click Change Text.
Enter your new text under Text.
Tip: Basic buttons don't have the option to show an icon, but you can enter symbols (e.g., X, +, >) to create a similar effect.
Link the button
Buttons can lead to other parts of the site (e.g., pages, anchors, popups), external web pages and even actions like sending your client an email or making a phone call to their number.
Click the Link icon

.
Select a link type on the left.
Add the relevant link information.
Click Done.
Customizing the design of a button
Design the button to make it look how you want. You can select a different fill color, add a shadow and adjust other settings like spacing and text formatting to update its look.
To customize a button:
Select the button in your editor.
Choose what you want to customize:
Design the button
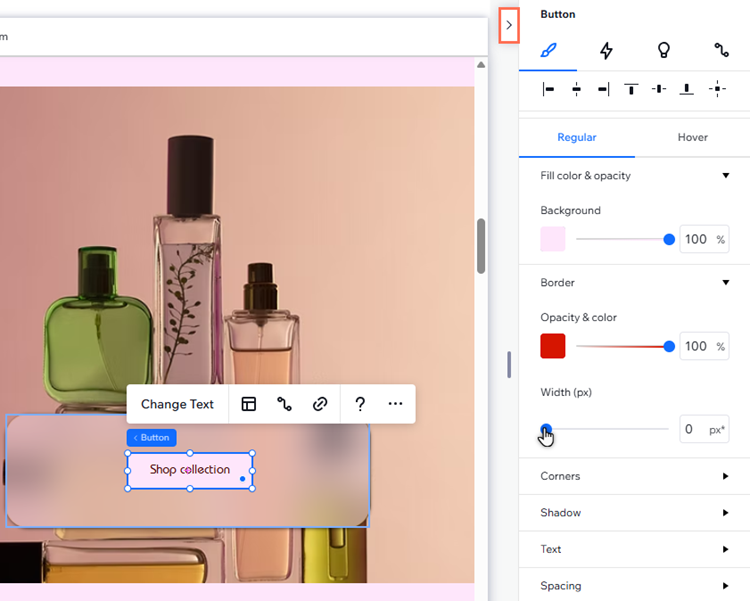
You can tailor the design of a basic button for 2 different states: Regular or Hover. Change settings like the background color, border, or the shape of the button's corners.
Click the Open Inspector icon

at the top right of the editor.

Scroll down to Design.
Select the state you want to design: Regular or Hover.
Design the button using the available options:
Fill Color & Opacity: Change the button's background color and adjust its opacity.
Border: Choose a color for the border, and set its opacity and width (in px*).
Corners: Set the radius of the button's corners (in px*) to make them more round or square. You can set the same radius for all corners, or click the Unlock icon

to customize them separately.
Shadow: Add and customize a shadow to give the button a 3D effect.
Text: Adjust the look and formatting of the button text.
Spacing: Set the spacing between the text and the button's borders.
Adjust the button's layout
Change the button's alignment, positioning and spacing so the text and / or icon look exactly how you want.
Click the Layout icon

.
Adjust the settings as needed:
Direction: Select whether the button reads Left to right, or Right to left.
Alignment: Align the text to the left, center or right of the button. You can set an indent on the text with the Left or Right options.
Tip:
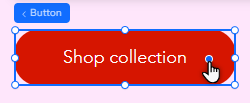
You can also adjust the corners of the button by dragging the radius handle on the canvas.
This article is credited to the Wix team - https://support.wix.com/ and we thank them for that!