Display visual content from external servers and other sources in an HTML iFrame. Create a weather widget, a stock widget, a calendar or any other custom element that comes to mind. You can either embed a code snippet or an external URL.
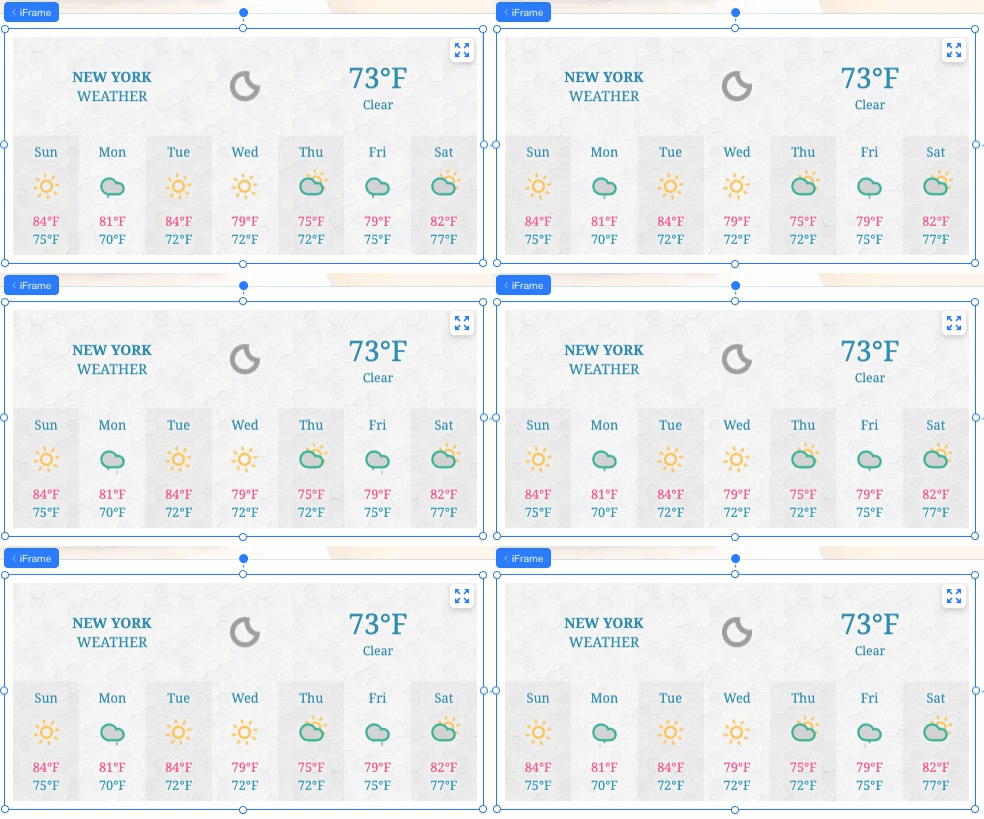
Embedding code or a site
Add an iFrame to your client's site directly from the Add Elements panel. Choose whether you want to embed code or a site, then paste your code / the web address so it appears in the iFrame.
Important:
Make sure to read our guidelines and limitations before embedding your code.
To add an HTML iFrame:
Click Add Elements

on the left side of the editor.
Click Embed & Social.
Select an element to add it to the page, then follow the relevant steps below:
Embed code
Click Embed Code to add the element to the page.
Click Enter Code.
Paste your custom HTML code in the text box.
Click Apply.
Note: We cannot provide support for external codes that were not created or tested with Wix. If you are experiencing an issue with your code snippet, please contact the provider directly.
Embed a site
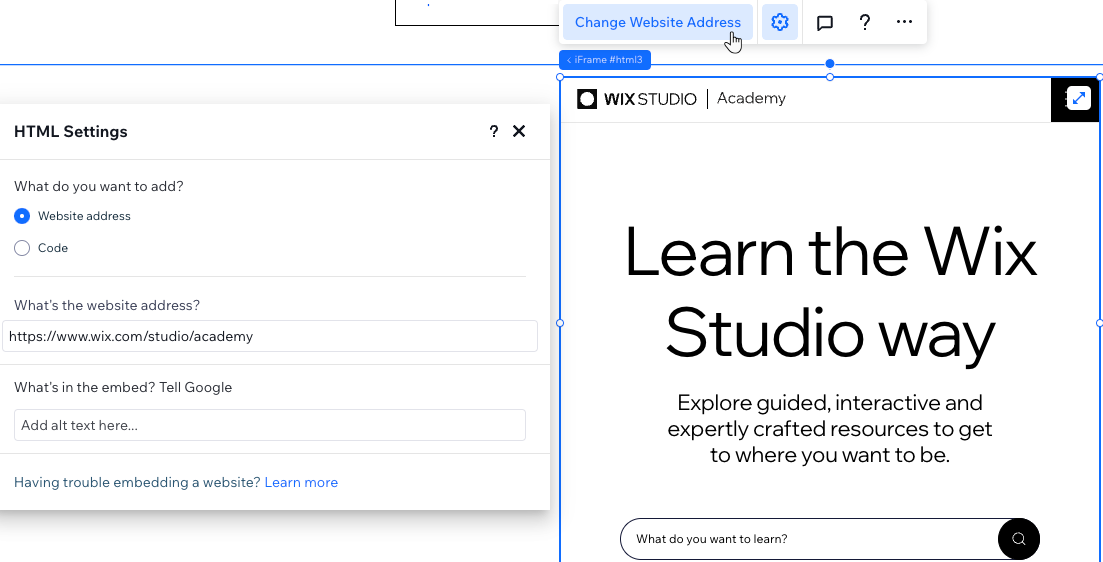
Click Embed Site to add the element to the page.
Click Change Website Address.
Paste the website address in the text box.
Important: Make sure the address starts with HTTPS. HTTP sites will not be displayed.
Click Update.
Note: Some sites have security policies that forbid them from being embedded on external platforms. These sites might not appear in the editor or live site.
Adjusting the sizing of the displayed content
Embedded elements often include pre-defined width and height in pixels, defined by the service they were acquired from, as in the example below:
<iframe width="560" height="315"
       src="https://www.wix.com/studio/academy"
        frameborder="0">
</iframe>
These settings could potentially crop the content if the iFrame container (on the canvas) is smaller than 560 px * 315 px. To ensure the content does not get cropped, replace the px values with percentage units and set them to 100% as shown below:
<iframe width="100%" height="100%"
       src="https://www.wix.com/studio/academy"
        frameborder="0">
</iframe>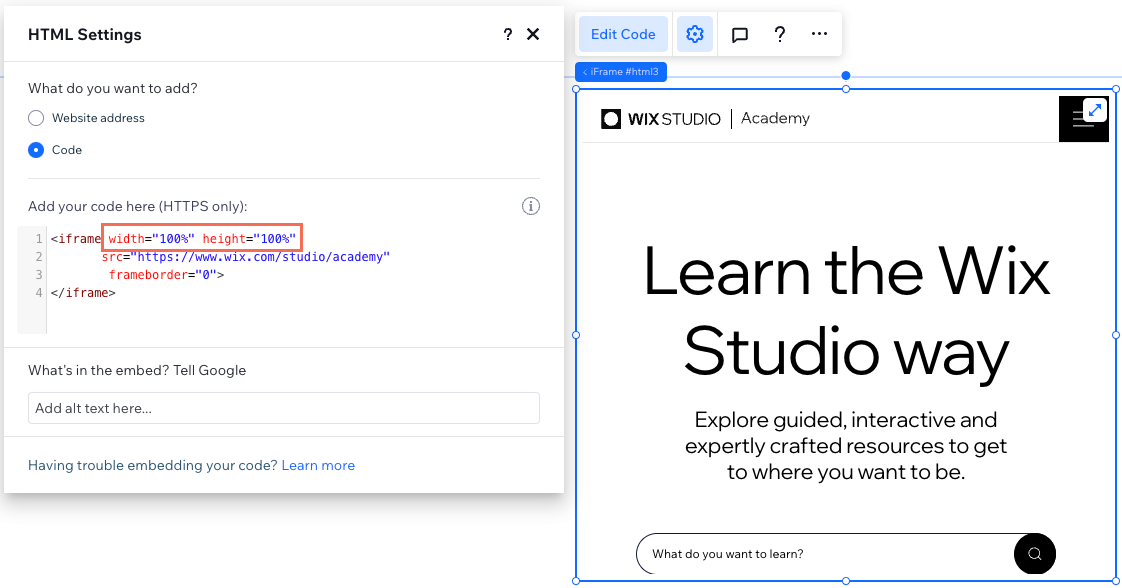
Guidelines and limitations
Read the following guidelines and limitations to learn how to properly embed code into the HTML iFrame, whether it's a website address or custom code.
Guidelines
Make sure that your code contains HTTPS, not HTTP, or it will not be displayed on your live site.
Always make sure the code you are embedding is up to date and HTML5 compatible. Most browsers don't display pages and scripts properly if they were written using older versions of HTML.
HTML code contains the core elements of the page, but the design settings and other complex functionalities are usually stored separately. Therefore, some elements may not function or look the same if the relevant elements aren’t included as a reference within the HTML code, for example the CSS and JS files.
If you are not sure how to use the target attribute, read about it here or contact the code creator.
Limitations
Code within the HTML element is displayed on your client's site within a sandboxed iFrame. Using a sandbox protects visitors from potential side effects of custom code.
Usually, a sandboxed iFrame blocks the following:
Using Browser APIs
Content using plugins (via <embed>, <object>, <applet>, or other)
Automatically triggered features (such as automatically playing a video or automatically focusing a form control)
However, we have re-enabled the following abilities for your custom code according to the W3C specifications :
Sandbox | Description |
allow-same-origin | Re-enables third-party site scripts/content |
allow-forms | Re-enables form submission |
allow-popups | Re-enables popups |
allow-scripts | Re-enables custom JavaScript code |
allow-pointer-lock | Re-enables grabbing the cursor |
This article is credited to the Wix team - https://support.wix.com/ and we thank them for that!