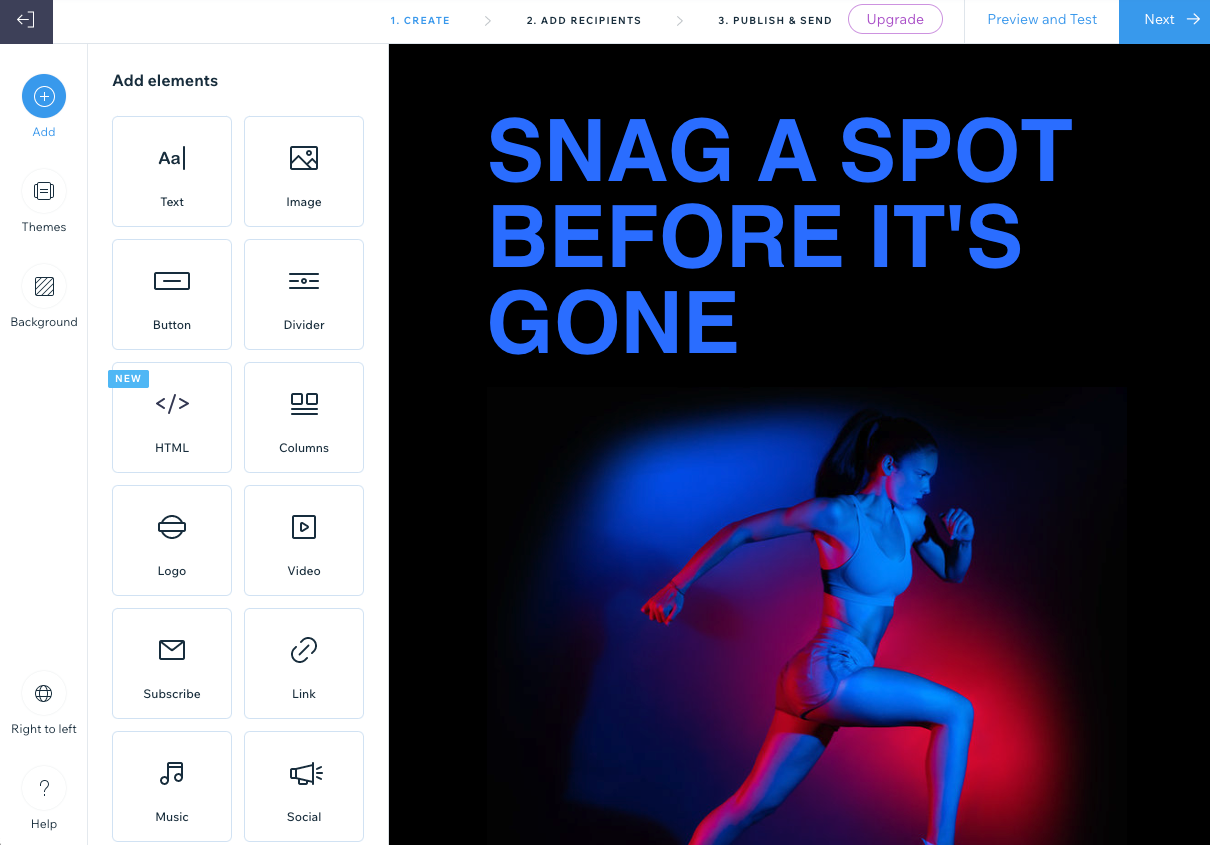
Add a variety of elements to your email marketing campaign to help grow your existing customer relationships, encourage subscriber interaction with a newsletter, or capture the attention of potential new subscribers.
You can add elements such as customized text, your brand's logo, an eye-catching image and video, or a button that leads to your products to gain more customers.
Adding an element to your email campaign
Go to Email Marketing in your site's dashboard.
Click Edit next to an existing campaign or create a new one.
Click Add

on the left and choose from the following elements:
Not sure which email builder you're using?
Email Builder: If you see Preview and Test at the top right, you're in the Email Builder.
Email Builder Plus: If you see Test Email at the top right, you're in the newer Email Builder Plus.
Select the matching tab below:
Email Builder
Text
Add or edit text to tell people what you want them to know.
Click Text.
Enter the text you want to display in the element.
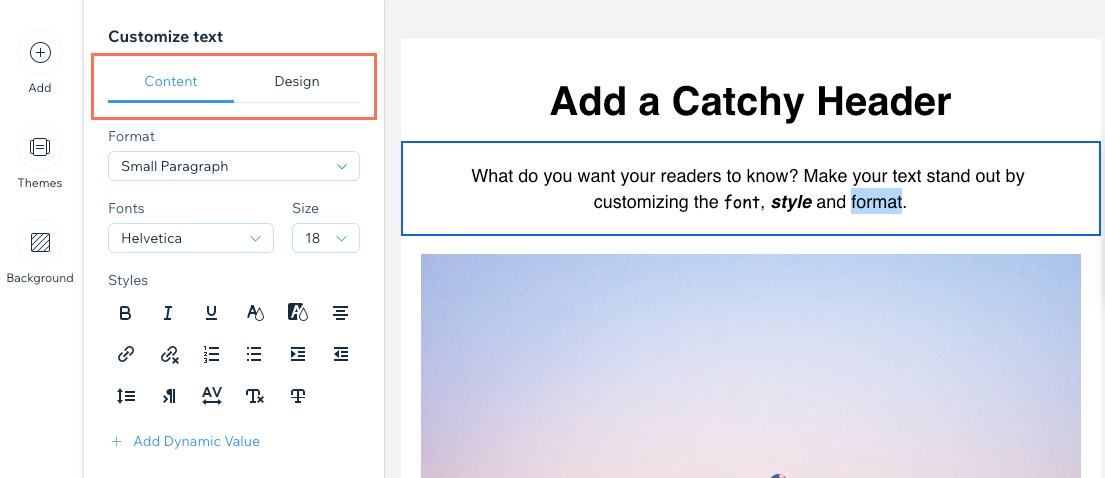
Tip: If you want to format specific text only, instead of all the text in the element, use your cursor to highlight the relevant text.
Click the relevant tab on the left to edit the Content or Design:
Content: Use the available options to edit the format, font, size, style or add personalized content.
Design: Use the available options to edit the background fill color, layout, border width and color, or the padding of the element.
Click Apply.
To add text copied from an external source:
Highlight the relevant text to be copied from the original source.
Press Ctrl + C (on Mac press Command + C).
Double-click the text box in your email campaign, then click where you want the text to be pasted and press Ctrl + Shift + V (on Mac press Command + Shift + V).
Note: Wix Email Marketing offers a variety of font options for you to choose from. If a font isn't supported by the email provider, it will default to a compatible font (e.g. Arial, Times New Roman).
Image
Add your own images or browse the free Wix collections.
Click Image.
Select the image you want to add and click Add to Page.
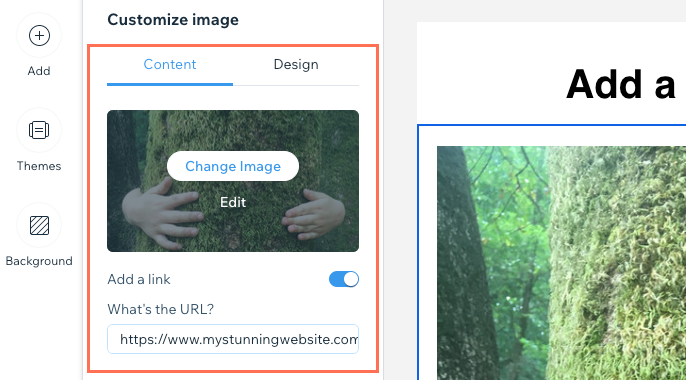
Select the relevant editing option:
Change Image: Replace the selected image with a different one.
Edit: Use the Wix Photo Studio tools to enhance and improve the image.
Tip: You can also click the Crop icon

from the toolbar on the right.
Alt text: Enter a text to help screen readers describe your content and make your email more accessible.
Add a link: Enable the toggle and enter the URL you want to link the image to.
Visibility: Select which device this element will be shown on
Click Apply.
Note: Images you add automatically resize to a 700 pixel width. Smaller images keep their original size.
Button
Add a call-to-action that sends people where you want them to go.
Click Button.
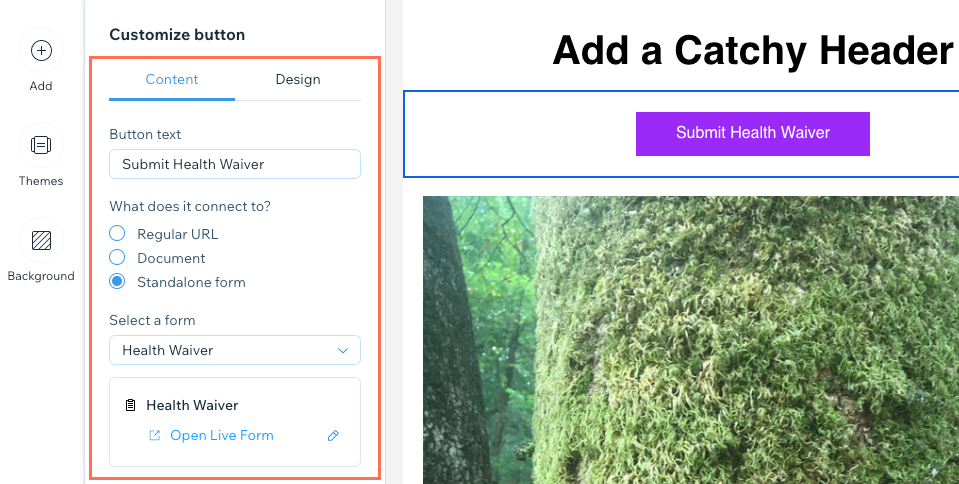
Click the relevant tab on the left to edit the Content or Design:
Content: Edit the following details:
Button text: Enter the text that displays on the button.
What does it connect to?: Choose what happens when viewers click the button:
Regular URL: A new tab opens with the address you enter in the Enter a URL field.
Document: A document downloads to the browser. Click Choose File, select the relevant document and click Add to Page.
Standalone form: A custom form you can use to collect info or feedback opens in a new tab. Select the form you want to use or click + Create Form to create a new form.
Dynamic link: A dynamic website URL that changes as needed. Choose a link from the dropdown.
Visibility: Select which device this element will be shown on.
Design: Customize the font, text color, fill color, border width and color, corner shape, alignment, and padding.
Click Apply.
Divider
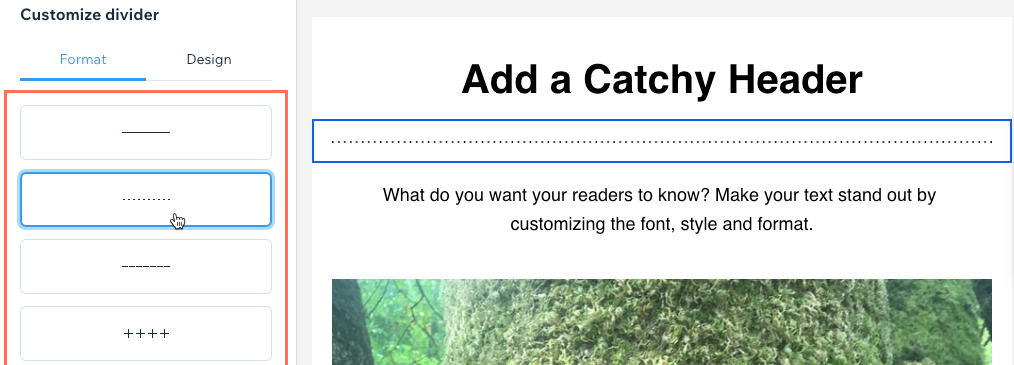
Add a decorative line to break up the sections in your email.
Click Divider.
Select the divider you want to use under the Format tab.
Under Visibility, select which device this element will be shown on.
Click the Design tab and set the divider color, width, and padding.
Click Apply.
HTML
Embed HTML code to include additional elements in your email.
Click HTML.
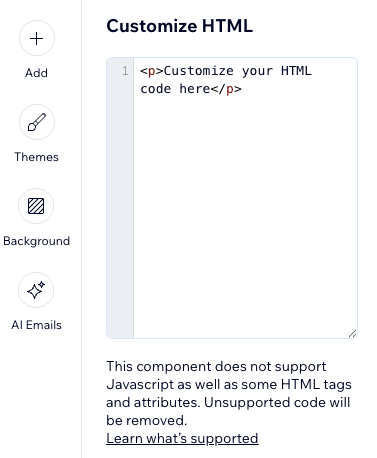
Enter your HTML code in the provided field.
Note: This component does not support Javascript as well as some HTML tags and attributes. Unsupported code will be removed. Learn more about adding HTML to your email campaign.
Click Apply.
Columns
Display your content in columns to break up the layout.
Click Columns.
Under Number of columns, select the total columns you want to use.
Under Choose a preset layout, select the layout you want to use and click Customize.
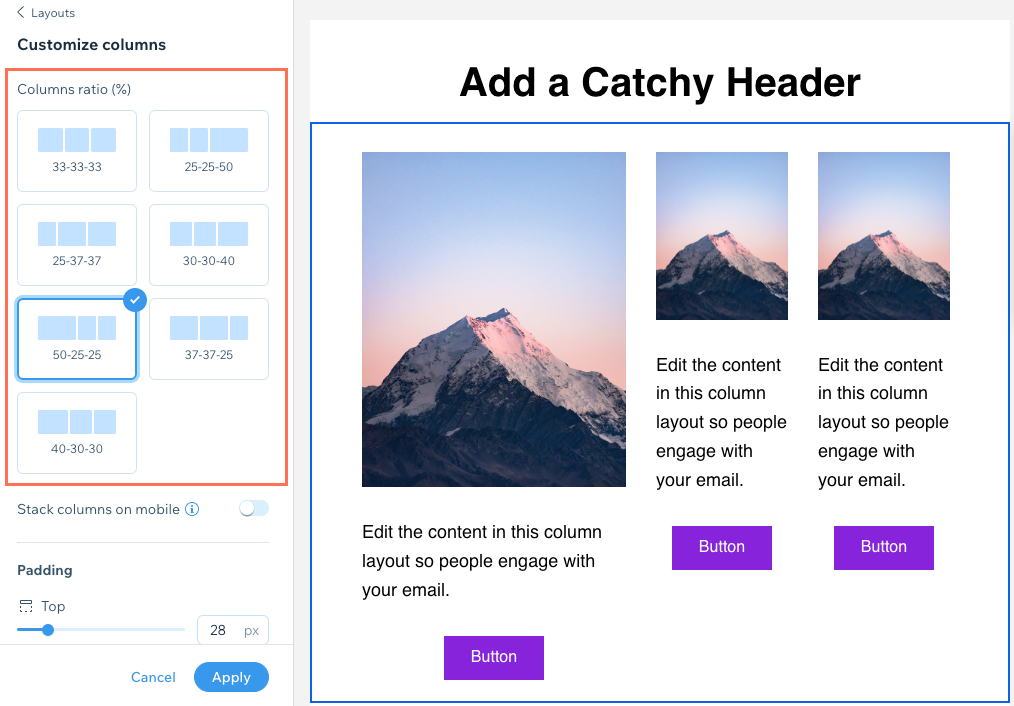
Choose the Columns ratio (%) you want to use.
(Optional) Click the Stack columns on mobile toggle to choose how the columns appear on mobile:
Enabled: On mobile, the columns are displayed at full width and ordered from top to bottom.
Disabled: On mobile, the columns display next to each other as they do on desktop.
Under Padding, set the padding of the entire column element.
Under Column spacing, set the horizontal and vertical spacing between the columns.
Click Apply.
Click the relevant images, text, and buttons from the columns on the right to edit them.
Tip: Check how your columns appear on mobile by clicking Preview and Test at the top right. Then select the Mobile icon

at the top.
Logo
Help people recognize your brand by adding your own logo. When you add a logo to your campaign, it is automatically added to all your future campaigns.
Click Logo.
Add your logo:
Click Change Image and select the image you want to use for your logo.
Tip: Click + Upload Media if you need to upload your logo.
Click Add to Page.
(Optional) Click Edit to use the Wix Photo Studio tools to modify the image.
(Optional) Click the Add a link toggle to link your logo, then enter the URL you want to link it to.
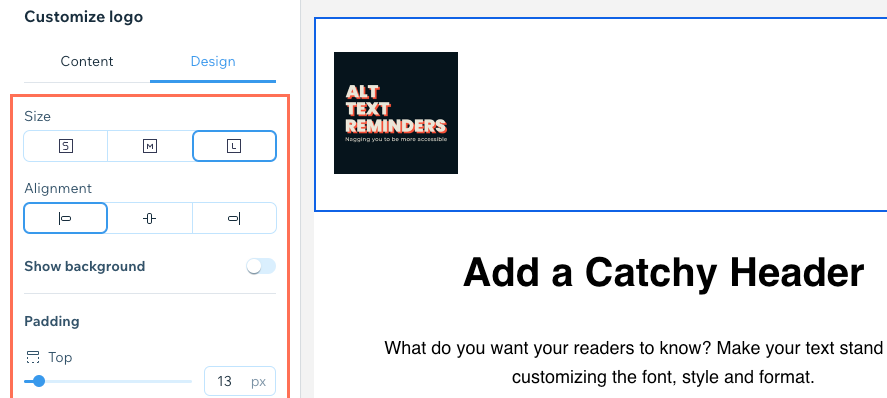
Click the Design tab and customize the design:
Size: Select the size of your logo: Small, Medium, or Large.
Alignment: Choose how you want the logo to align: Left, Center, or Right.
Show background: Click the toggle to add a background color and select a background layout option.
Padding: Use the sliders to set the element's padding.
Click Apply.
Tips:
This option adds your logo to the top of your email campaign only. To add your logo in a different location, use the "Image" element instead.
Click Get a Logo to use the Wix Logo Maker to design your own professional logo.
Video
Lively up your campaign with your own video or choose one from YouTube.
Click Video.
Choose an option:
My video uploads: Upload your own video:
Click Choose File and select the video you want to add.
Tip: Click + Upload Media if you need to upload the video.
Click Add to Page.
YouTube: Show a video from YouTube. Enter the video URL in the field.
Note: When adding your own video from YouTube, make sure the video settings in YouTube are set to Public and the Allow Embedding box is checked.
Click Apply.
Notes:
Clicking a video in an email campaign via email opens the video in a new browser window.
If you're using Wix Video, you can create email campaigns directly from your Video Library.
Subscribe
Add a subscription form to grow your mailing list.
Click Subscribe.
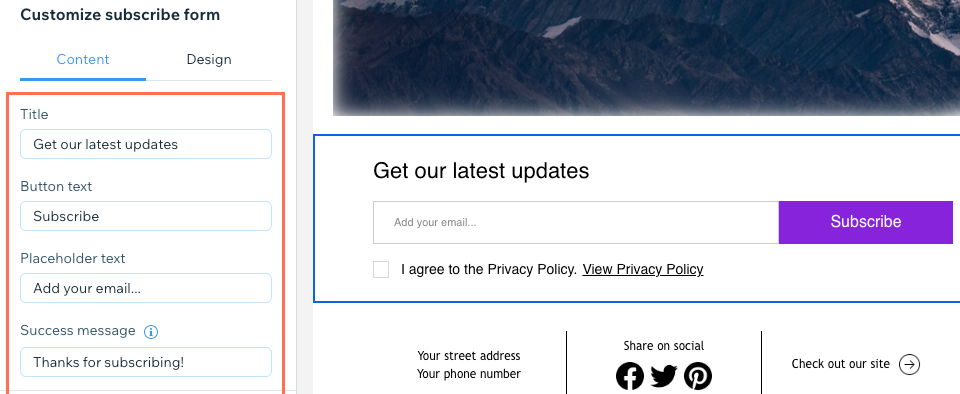
Edit the information in the Content tab:
Title: Enter the title that displays at the top of the subscribe element.
Button text: Enter the text that displays on the "Subscribe" button.
Placeholder text: Enter the text that appears in the field before viewers enter their email (e.g. "Add your email...").
Success message: Enter the message subscribers see when they've been successfully added to your contacts.
Error message: Enter the error message subscribers see if the email address they entered is not in the correct format (e.g. "example@email.com").
Require consent: (Recommended) Enable the toggle to add a checkbox that subscribers must select before subscribing. Learn more about requiring consent for your subscribe form.
Click the Design tab.
Under Text, set the font and color of the text.
Under Button, set the font, text color, fill color, border width, and border color.
Click Apply.
Tip: Learn how to create a privacy policy for subscribers to agree to when you require consent.
Link
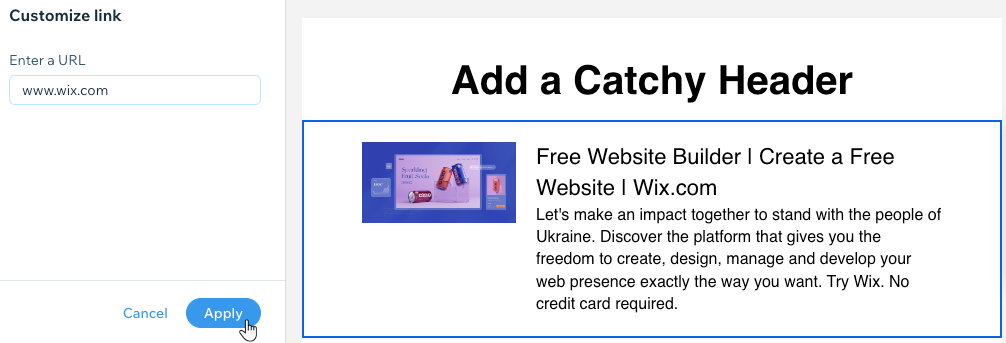
Add a link that shows a preview of a webpage, including the page's title, description and image.
Click Link.
Enter the URL of the link in the field.
Click Apply.
Note:
If you receive an error when trying to add a URL to your campaign, it's likely the URL is blacklisted. Wix does not send campaigns containing blacklisted URLs as they can harm recipients' accounts or devices, Wix's reputation, or even lead to ISPs blocking all emails from your email or IP addresses.
Check the URL you are adding to your campaign against blacklist checkers (e.g. Spamhaus, Barracuda, Spamcop)
Music
Let your fans listen to, share, and buy your music. You must add Wix Music to your site to see this option.
Click Music.
Click the drop-down and select the playlist you want to display.
Choose a theme: Light or Dark.
Social
Connect your campaign to all your social channels so people can easily follow you.
Click Social.
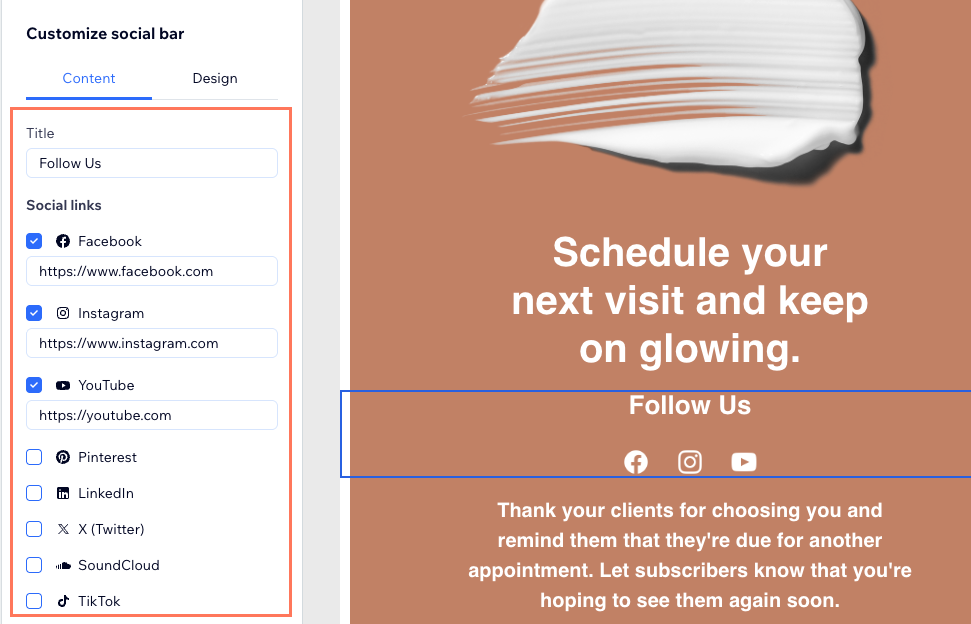
Choose what you want to display from the Content tab:
Title: Enter the title that displays at the top of the social element.
Social Media: Check the box next to each social network you want to include. Then enter the URLs of your profiles for each social network.
Click the Design tab and edit the font text color and icon size.
Click Apply.
Email Builder Plus
Text
Add or edit text to tell people what you want them to know.
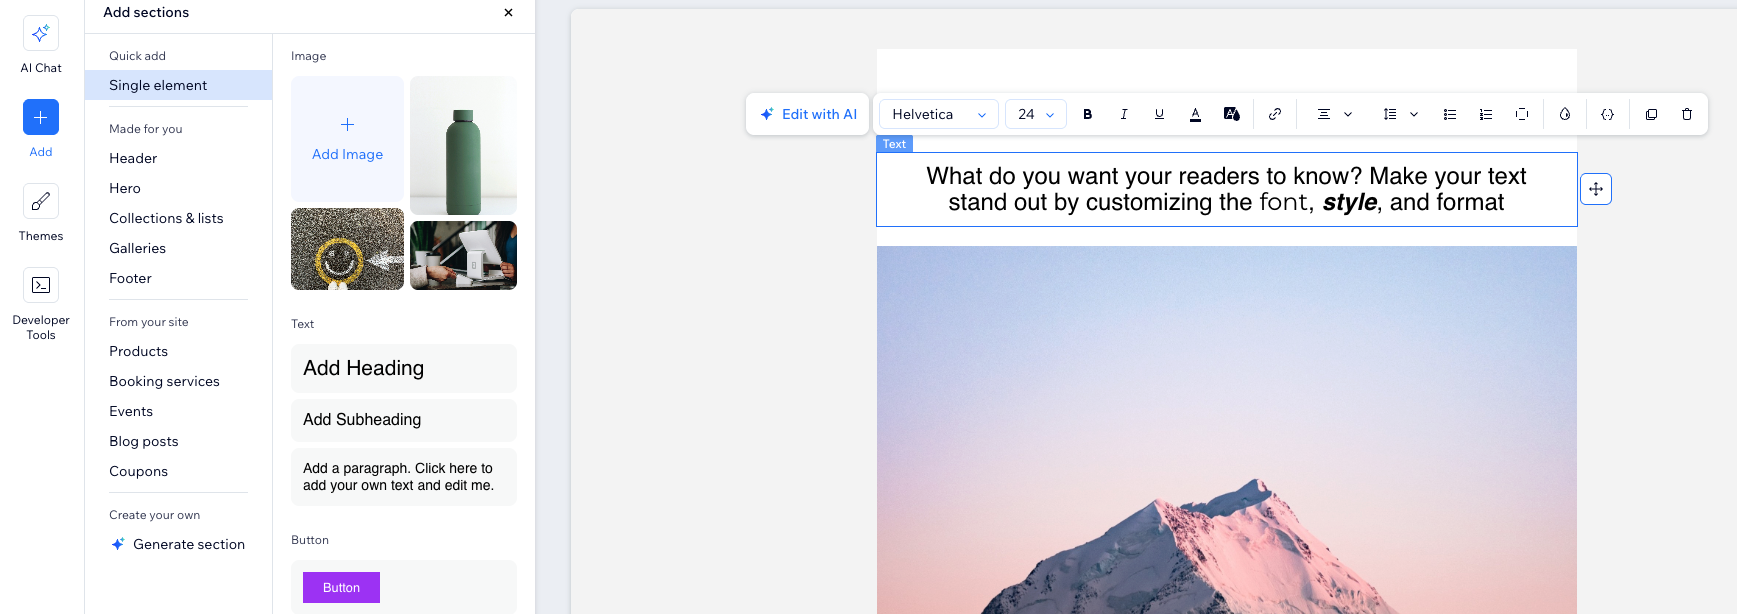
Select the type of Text you want to add, such as, heading, subheading, or paragraph.
Double click on the text element to enter the text you want to display.
Tip: If you want to format specific text only, instead of all the text in the element, use your cursor to highlight the relevant text you want to format.
Click on the text element and use the available options to edit format, font, size, style or add personalized content etc.
To add text copied from an external source:
Highlight the relevant text to be copied from the original source.
Press Ctrl + C (on Mac press Command + C).
Double-click the text box in your email campaign, then click where you want the text to be pasted and press Ctrl + Shift + V (on Mac press Command + Shift + V).
Note: Wix Email Marketing offers a variety of font options for you to choose from. If a font isn't supported by the email provider, it will default to a compatible font (e.g. Arial, Times New Roman).
Image
Add your own images or browse the free Wix collections.
Click +Add Image.
Select the image you want to add and click Add to Page.
Click on the image in your campaign and use the available options to edit the image, such as Replace, Edit image, Link etc.
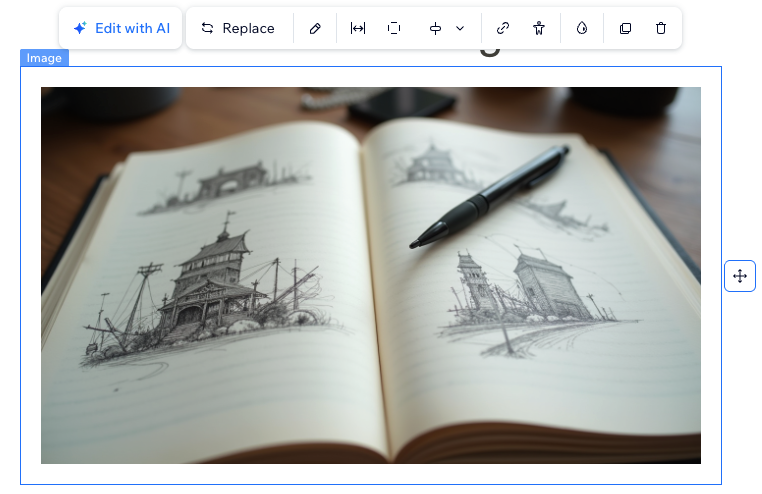
Notes:
Images you add automatically resize to a 700 pixel width. Smaller images keep their original size.
Lean more about the Wix Photo Studio tools when editing an image.
Button
Add a call-to-action that sends people where you want them to go.
Click Button.
Double click on the button to change the text displayed.
Click on the button in your campaign and use the available options to edit the element, such as Font, Text color, Link etc.
Tip: If there are edits you want to make but don't see the option for, click Edit with AI and ask the AI to make the edits for you.

Divider
Add a decorative line to break up the sections in your email.
Select the type of Divider you want to add, such as, long or short.
Click on the divider in your campaign and use the available options to edit the element, such as Design, Padding, Fill color, etc.
Tip: If there are edits you want to make but don't see the option for, click Edit with AI and ask the AI to make the edits for you.

Video
Lively up your campaign with your own video or choose one from YouTube.
Click Add Video.
Choose an option:
Embed: Show a video from YouTube. Enter the video URL in the field and click Embed video.
Note: When adding your own video from YouTube, make sure the video settings in YouTube are set to Public and the Allow Embedding box is checked.
Upload: Upload your own video:
Click Upload video and select the video you want to add.
Tip: Click + Upload Media if you need to upload the video.
Click Add to Page.
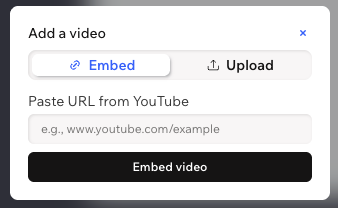
Notes:
Clicking a video in an email campaign via email opens the video in a new browser window.
If you're using Wix Video, you can create email campaigns directly from your Video Library.
Column
Split a section into side-by-side columns so you can place elements next to each other.
Click Column layouts.
Drag the layout you want into your campaign.
Click the new section in your campaign.
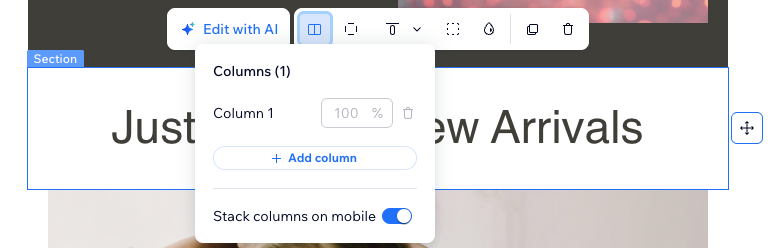
Click Columns icon

in the toolbar.
Set up the columns using the options:
Adjust the column width: Enter a percentage in the field next to each column.
Add a column: Click Add column.
Delete a column: Click the Delete icon

next to the column you want to remove.
Stack columns on mobile: Enable the toggle to place the columns one above the other on mobile devices.
Tip: If there are edits you want to make but don't see the option for, click Edit with AI and ask the AI to make the edits for you.
Notes:
You can add more elements such as HTML and Social using the AI Chat tab.
Some elements (e.g. adding a subscribe button, music, or link preview) are not supported in the Email Builder Plus.
FAQs
Click a question below to learn more.
How do I move, crop, duplicate, or delete elements?
Select the relevant element in your campaign and choose from the following options on the right:
Move up / down: Select the relevant arrow to move the element up or down.
Crop: Go to the Photo Studio to crop your image or edit it using the available tools.
Duplicate: Create a copy of the element.
Delete: Click Confirm Delete to permanently remove the element.
How can I see what my final campaign looks like before I send it?
Once you are finished creating your campaign, you can preview and test it before you send it.
Can I save a custom color to my campaign?
Yes, you can save up to 6 colors to reuse them throughout all your site's email campaigns on text, buttons, dividers, and more. Follow the steps below to save a custom color:
Go to Email Marketing in your site's dashboard.
Click Edit next to an existing campaign or create a new one.
Click any text element in the template.
Click the Color icon

in the panel on the left.
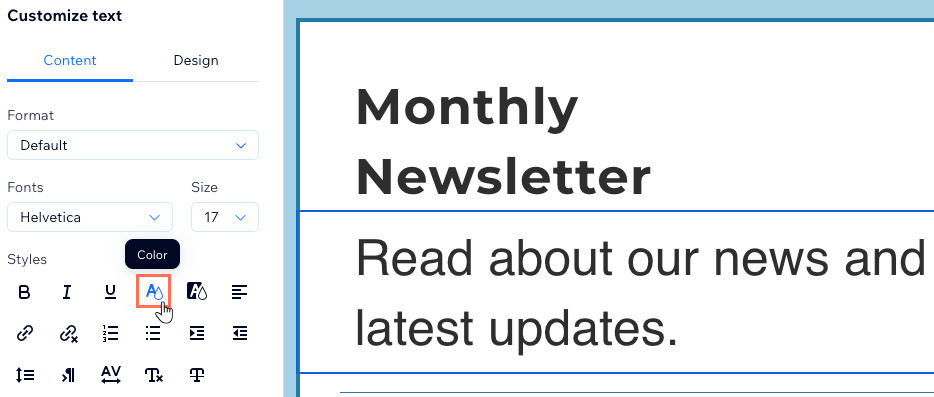
Select a custom color or enter a HEX value in the text box.
Click the Add Color icon

next to the HEX number.
Click the checkmark to close the color panel.
Notes:
If you want to remove a saved color, continue to save more 'saved colors' until the one you don't want is replaced by a new saved color.
The custom colors you create are available to use across your email campaigns and aren't saved in your editor.
Does the subscribe element work the same as Wix Forms?
No, the subscribe element in your email campaign works differently from Wix Forms. Here’s how:
The subscribe element is a simple subscription tool that you can add directly in the email marketing composer.
It does not connect to Wix Automations.
It does not appear in the Forms & Submissions tab of your dashboard.
What happens when someone submits an email campaign subscribe form?
When a contact fills out a subscribe form from your email campaign, they are automatically added to your site's contact list as subscribers.
Why didn't the changes in my campaign save?
While the composer does have an autosave feature, your browser may time out if the tab is left open for a long period (especially if there isn’t any activity). If the connection is lost during this time, changes are not sent to the server and can't be saved.
If your work is lost this way, it unfortunately cannot be recovered because it was never saved to the server.
Why are the links in my email campaign not working and how do I fix it?
Links in your email campaign rely on your site's domain settings. If the domain you send from isn't connected properly, your links may not open as expected — even when the URLs themselves are correct. Make sure your sending domain is connected correctly:
Domain connected to a Wix site: Check for connection issues in your Wix account. For example, if the domain was disconnected, click the Domain Actions icon

next to the relevant domain and click Assign to a site. For other issues (e.g. DNS records), follow the on-screen steps. You can check your domain's status on the Domains page.
Domain connected to a non-Wix site: Make sure that same domain isn't also assigned to a site in your Wix account — that conflict can stop your links from working. If it is, unassign it from your Wix site so it stays connected only to your external site.
Note: After any domain change, wait for it to finish propagating (this can take up to 48 hours), then send your campaign again and test the links.
Why do fonts look different for some recipients?
Wix Email Marketing offers a variety of font options for you to choose from.
There are standard options that will accommodate all major mail services (e.g. Gmail and Yahoo). There are also popular custom fonts that offer more variety and style but might not be supported by all email providers.
If you use a font that is not supported by your recipients email provider, the provider will default to a compatible font (e.g. Arial, Times New Roman).
This article is credited to the Wix team - https://support.wix.com/ and we thank them for that!